BestWebSoft’s Like & Share
User Guide
Like & Share | 2.70 * |
Multilanguage | 1.3.4 * |
WordPress | 5.6 * |
*When using other versions some differences are possible to occur
** Screenshots were taken from a PC
Table of Contents
2.2.1. Facebook ID or Username
You can download BestWebSoft’s Like & Share plugin here
https://bestwebsoft.com/products/wordpress/plugins/facebook-like-button/.
1. Introduction
Note: Сlick the “Save Changes” button in order to apply any changes. |
1.1. Open your WordPress Admin Dashboard and find the menu on the left.

1.2. Open “Like & Share” > “Settings” page on the dashboard.

1.3. You will see the “Like & Share Settings” page.
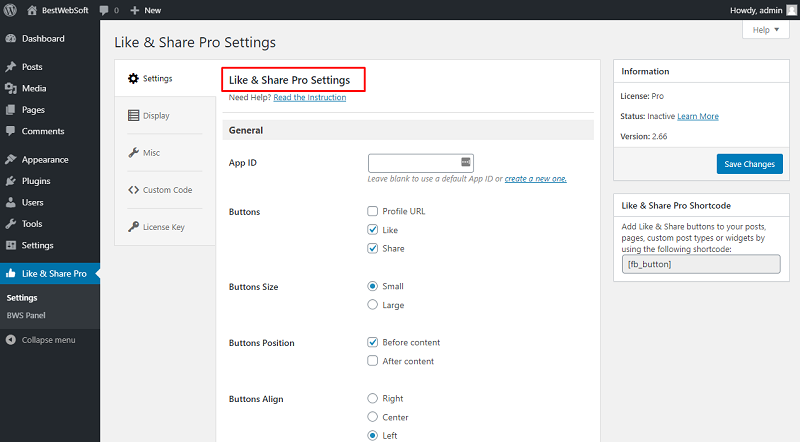
2. Settings
Use the options of the “Settings” tab to make the global settings for the plugin.
2.1. General
Use the options of the “General” section to make the most important settings for Like & Share.
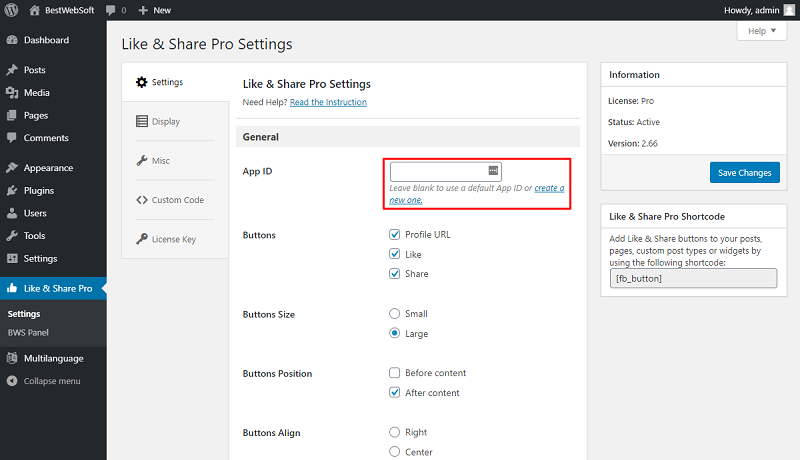
2.1.1. App ID
Use the “App ID” option to insert a custom App ID from Facebook. Leave blank to use a default App ID.

2.1.1.1. Click the “create a new one” under the “App ID” field to get App ID from Facebook, then copy it to the “App ID” field.
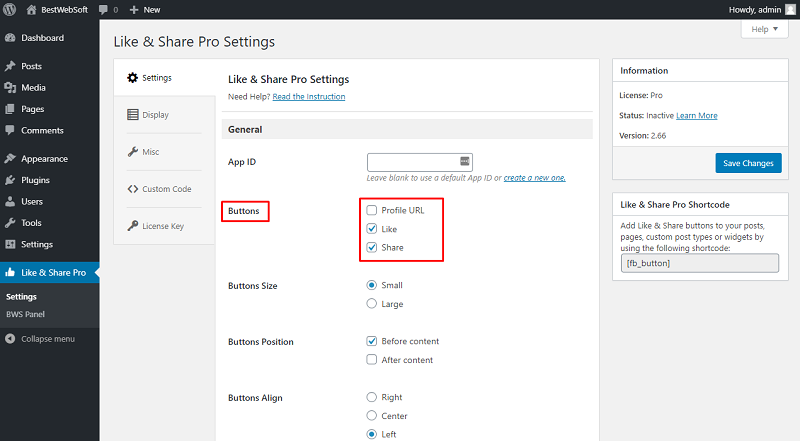
2.1.2. Buttons
Use the “Buttons” option to choose which Facebook buttons to display on your pages or posts.
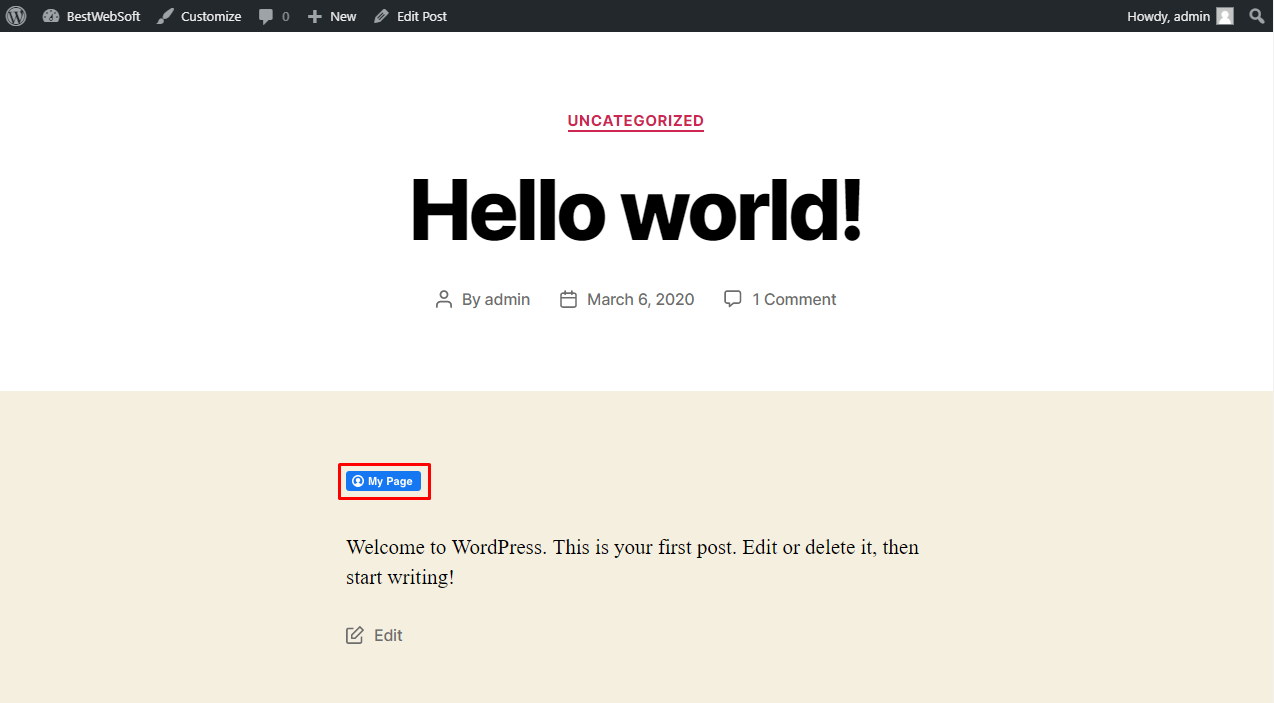
2.1.2.1. Enable the “Profile URL” to display the “Profile URL” Facebook button on your pages or posts.
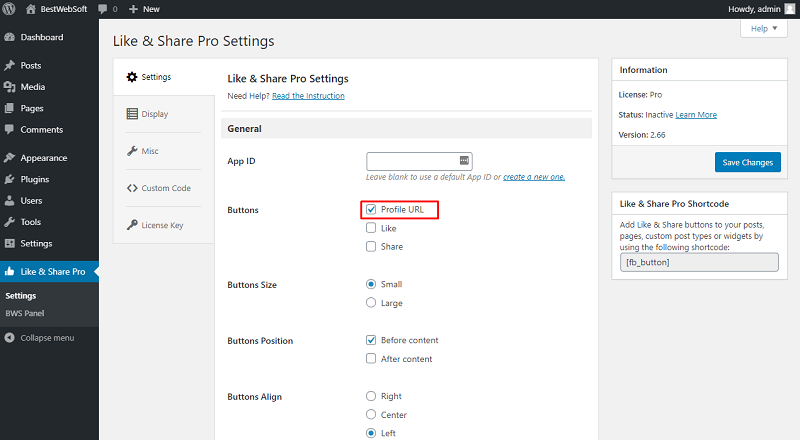
2.1.2.2. After saving changes the “Profile Url” button will look as follows.
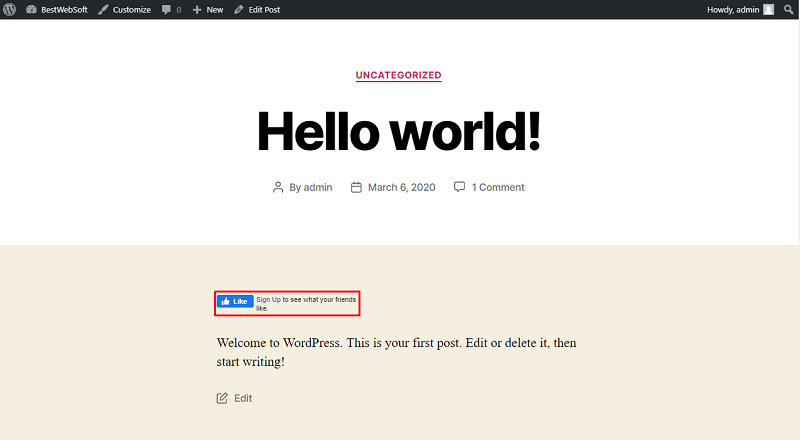
2.1.2.3. Enable the “Like” to display the “Like” Facebook button on your pages or posts.

2.1.2.4. After saving changes the “Like” button will look as follows.
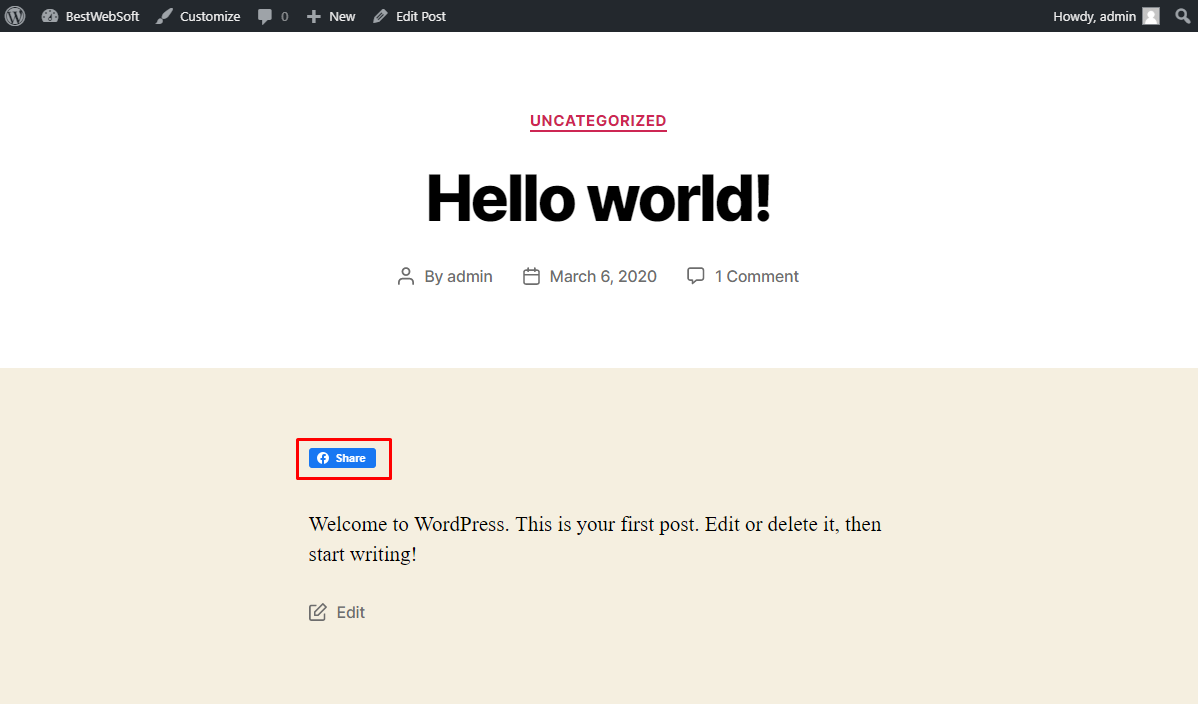
2.1.2.5. Enable the “Share” to display the “Share” Facebook button on your pages or posts.

2.1.2.6. After saving changes the “Share” button will look as follows.
2.1.3. Button Size
Use the “Button Size” option to choose the size of Facebook buttons on your pages or posts.

2.1.3.1. Choose the “Small” to apply the small size to the “Like & Share” buttons on posts and pages.

2.1.3.2. After saving changes the “Small” buttons size will look as follows.

2.1.3.3. Choose the “Large” to apply the large size to the “Like & Share” buttons on posts and pages.

2.1.3.4. After saving changes the “Large” buttons size will look as follows.

2.1.4. Button Position
Use the “Button Position” option to select the position of “Like & Share” buttons on a page or post.

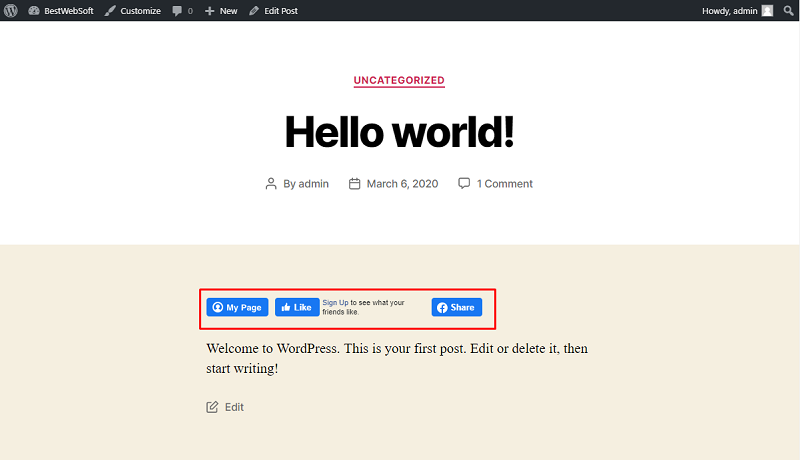
2.1.4.1. Enable the “Before content” to display the “Like & Share” buttons before the text block.

2.1.4.2. After saving changes the "My Page", "Like" and "Share" buttons will look as follows.
2.1.4.3. Enable the “After content” to display the “Like & Share” buttons after the text block.

2.1.4.4. After saving changes the "My Page", "Like" and "Share" buttons will look as follows.
2.1.5. Buttons Align
Use the “Button Align” option to align the position of your “Like & Share” buttons on a page or post by width.
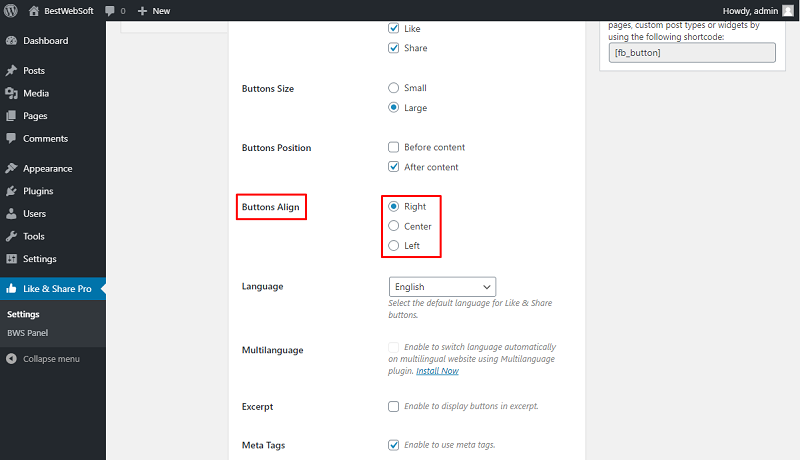
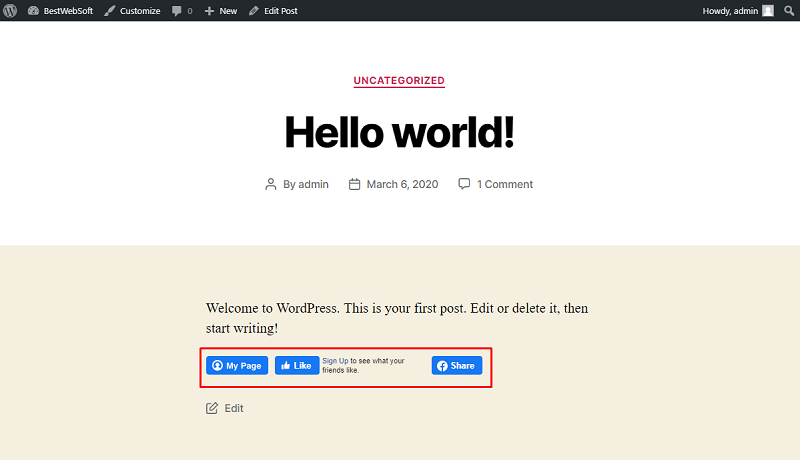
2.1.5.1. Choose the “Right” to apply the align to the right side of the “Like & Share” buttons on posts and pages.

2.1.5.2. After saving changes the "My Page", "Like" and "Share" buttons will look as follows.

2.1.5.3. Choose the “Center” to apply the align to the center of the “Like & Share” buttons on posts and pages.

2.1.5.4. After saving changesAfter saving changes the "My Page", "Like" and "Share" buttons will look as follows.
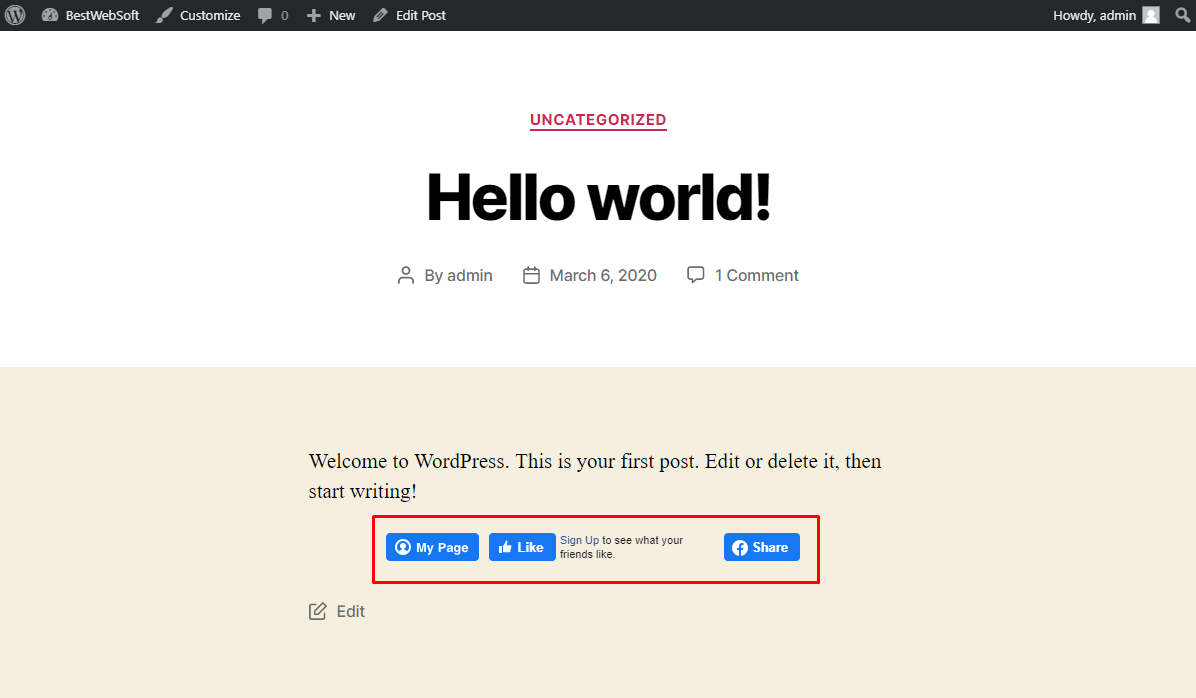
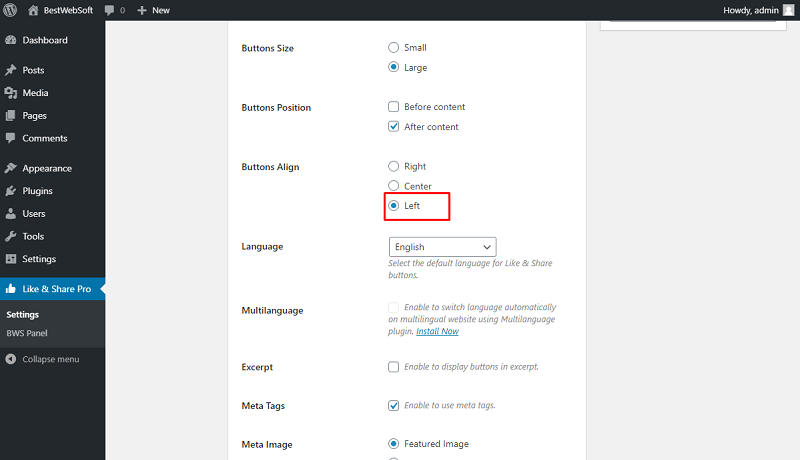
2.1.5.5. Choose the “Left” to apply the align to the left side of the “Like & Share” buttons on posts and pages.
2.1.5.6. After saving changes the "My Page", "Like" and "Share" buttons will look as follows.

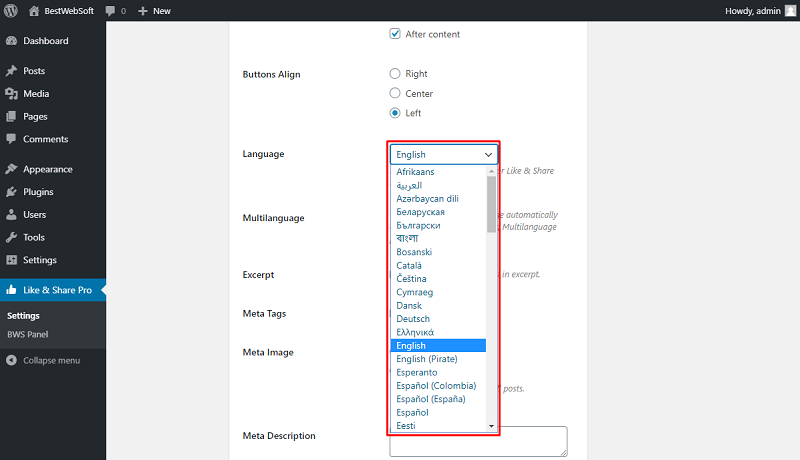
2.1.6. Language
Use the “Language” option to select the default language which will be used for “Like & Share” buttons titles and notifications.
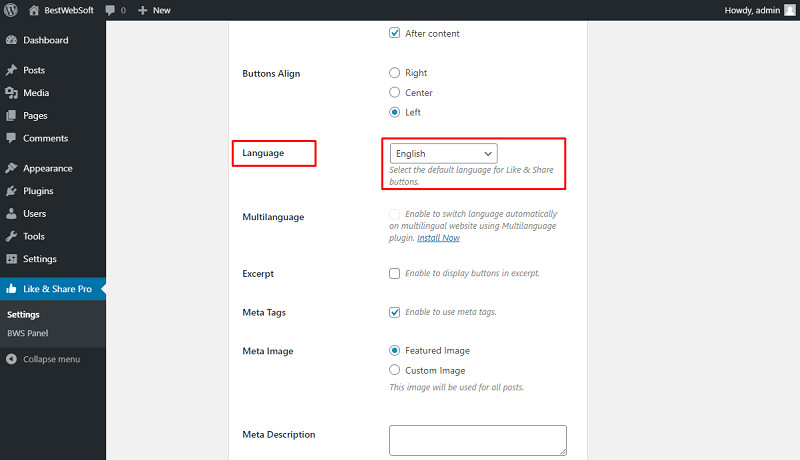
2.1.6.1. Choose the default language in the dropdown which will be used for “Like & Share” buttons titles and notifications.
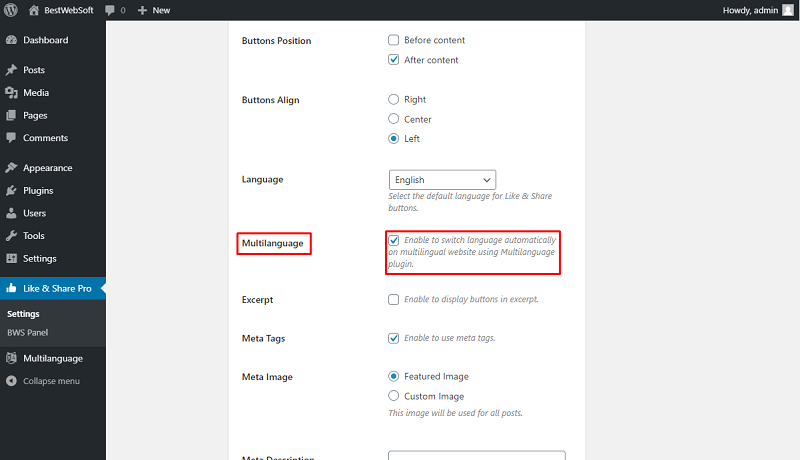
2.1.7. Multilanguage
Note: Install and activate the “Multilanguage” plugin to enable this option. |
Enable the “Multilanguage” option to use the current site language. To download the plugin follow the link: https://bestwebsoft.com/products/wordpress/plugins/multilanguage/
2.1.7.1. After Multilanguage plugin is installed and activated, enable the “Multilanguage” option to switch language automatically on the multilanguage website.
2.1.8. Excerpt
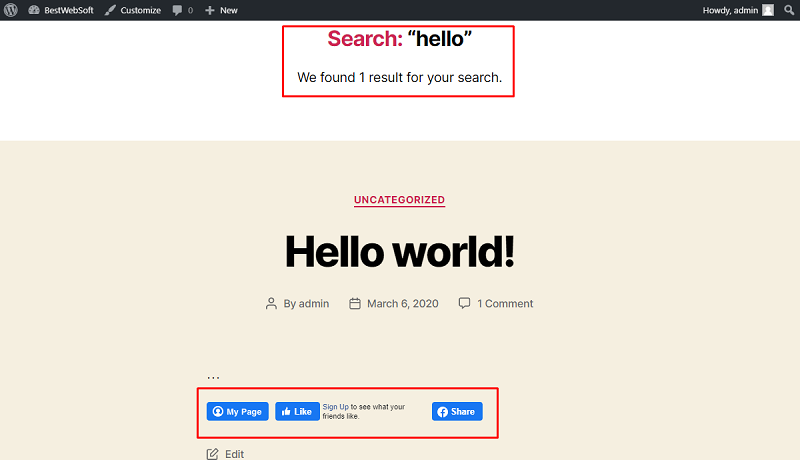
Use the “Excerpt” option to display “Like & Share” buttons for categories, archives, search results, etc. If only a part of a post is visible, “Like & Share” buttons will be still displayed.
2.1.8.1. Enable the “Excerpt” option to display buttons in the excerpt.

2.1.8.2. To check the “Excerpt” option use the Search results and Archive pages.
2.1.9. Meta Tags
Use the “Meta Tags” option to enable meta tags and customize the “Meta Image” and “Meta Description” appearance for posts and pages.
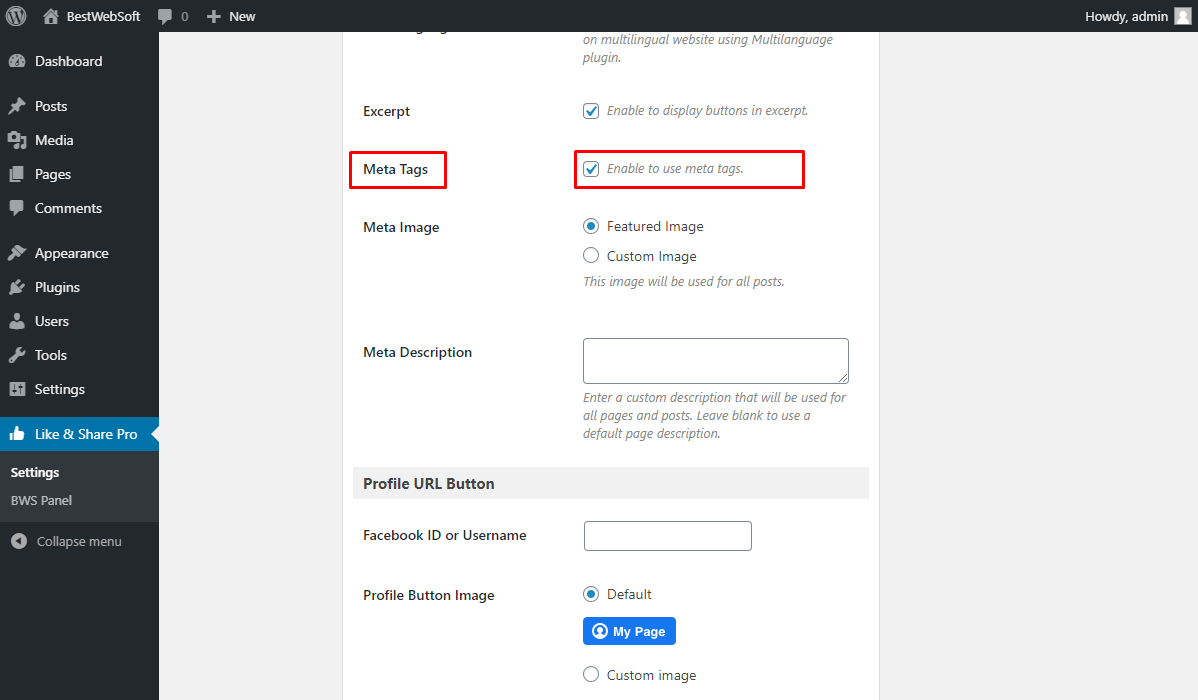
2.1.9.1. Enable the “Meta Tags” to add meta tags to the website that affect the appearance of a post on Facebook.

2.1.10. Meta image
Use the “Meta Image” option to select the meta image for your posts. This option will be available only if the “Meta Tags” option is enabled.
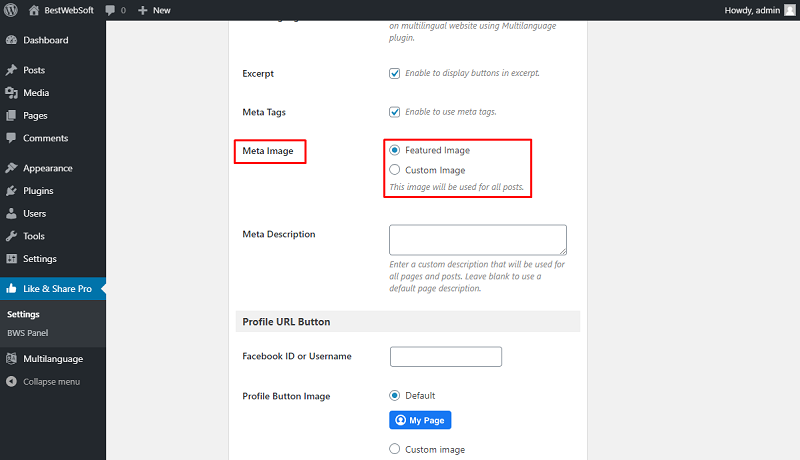
2.1.10.1. Choose the “Featured Image” to use the meta image from the post.

2.1.10.2. Choose the “Custom Image” to use custom meta image to posts. This image will be used for all posts.

2.1.10.3. To choose the “Custom Image” click the “Add Media” button and upload image from the computer or select it from the website’s media library.

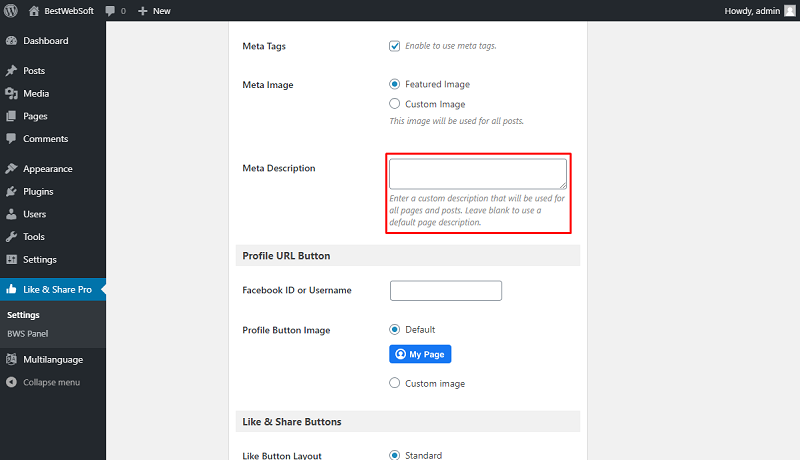
2.1.11. Meta Description
Use the “Meta Description” option to enter a custom description for your posts. This option will be available only if the “Meta Tags” option is enabled.
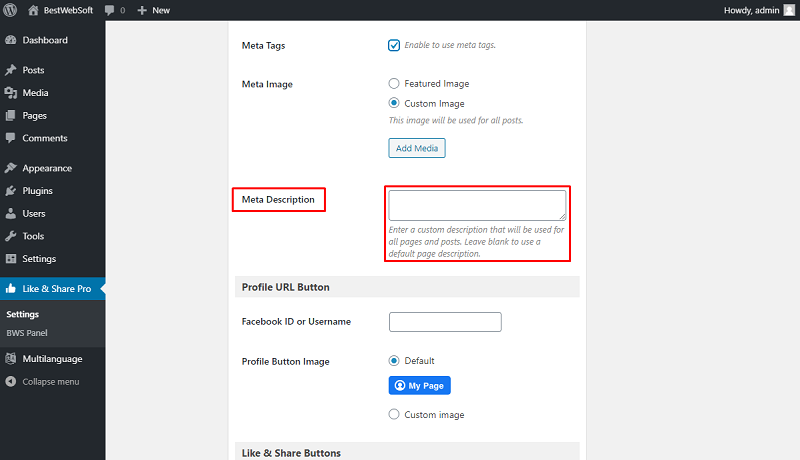
2.1.11.1. To enter a custom description type the desired text in the “Meta Description” field.
2.2. Profile URL Button
Use the options of the “Profile URL Button” section to make the settings particularly for “Profile URL Button” of Like & Share plugin.
2.2.1. Facebook ID or Username
Use the “Facebook ID or Username” option to turn the “My Page” button into a link that leads to the Facebook profile page.
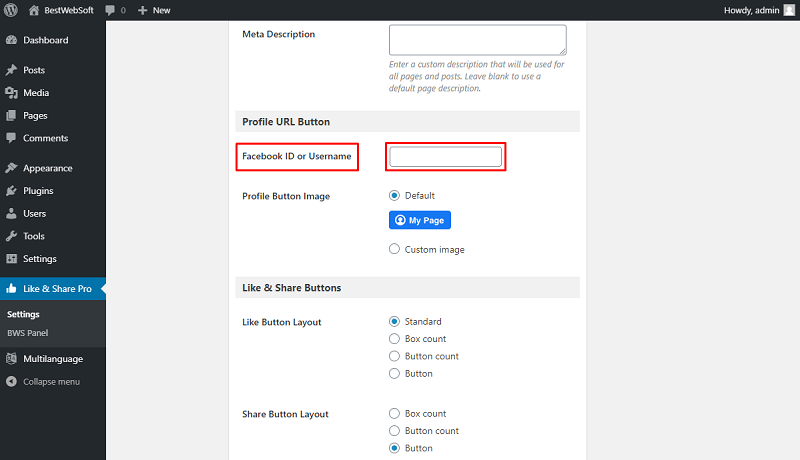
2.2.1.1. To turn the “My Page” button into a link that leads to the Facebook profile page enter the desired “Facebook ID or Username” to the option field.

2.2.2. Profile Button Image
Use the “Profile Button Image” option to select the image for the “My Page” button.

2.2.2.1. Choose the “Default” to use the default image for the “My Page” button.

2.2.2.2. Choose the “Custom Image” to use a custom image for the “My Page” button.
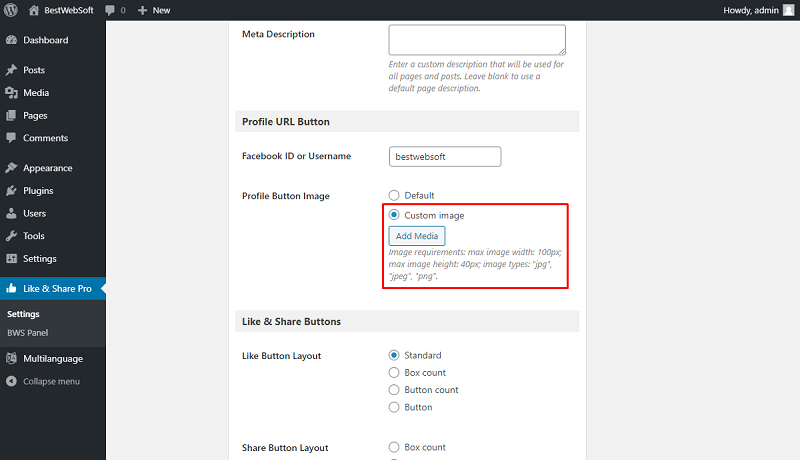
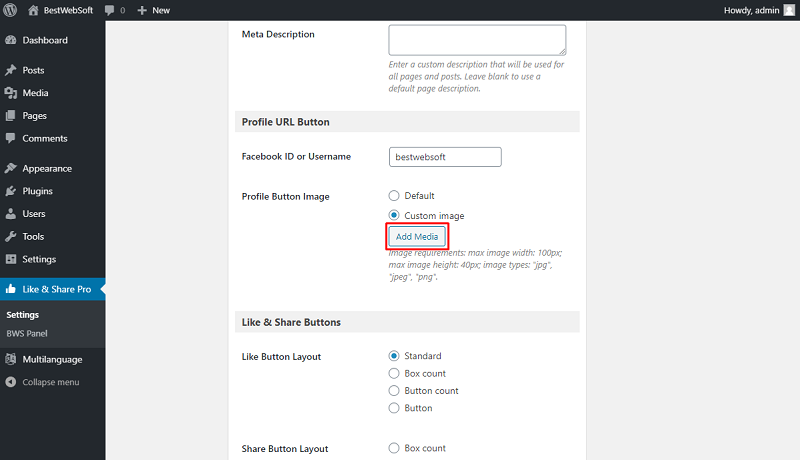
2.2.2.3. To choose the “Custom Image” click the “Add Media” button and upload image from the computer or select it from the website’s media library.
Note: Image requirements: max image width: 100px; max image height: 40px; image types: "jpg", "jpeg", "png". |
2.3. Like & Share Buttons
Use the options of the “Like & Share Buttons” section to make the settings particularly for “Like & Share Buttons” of Like & Share plugin.
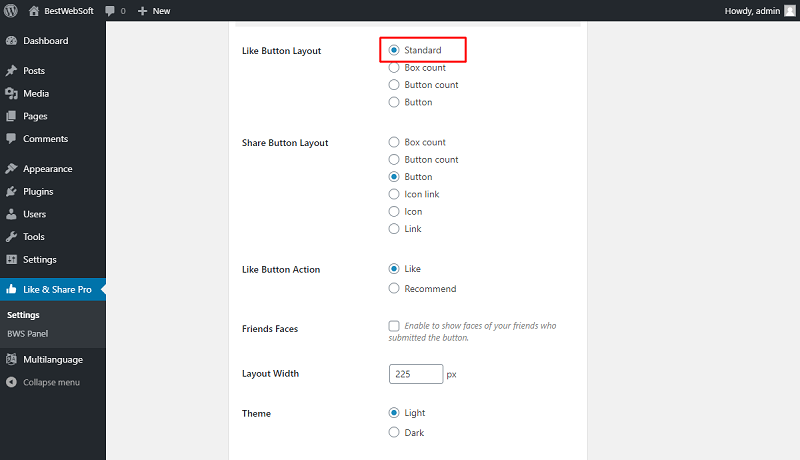
2.3.1. Like Button Layout
Use the “Like Button Layout” option to change the appearance of the “Like Button”.
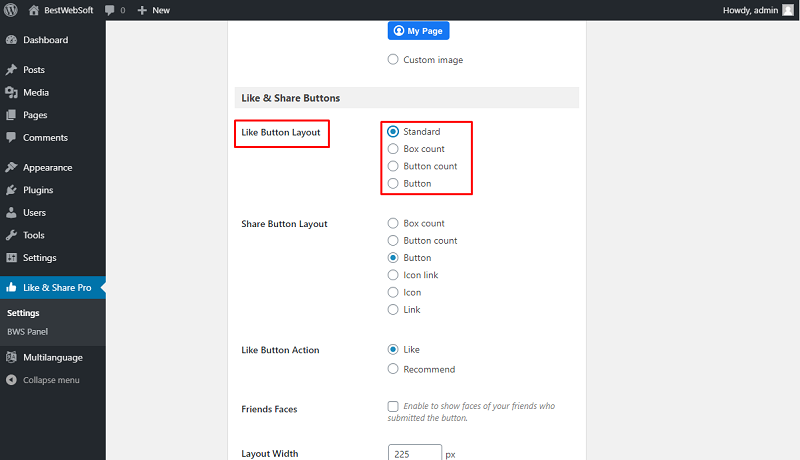
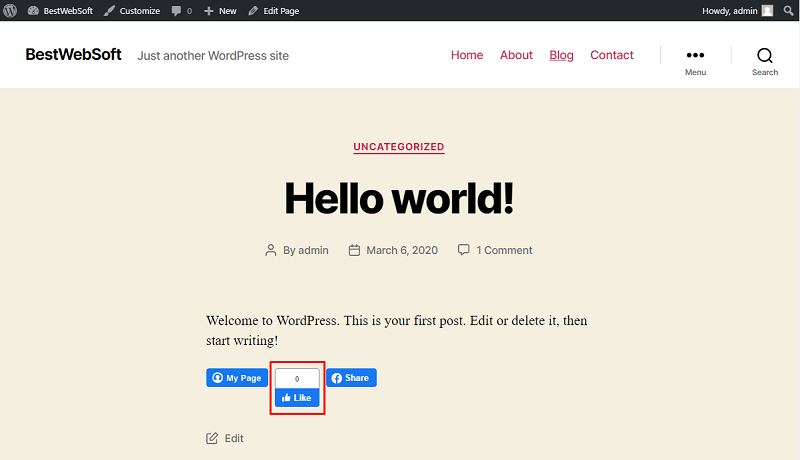
2.3.1.1. Choose “Standard” in order to “Like Button” appears with “what your friends like” box.
2.3.1.2. After saving changes the “Like” button will look as follows.

2.3.1.3. Choose “Box Count” in order to “Like Button” appears with a counter above the button.

2.3.1.4. After saving changes the “Like” button will look as follows.
2.3.1.5. Choose “Button Count” in order to “Like Button” appears with a counter inside the button.

2.3.1.6. After saving changes the “Like” button will look as follows.

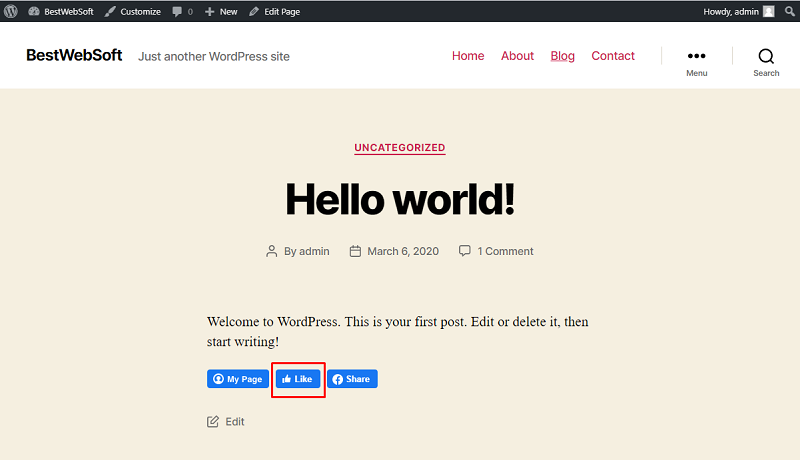
2.3.1.7. Choose “Button” in order to “Like Button” appears without a counter and other information.

2.3.1.8. After saving changes the “Like” button will look as follows.
2.3.2. Share Button Layout
Use the “Share Button Layout” option to change the appearance of the “Share Button”.

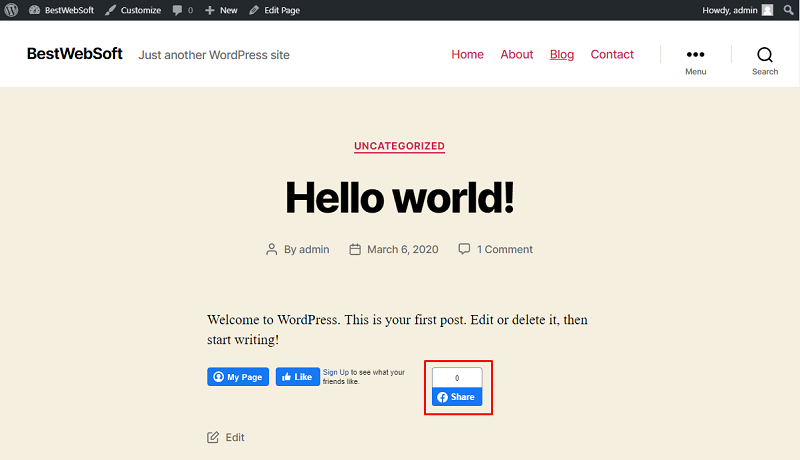
2.3.2.1. Choose “Box Count” in order to “Share Button” appears with a counter above the button.

2.3.2.2. After saving changes the “Share” button will look as follows.
2.3.2.3. Choose “Button Count” in order to “Share Button” appears with a counter inside the button.

2.3.2.4. After saving changes the “Share” button will look as follows.

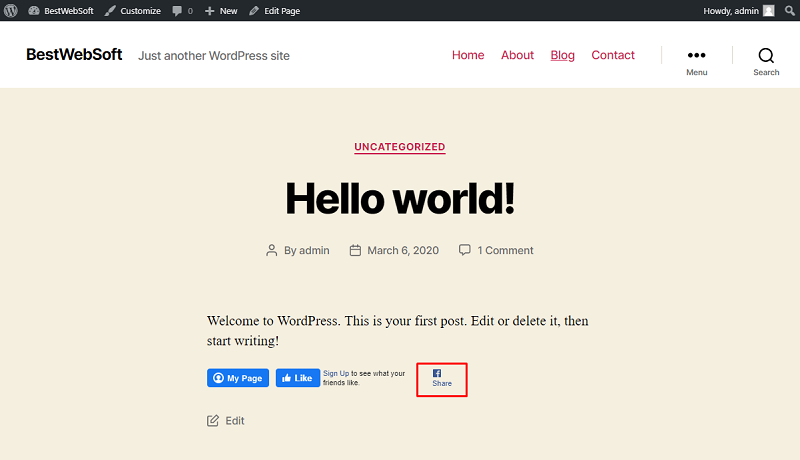
2.3.2.5. Choose “Button” in order to “Share Button” appears without a counter.
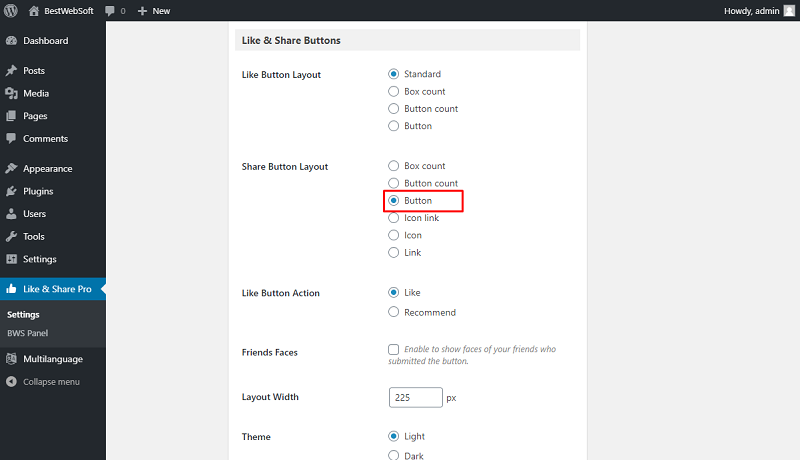
2.3.2.6. After saving changes the “Share” button will look as follows.

2.3.2.7. Choose “Icon link” in order to “Share Button” appears like a little icon with the “Share” link.

2.3.2.8. After saving changes the “Share” button will look as follows.
2.3.2.9. Choose “Icon” in order to “Share Button” appears like a little Facebook icon.
.
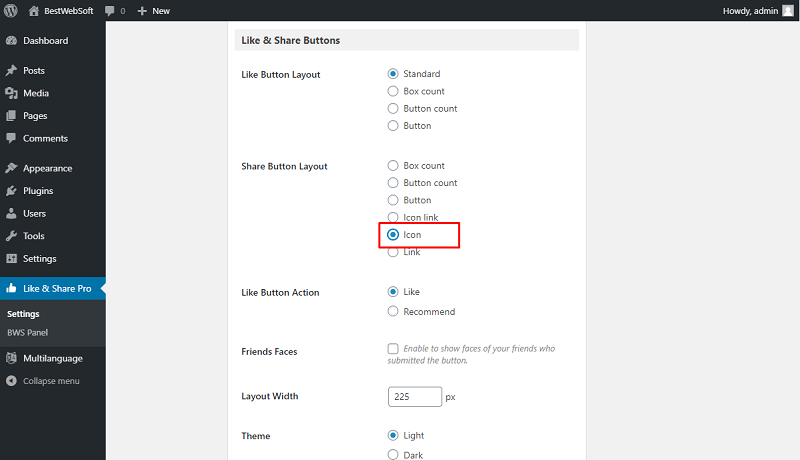
2.3.2.10. After saving changes the “Share” button will look as follows.

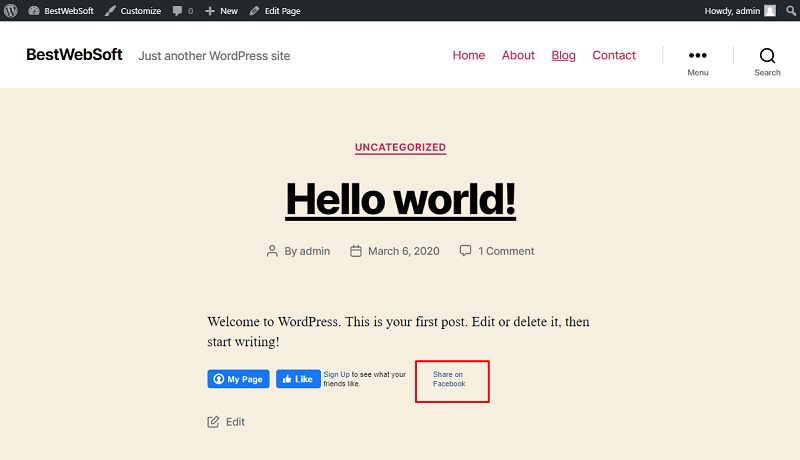
2.3.2.11. Choose “Link” in order to “Share Button” appears like a “Share on Facebook” link.
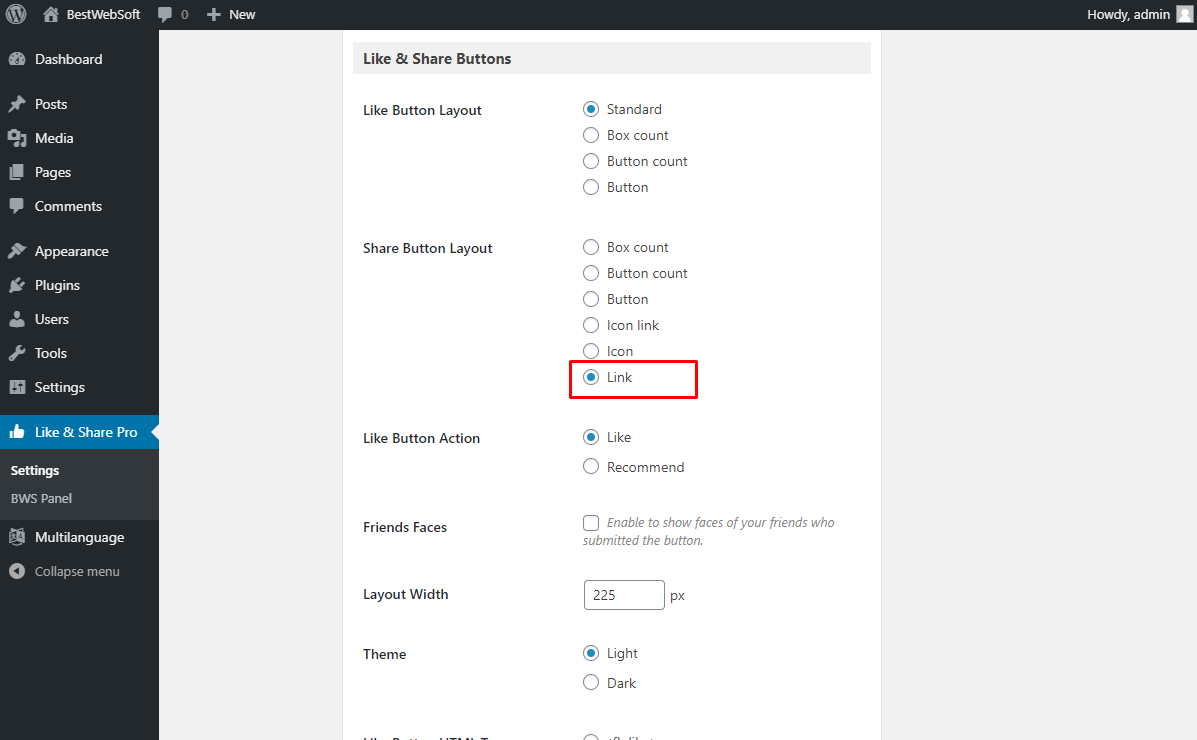
2.3.2.12. After saving changes the “Share” button will look as follows.
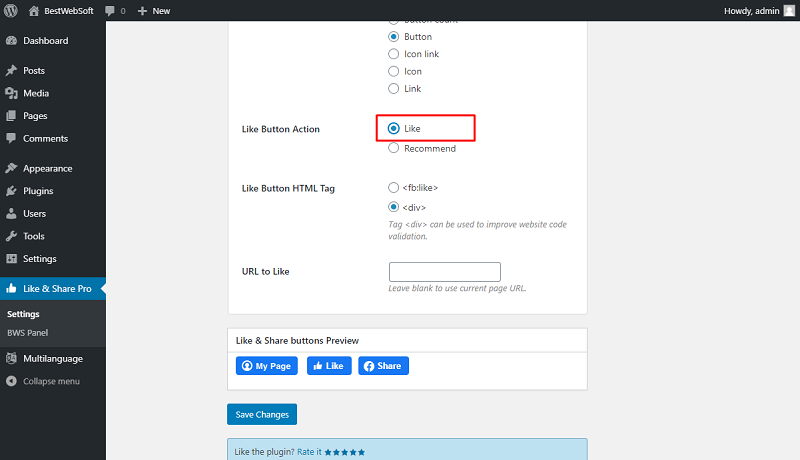
2.3.3. Like Button Action
Use the “Like Button Action” option to choose the “Like” button click action.

2.3.3.1. Choose “Like” for the “Like Button” to perform its standard “Like” function.
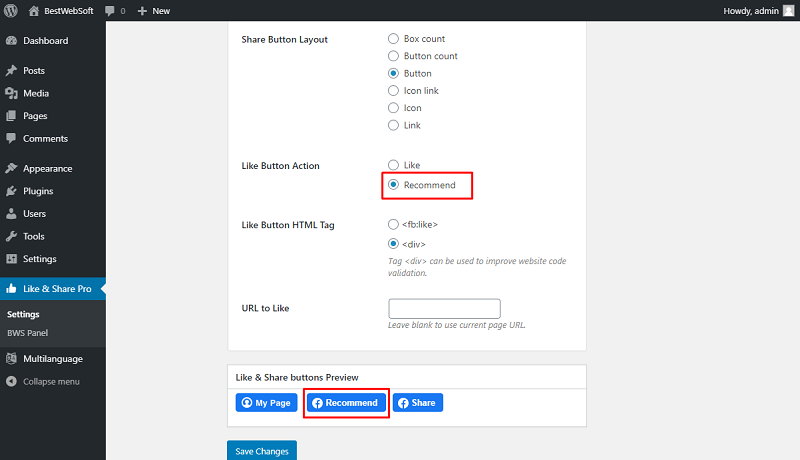
2.3.3.2. Choose “Recommend” for the “Like Button” to turn into “Recommend Button” and performe the “Recommend” function.
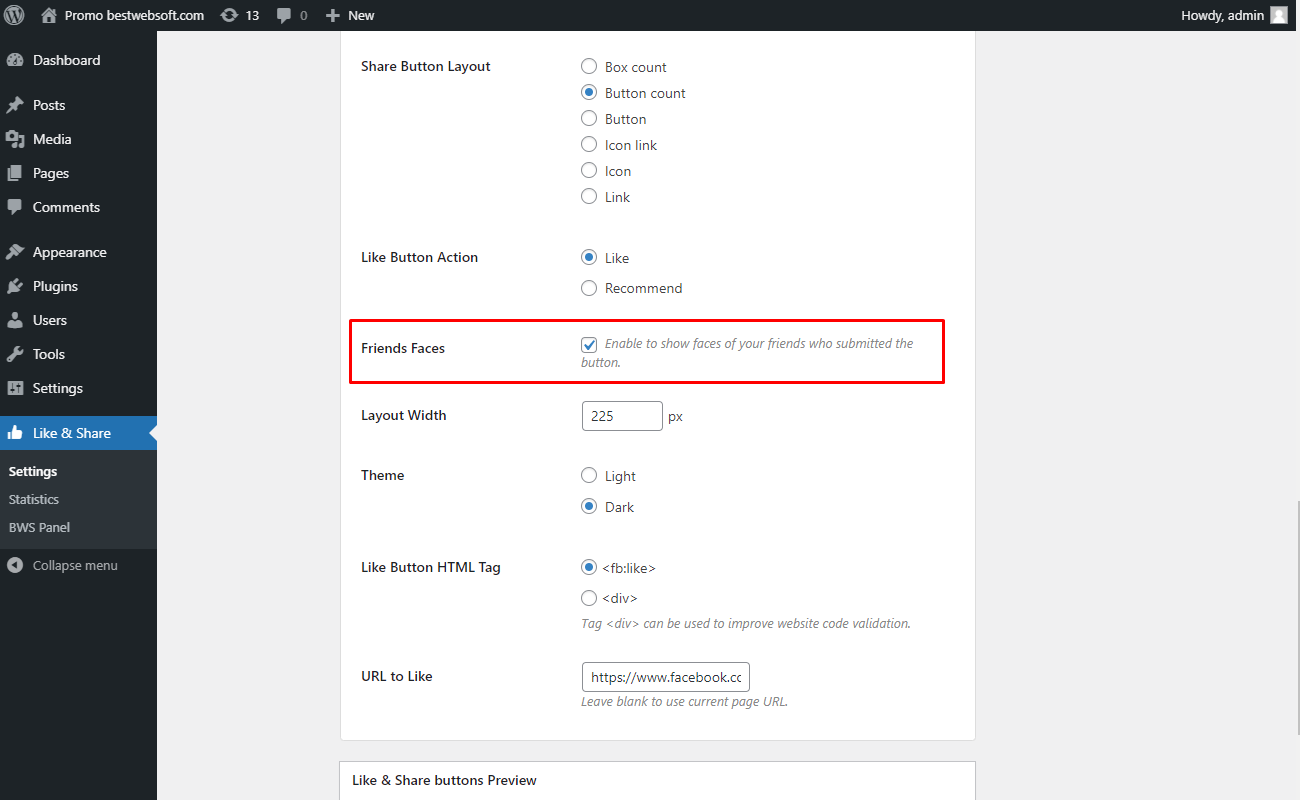
2.3.4. Friends Faces
Enable the “Friends Faces” option to show faces of your friends who submitted the button.
2.3.5. Layout Width
Use the “Layout Width” option to change the Like & Share buttons block width.
Note: Valur must be greater than or equal to 225. |

2.3.5.1. Like & Share buttons layout width set to 450 may look on a page as follows.

2.3.6. Theme
Use the “Theme” option to choose between Light and Dark themes for the Like & Share buttons.

2.3.7. Like Button HTML Tag
Use the “Like Button HTML Tag” option to choose the “Like” button tag for the last versions of browsers or the legacy browsers.

2.3.7.1. Choose “<fb:like>” tag for the HTML5 supported browsers.
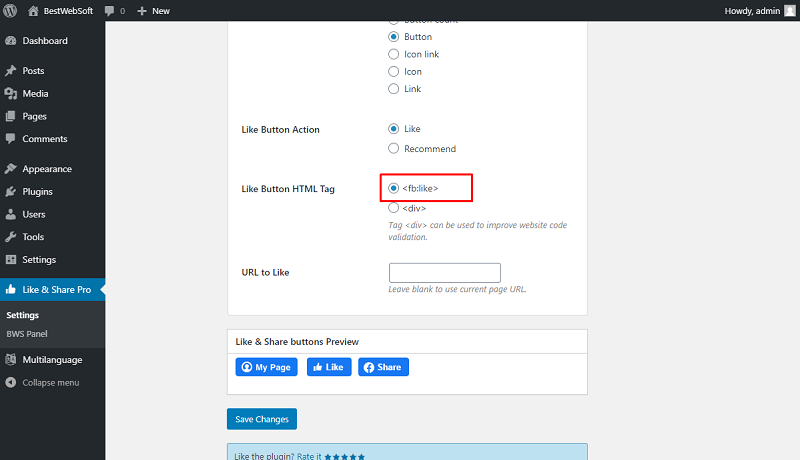
2.3.7.2. Choose the “<div>” tag for the legacy browsers. Tag “<div>” can be used to improve website code validation.

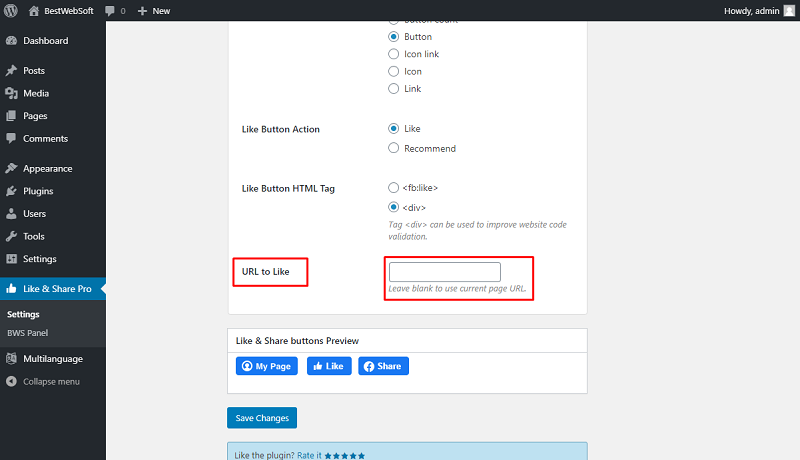
2.3.8. URL to Like
Use the “URL to Like” option to insert custom URL for the “Like Button”. Leave blank to use the current page URL.
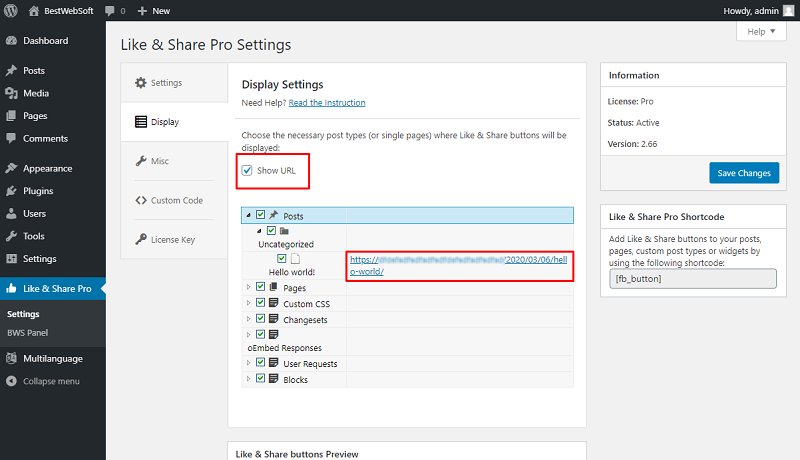
3. Display Settings
Use the options of the “Display Settings” tab to choose the necessary post types (or single pages) where “Like & Share” buttons will be displayed.
3.1. Show URL
Enable the “Show URL” in the “Display Settings” to show the URL of each post and page in the list below.
3.2. Display Settings list
Enable the necessary post types (or single pages) where “Like & Share” buttons will be displayed in the “Display Settings” list.

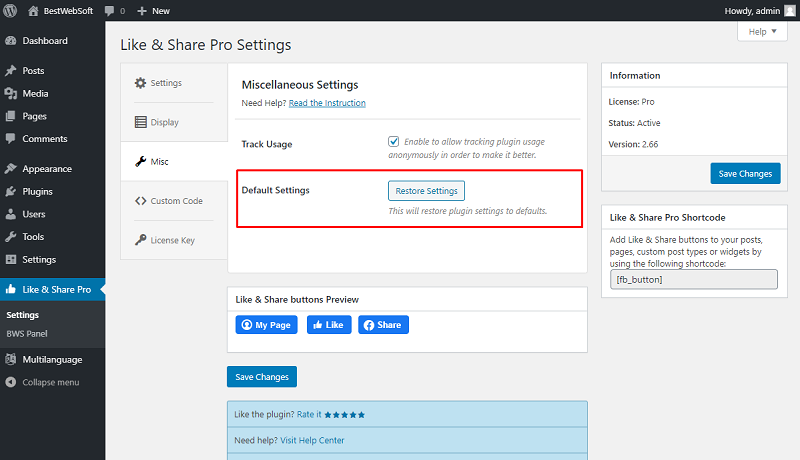
4. Miscellaneous Settings
Use the options of the “Miscellaneous Settings” tab to make the settings regarding the track usage and default settings.
4.1. Track Usage
Enable the “Track Usage” option to allow tracking plugin usage anonymously.
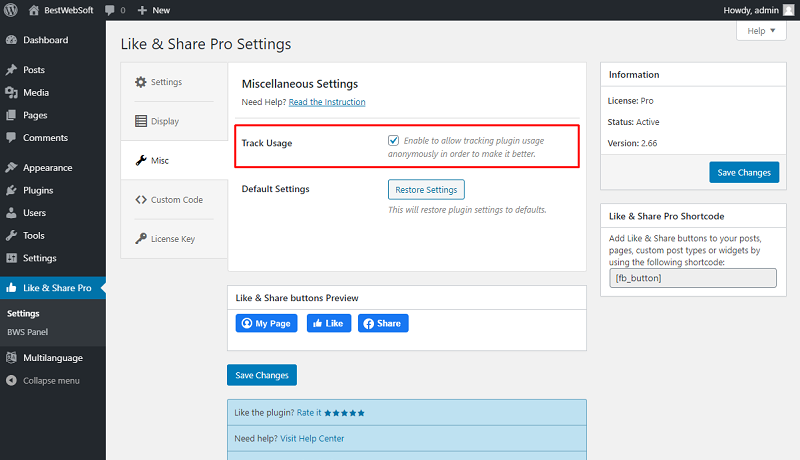
4.2. Default Settings
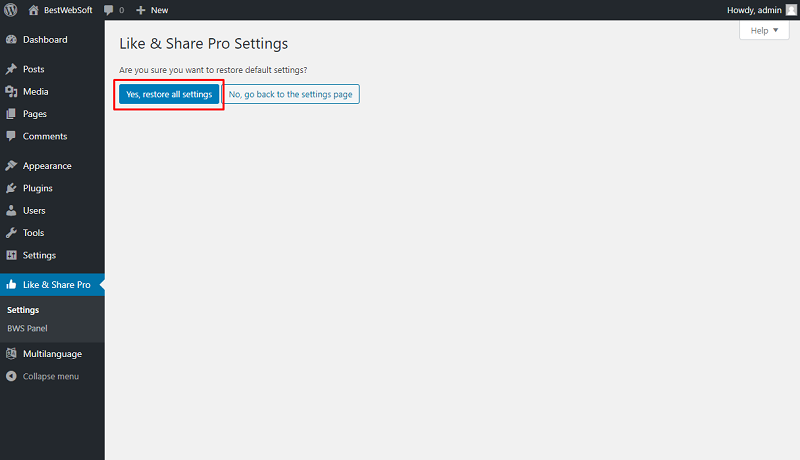
Click the “Restore Settings” button to reset all the settings made previously and revert them to the default ones.
4.2.1. Click “Yes, restore all settings” button to confirm the procedure.
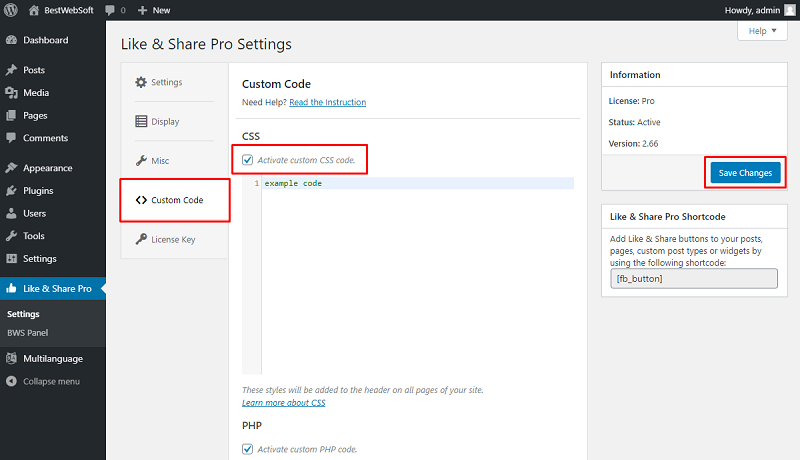
5. Custom Code
Use the “Custom Code” tab to insert a CSS, PHP or JavaScript code. To activate the inserted code, enable the “Activate custom … code” option and save changes.
6. License Key
Use the “License Key” tab to activate or check the Pro plugin license.
6.1. Like & Share Pro License
After a successful plugin purchase, you will receive an email notification with a download link and a license key. Activate Pro license by pasting a license key into the “Like & Share Pro License” field and clicking the “Save Changes” button.
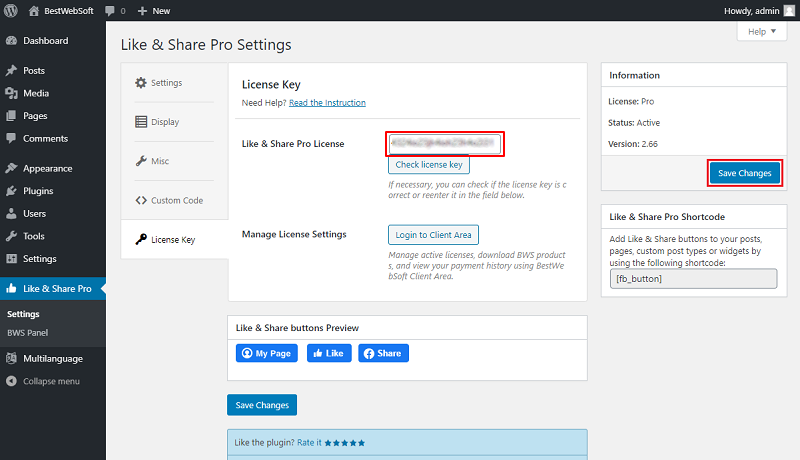
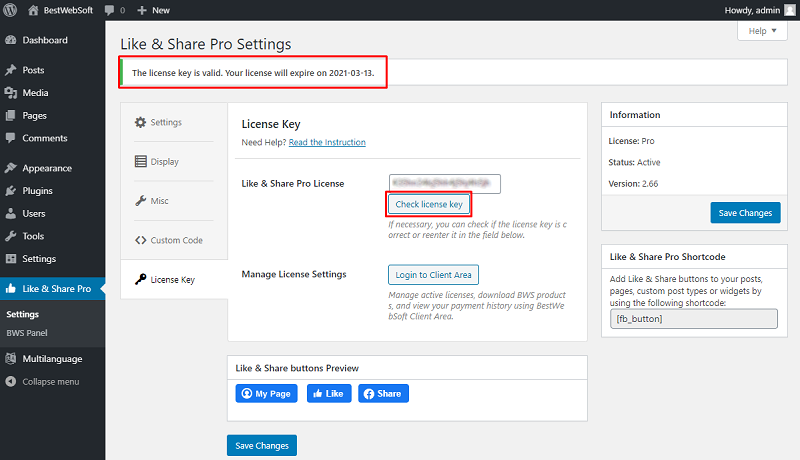
6.2. Check License Key
To check the license key, click the “Check license key” button. If the entered key is correct, the notification “The license key is valid. Your license will expire on XXXX-XX-XX” will be displayed in the upper left corner of the page.
6.3. Manage License Settings
Use the “Manage License Settings” option to change your license settings. Click the “Login to Client Area” button to open your personal Client Area dashboard located on the https://bestwebsoft.com/ website. Browse and download purchased products, change the license domain and copy the license keys.

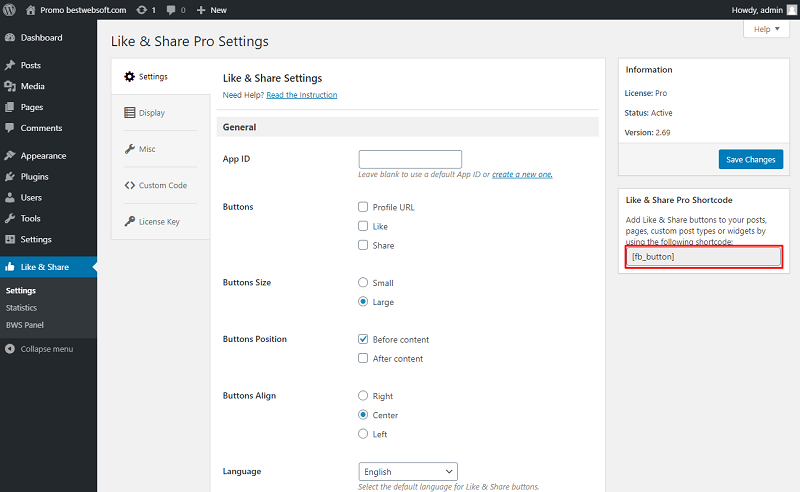
7. Shortcode
Add the Like & Share button (-s) to your posts, pages, custom post types, or widgets by using the shortcode. Copy the necessary shortcode from the “Like & Share” > “Settings” page.
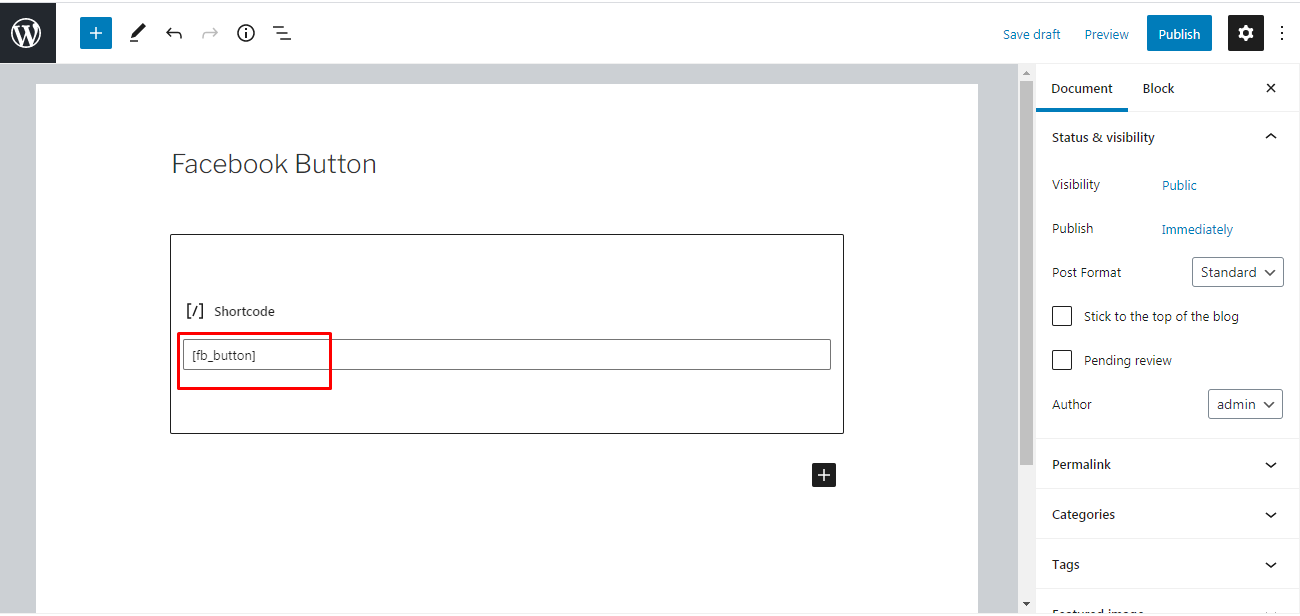
7.1. Click the “Posts” / “Pages” > “Add new” to create a new post or a page or open the existing one in the “Edit” mode. Insert copied earlier shortcode to the necessary place of page or post.
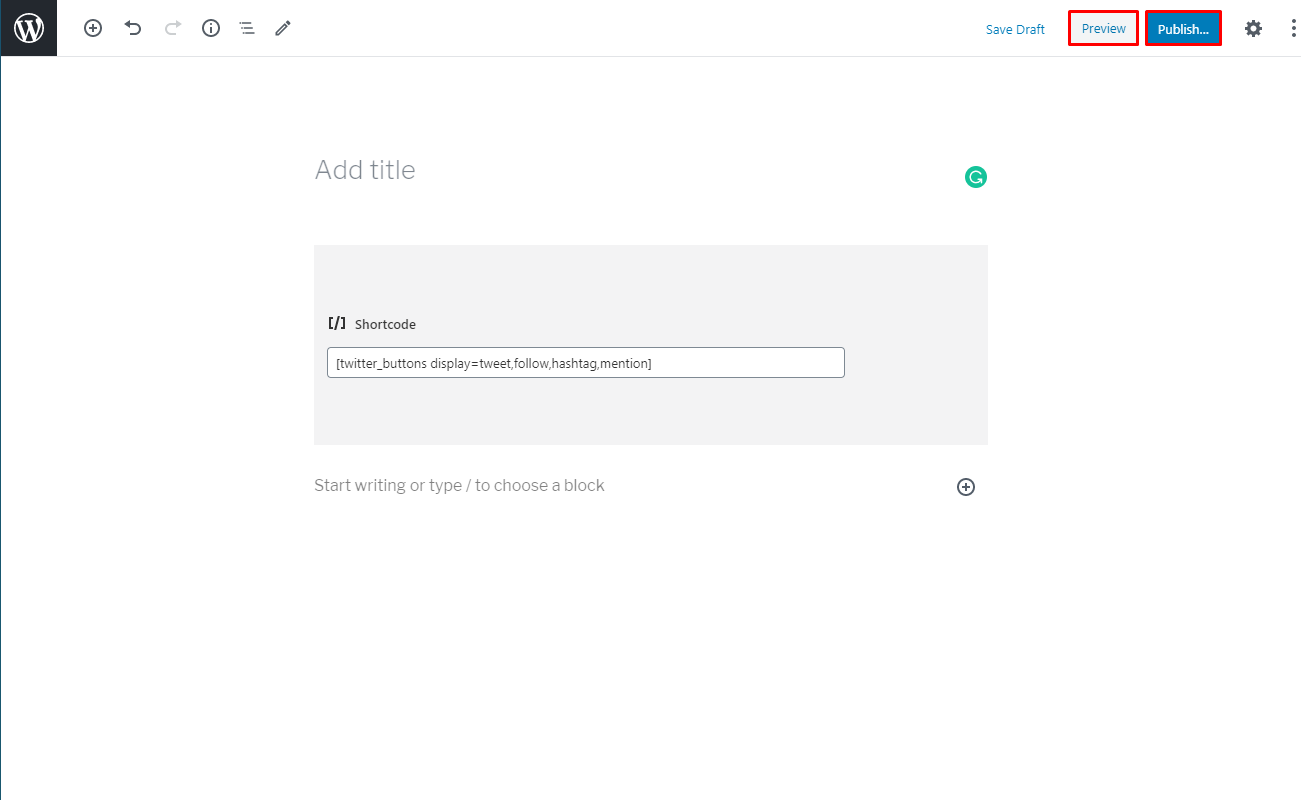
7.2. Click “Publish...” and then “Preview” buttons in order to see the page or post.
7.3. In the preview timeline will look on a page as follows. Like & Share buttons will look on a page as follows.
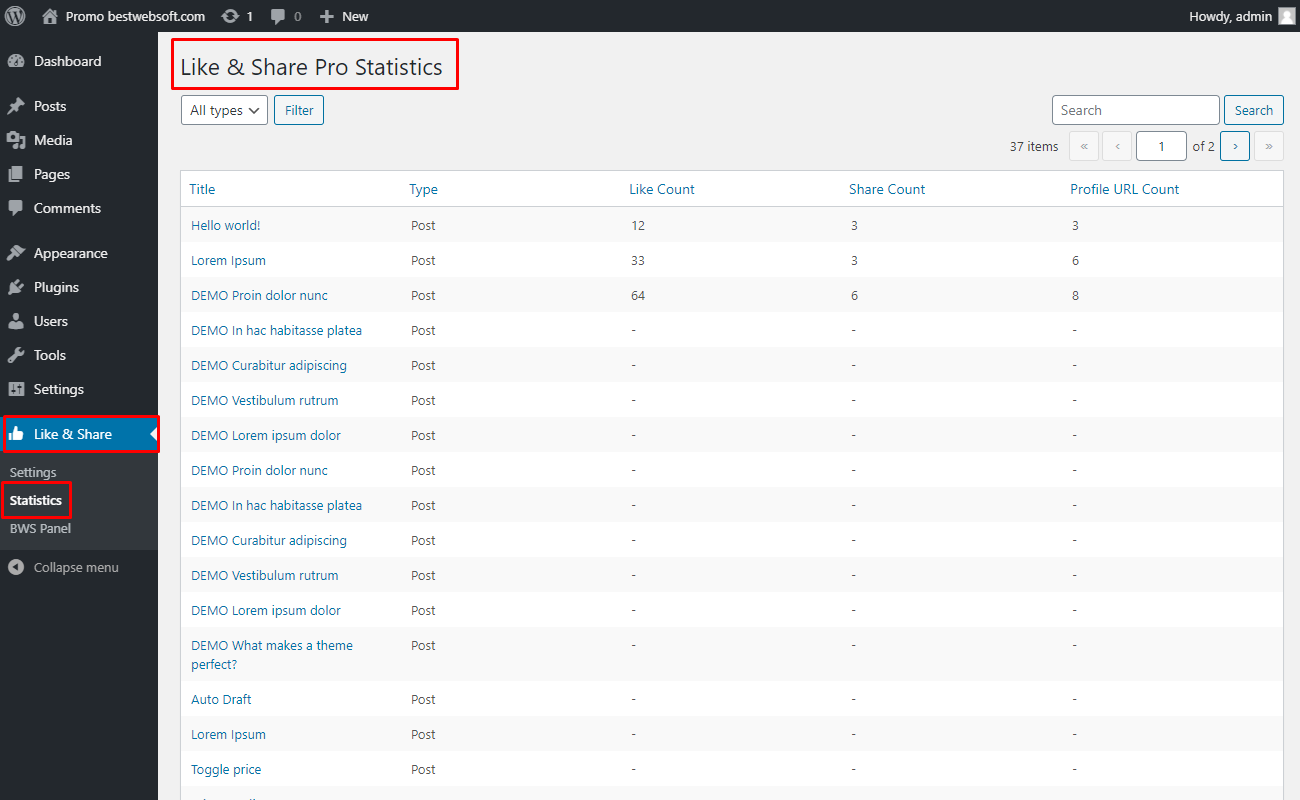
8. Statistics
Use the “Statistics” page to to view the statistics of the posts and pages with “Likes”, “Shares” and “Profile URL” count.
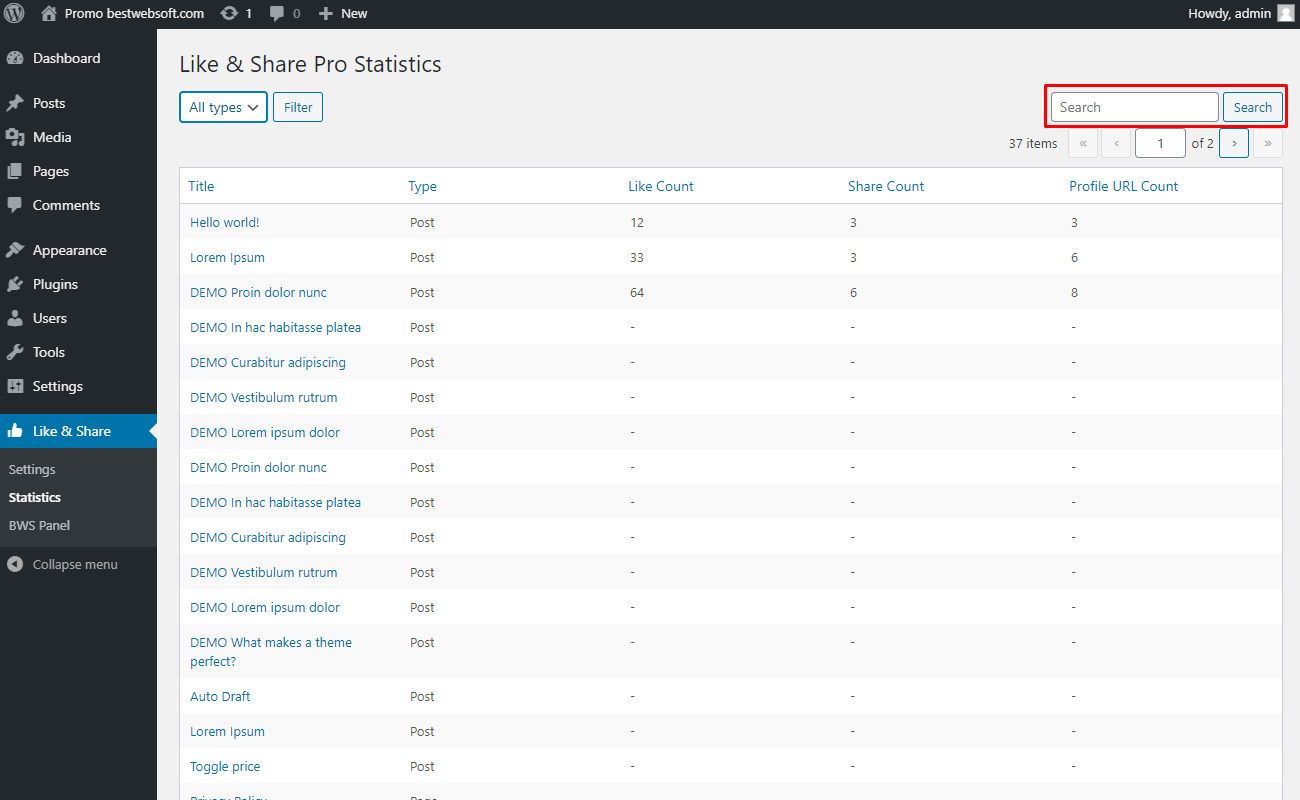
8.1. Use the filter to switch Like & Share statistics between posts and pages.

8.2. Use the “Search” field to find the statistic for the exact page or post.
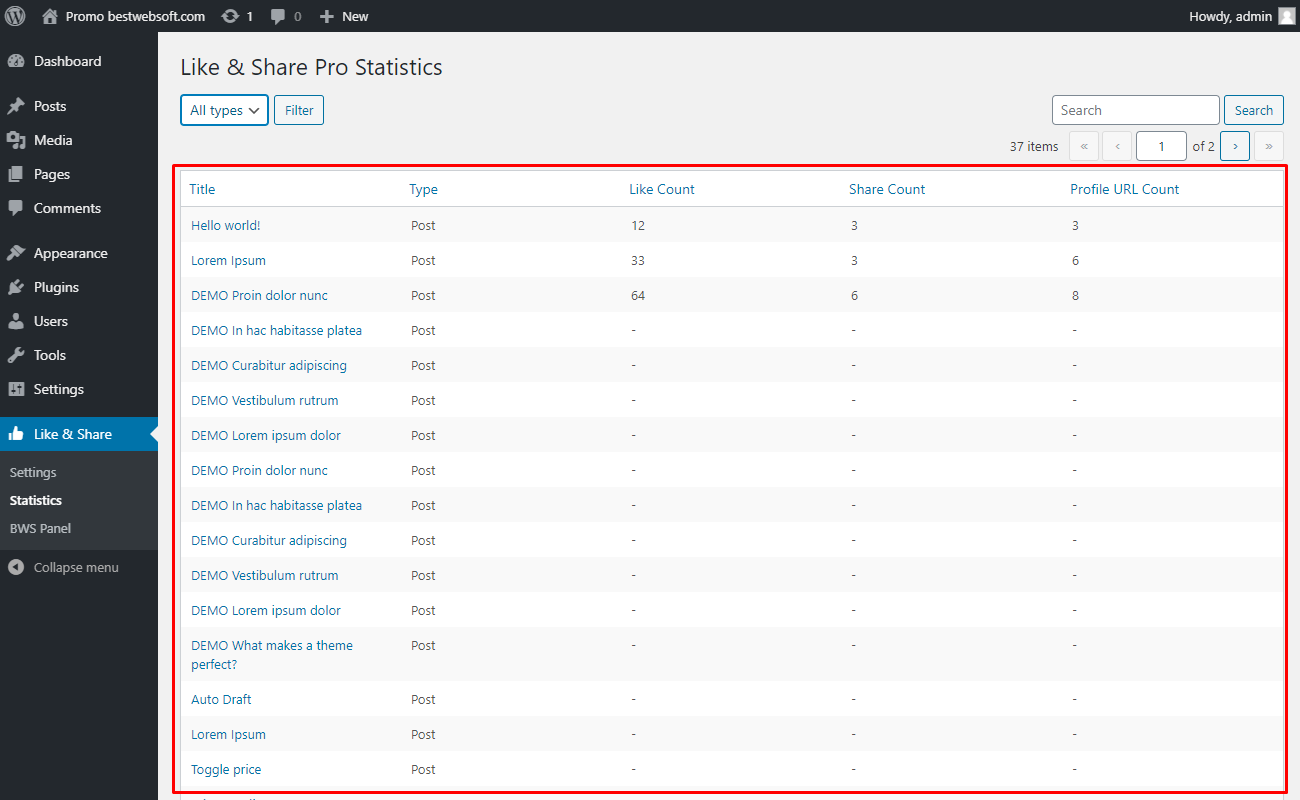
8.3. Use the statistics list to view the posts and page with Like & Share counts.
Thank you!
Help & Support
Visit our Help Center if you have any questions — https://support.bestwebsoft.com/
Services
We provide additional services such as Wordpress themes & plugins development,
graphic design, custom programming.
Contact us now to get a free quote — https://bestwebsoft.com/contacts/