Post to CSV
User Guide
Post to CSV | 1.3.6 * |
WordPress | 5.5.1 * |
WooCommerce | 4.3.0 ** |
*When using other versions some differences are possible to occur
** Screenshots were taken from a PC
Table of Contents
4.1. WooCommerce Product Fields
You can download Post to CSV Plugin here:
https://bestwebsoft.com/products/wordpress/plugins/post-to-csv/
1. Introduction
Note: Сlick the “Save Changes” button in order to apply any changes. |
1.1. Open your WordPress Admin Dashboard and find the menu on the left.
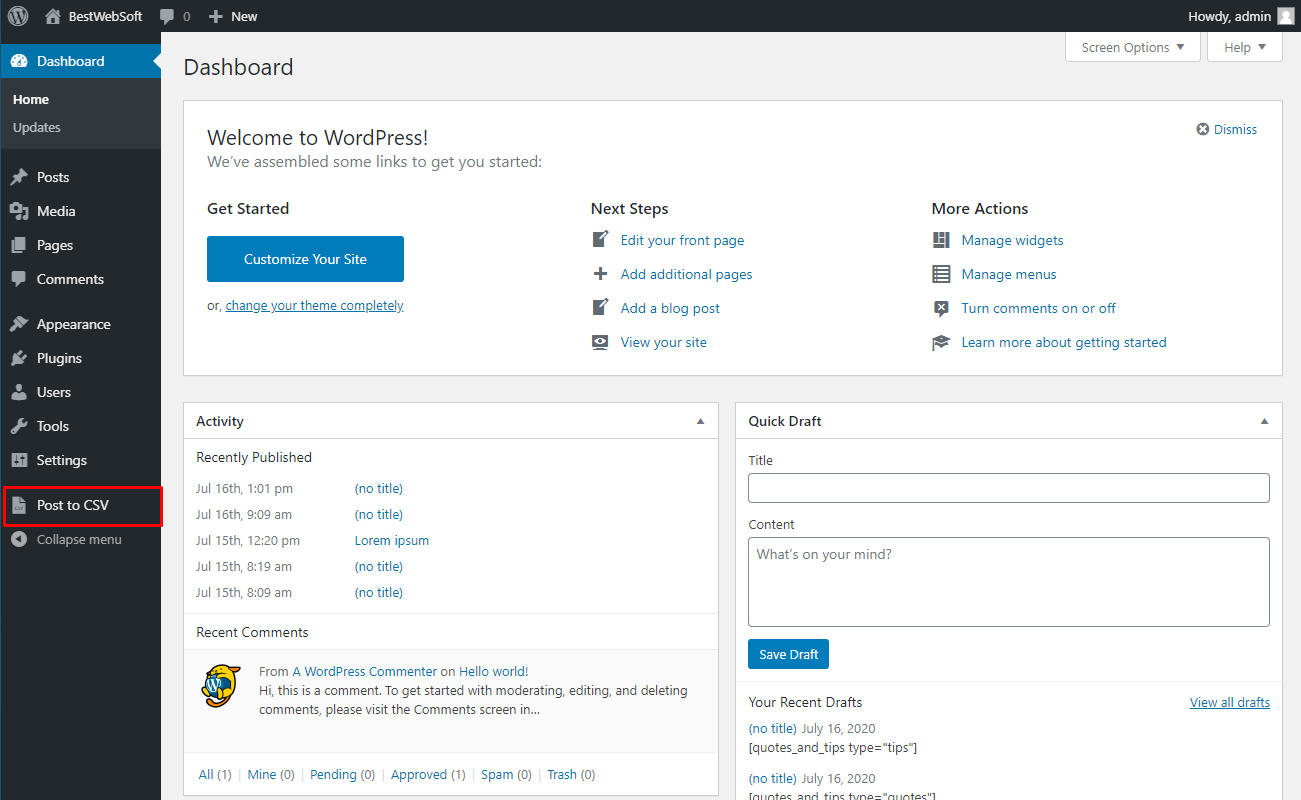
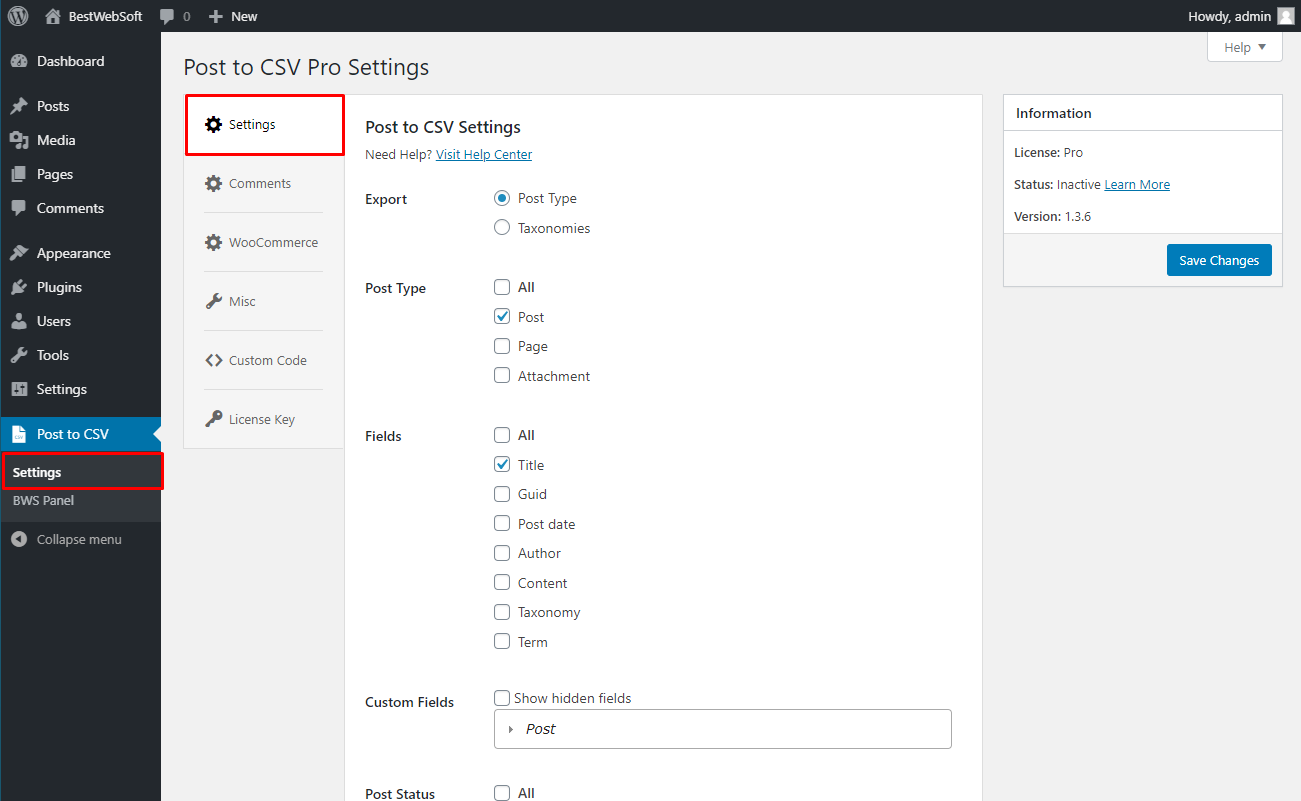
1.2. Open the ”Post to CSV” > “Settings” page.

2. Settings
Use the options of the “Settings” page to make the global settings for the plugin.
2.1. Export
Use the ”Export” option to choose the way posts will be grouped and exported.
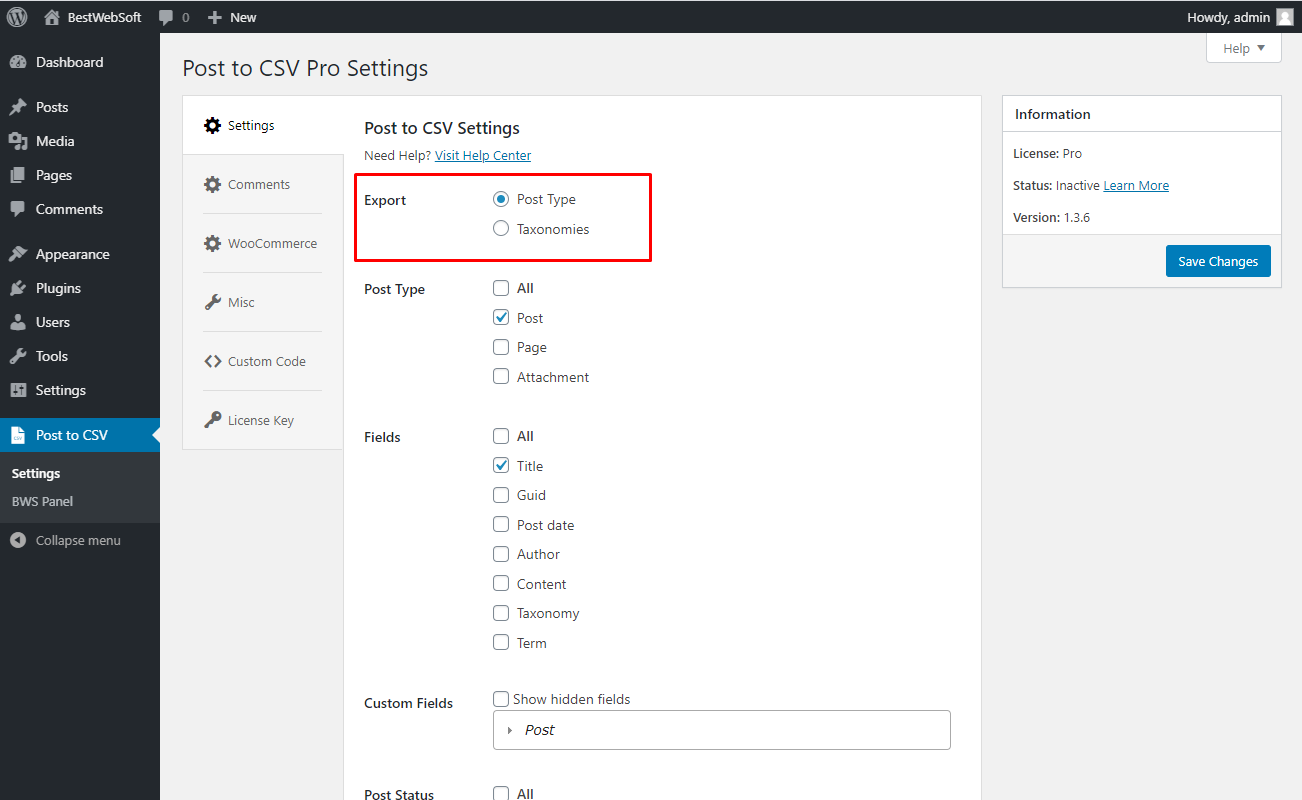
2.1.1. Choose “Post Type” to set the post type export.

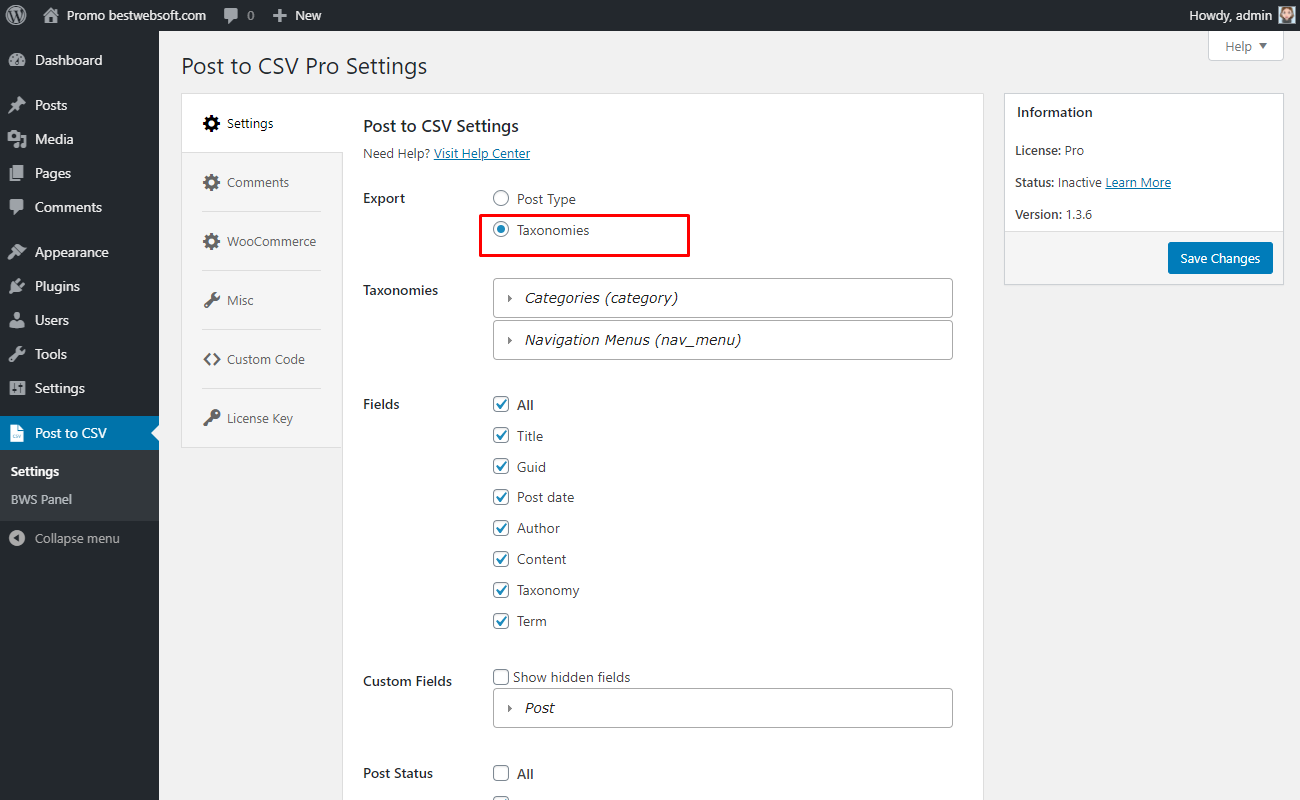
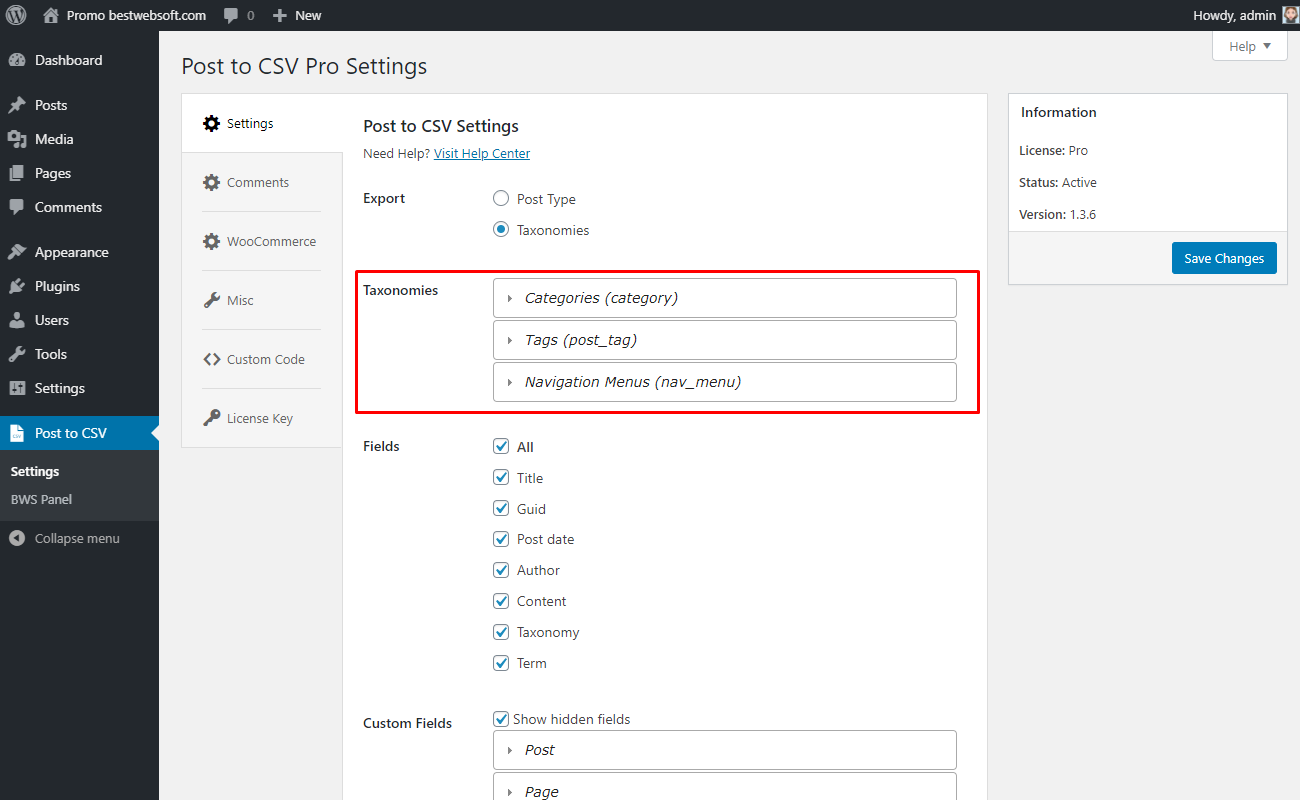
2.1.2. Choose “Taxonomies” to set the taxonomies export.
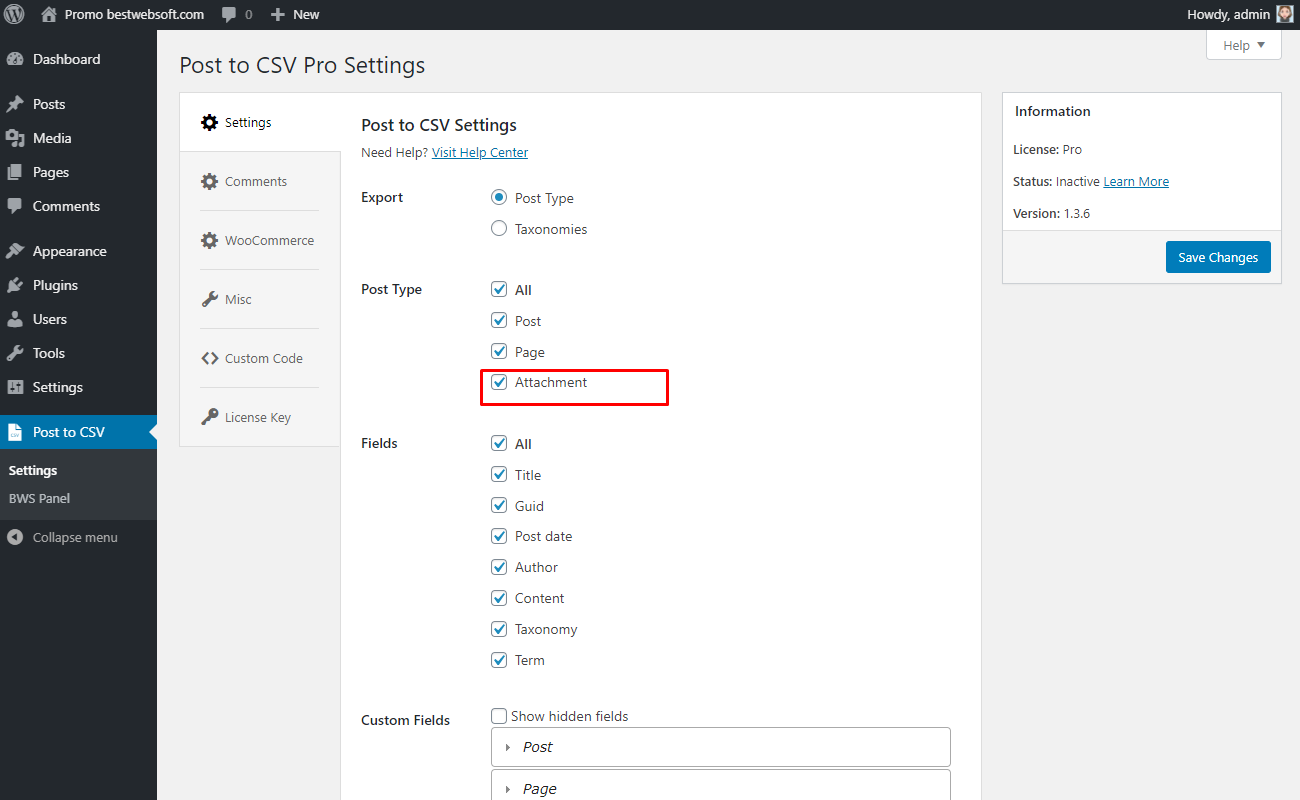
2.2. Post Type
Use the “Post Type” option to select elements of the post that would be exported.

2.2.1. Enable “All” to export all post types.

2.2.2. Enable “Post” to export posts.

2.2.3. Enable “Page” to export pages.

2.2.4. Enable “Attachment” to export the attachments.
2.3. Taxonomies
Use the “Taxonomies” option to choose categories, tags and navigation menus to export.
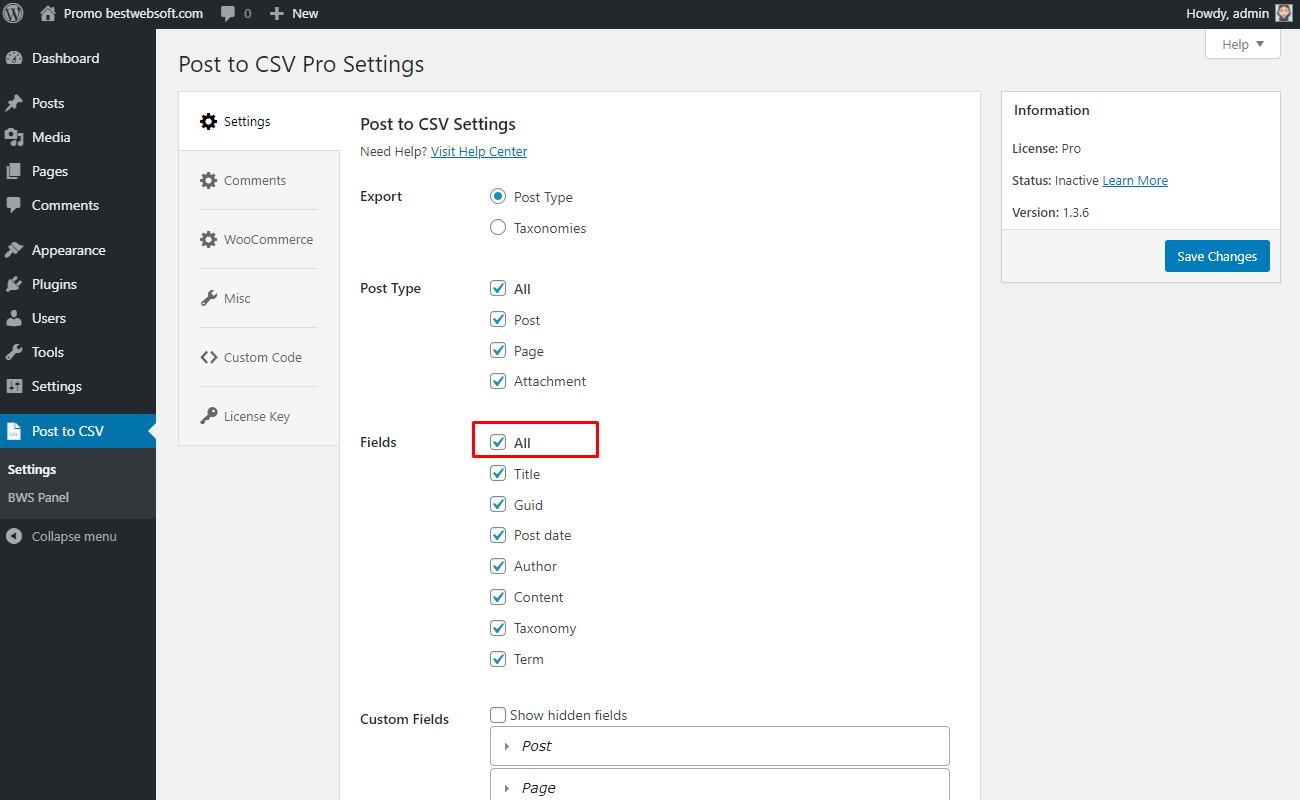
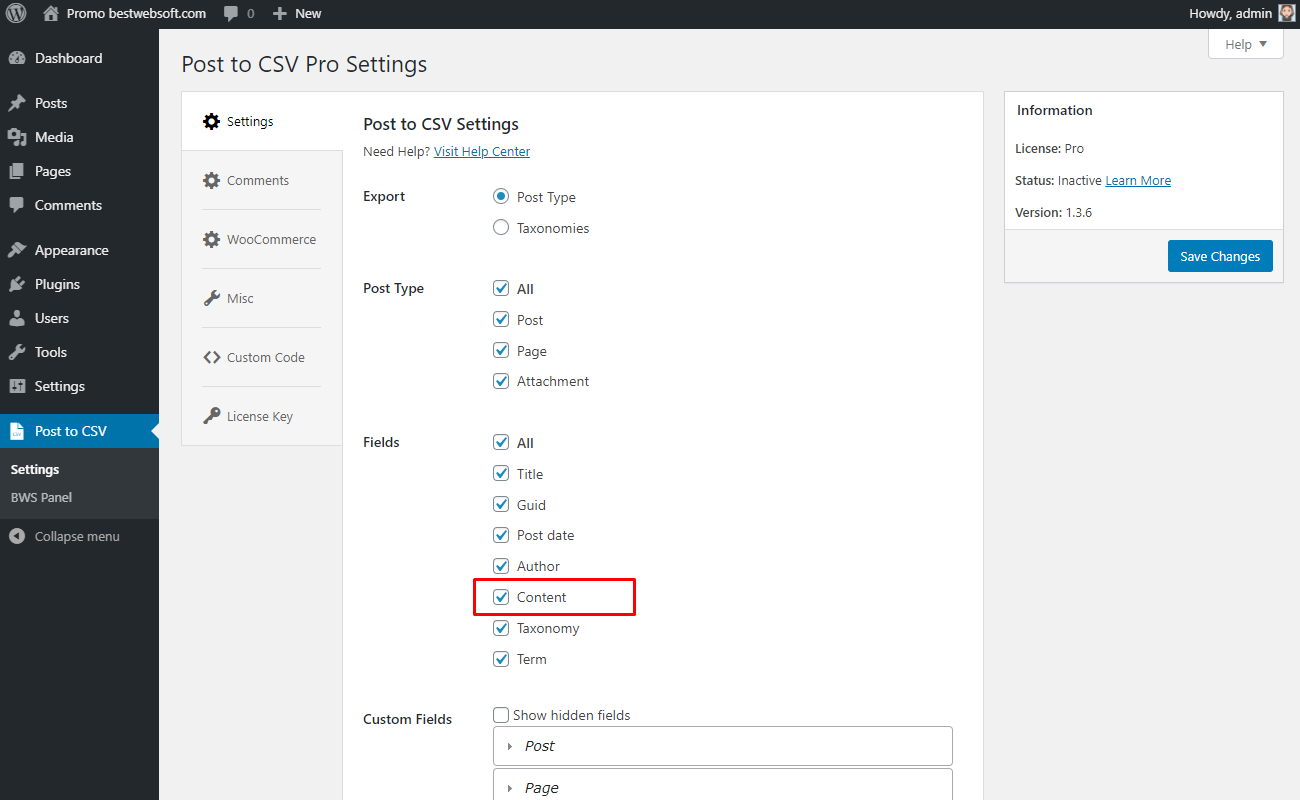
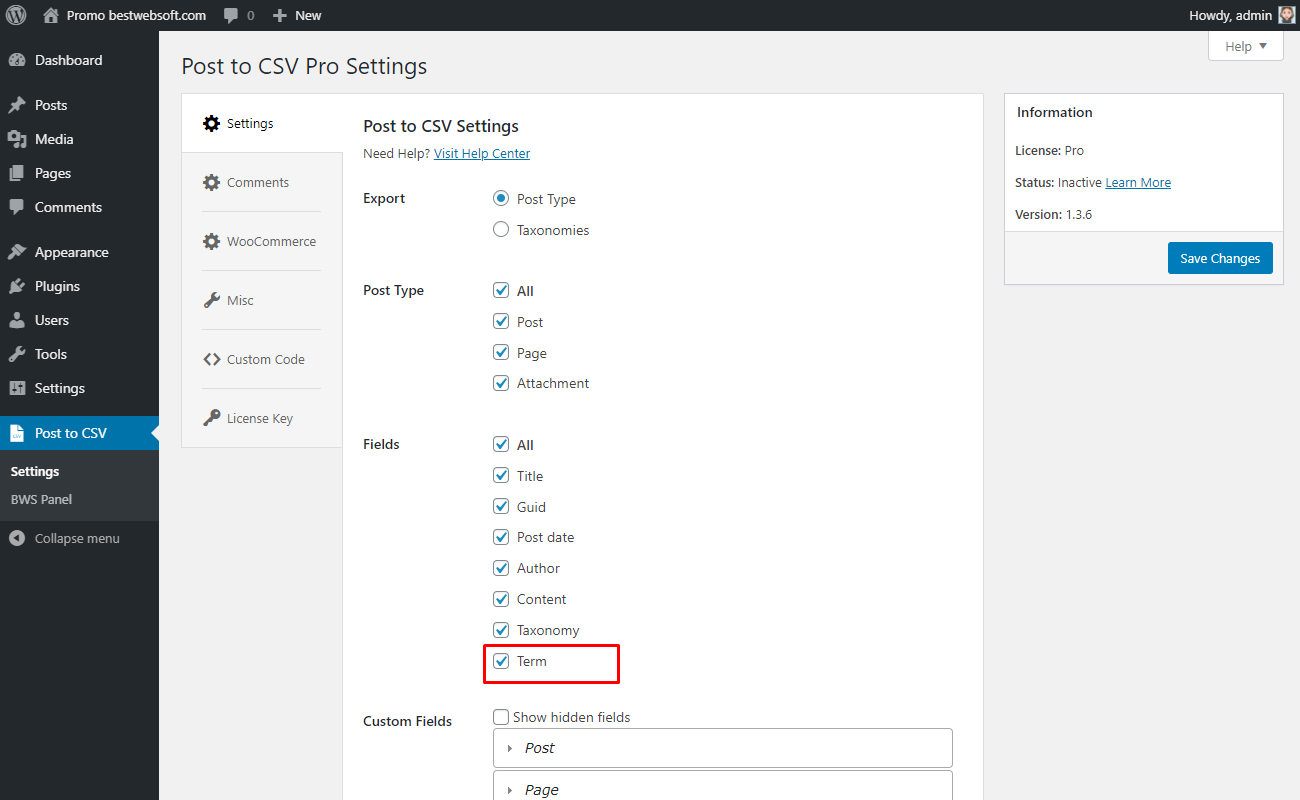
2.4. Fields
Use the “Fields” option to select elements which fields will be exported.

2.4.1. Enable the “All” to export all fields.
2.4.2. Enable the “Title” to export title fields.

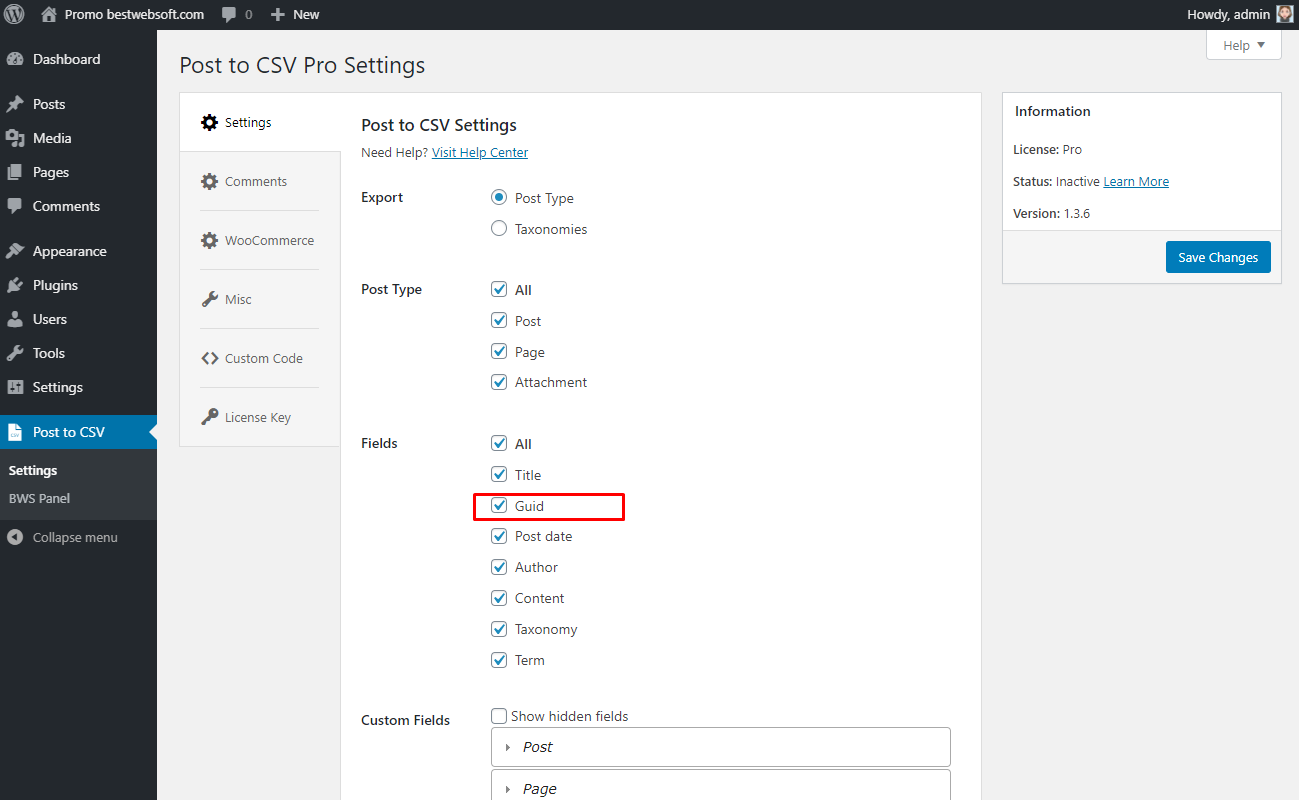
2.4.3. Enable the “Guid” to export guid fields.
2.4.4. Enable the “Post Date” to export post dates.

2.4.5. Enable the “Author” to export the name of the post’s author.

2.4.6. Enable the “Content” to export the content of the post/page.
2.4.7. Enable the “Taxonomy” to export the posts/page taxonomy.

2.4.8. Enable the “Term” to export the term of the post/page.
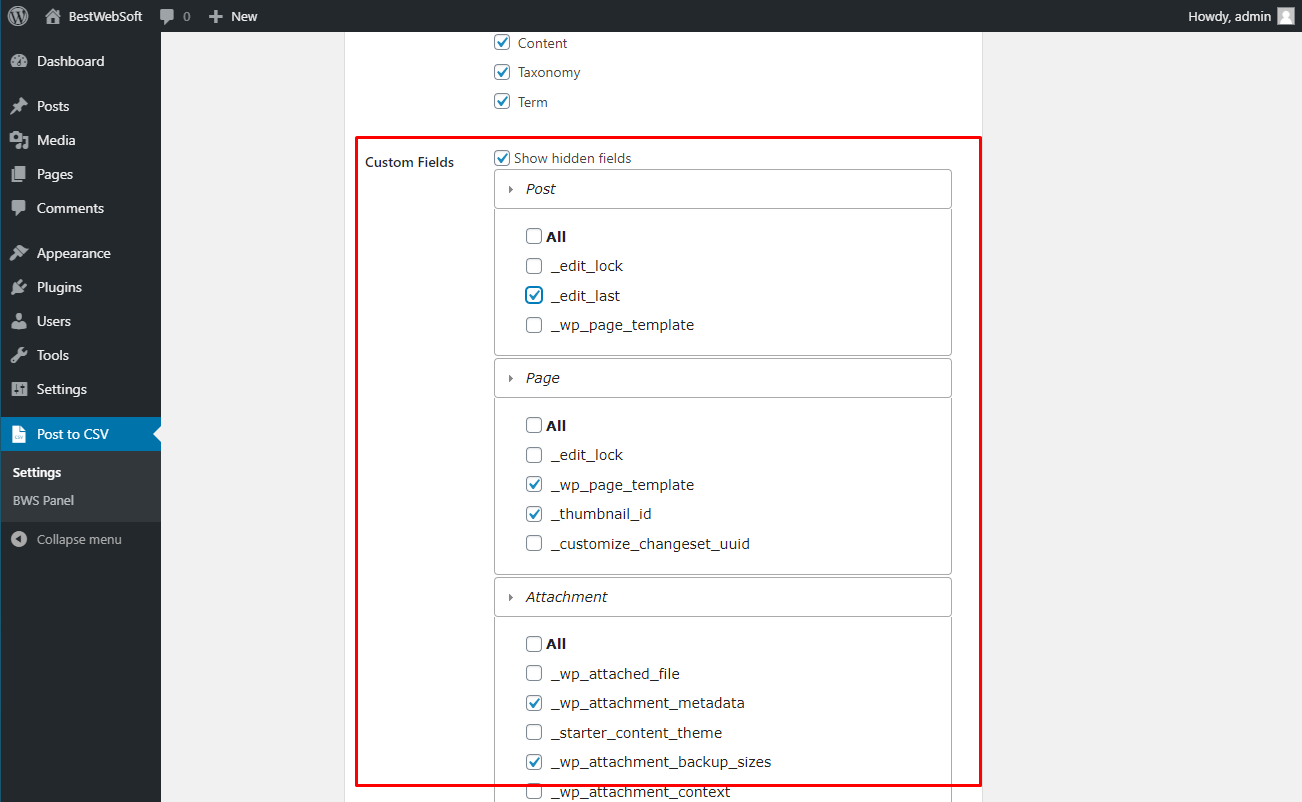
2.5. Custom Fields
Use the ”Custom Fields” option to select elements that will be exported, specifying chosen elements from the “Post Type” option.
Note: Enable the “Show the hidden fields” in order to see the full list. |
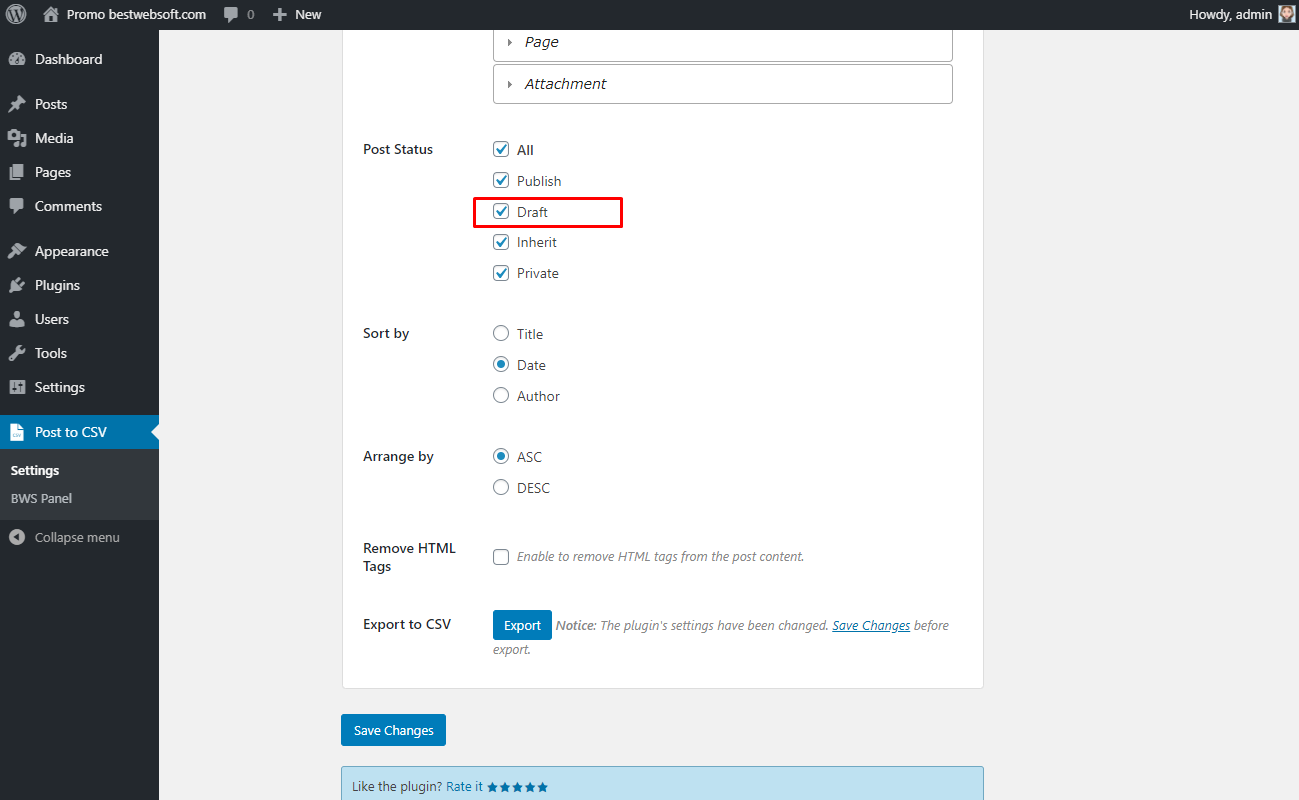
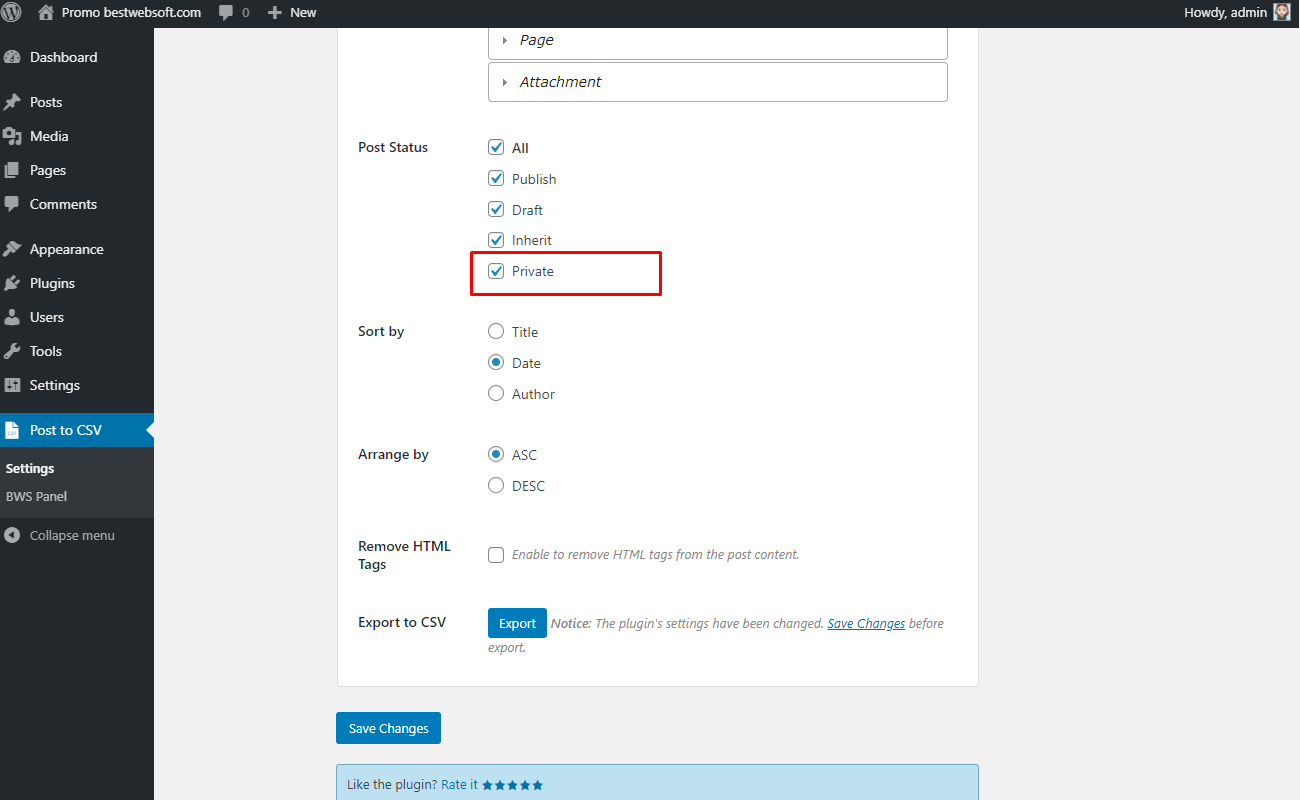
2.6. Post Status
Use the “Post Status” option to select the specific status of the post to export.
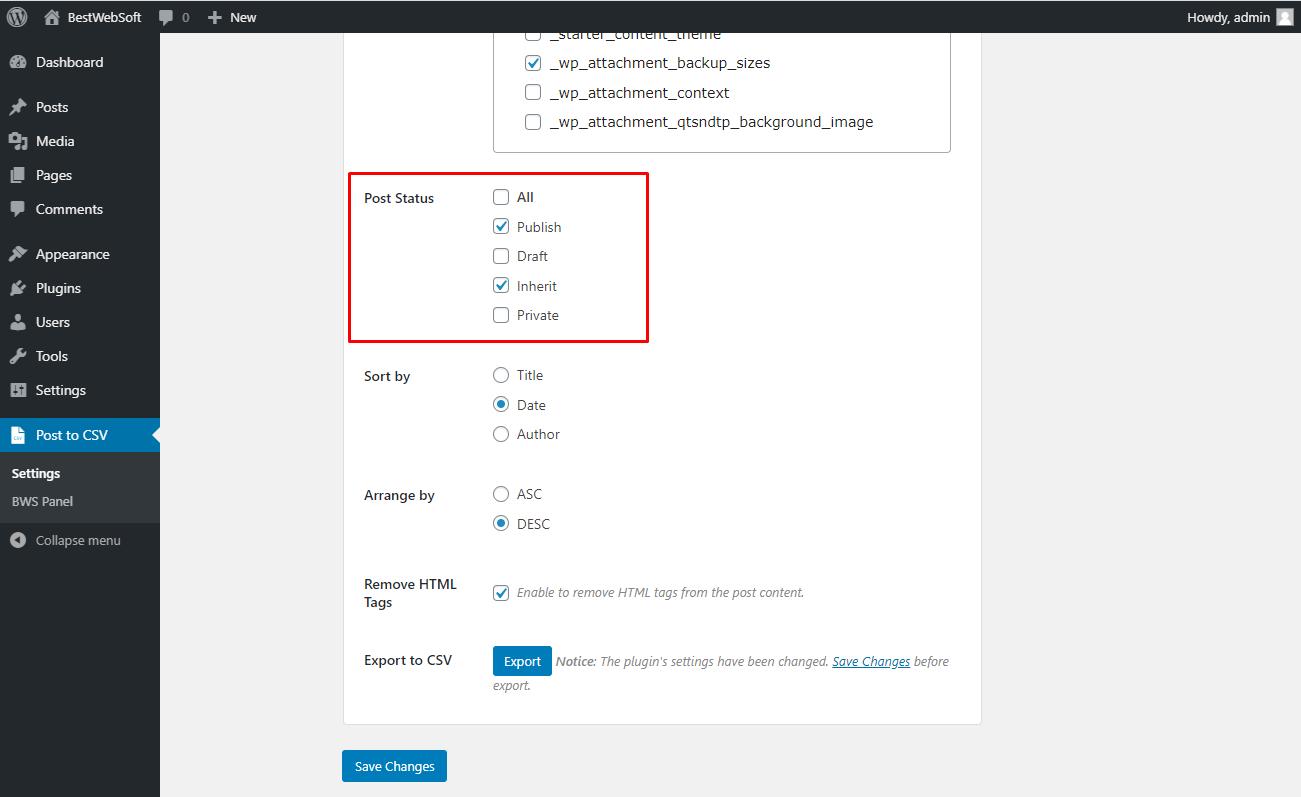
2.6.1. Enable “All” to export all posts.

2.6.2. Enable the “Publish” to export published posts.

2.6.3. Enable the “Draft” to export the posts from draft.
2.6.4. Enable the “Inherit” to export inherited posts.

2.6.5. Enable the “Private” to export private posts.
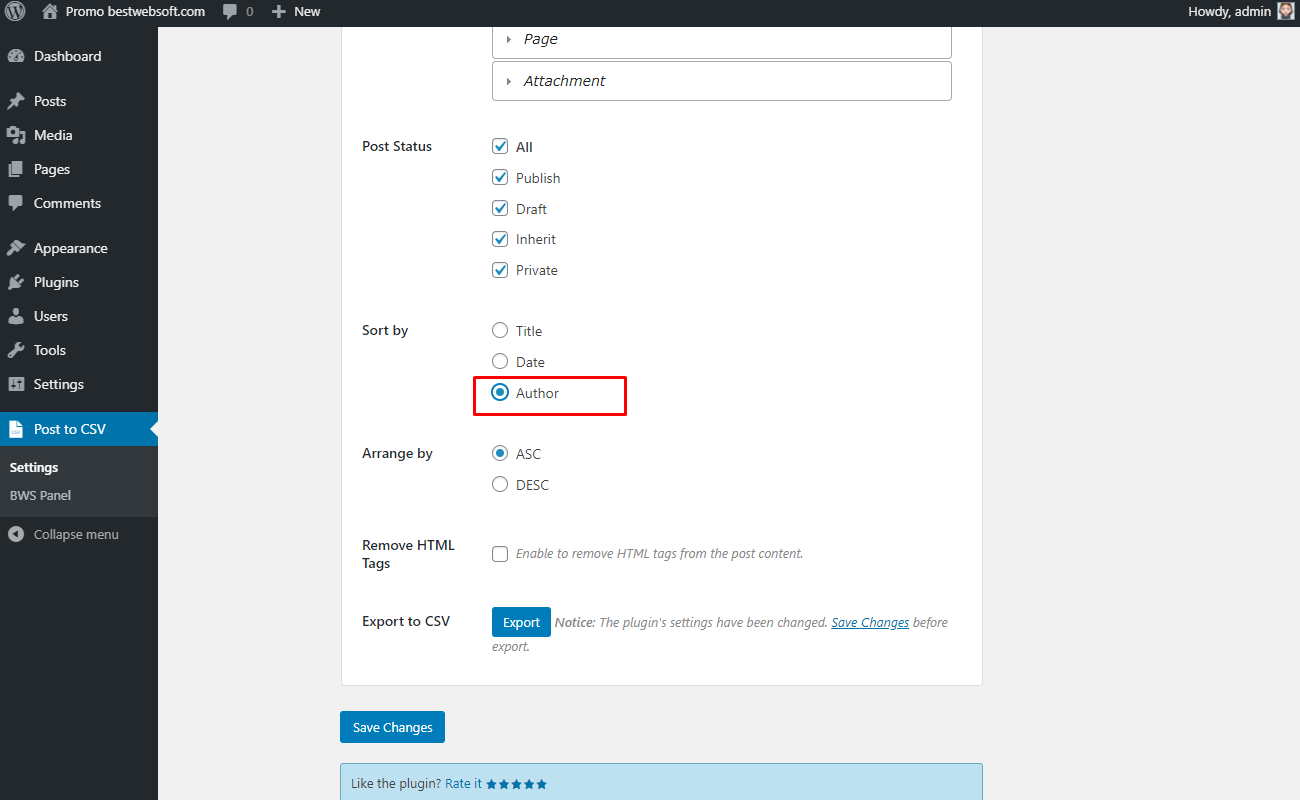
2.7. Sort by
Use the “Sort by” option to choose the parameter that posts will be sorted by.

2.7.1. Choose the “Title” to sort the exported data by title.

2.7.2. Choose the “Date” to sort the exported data by date.

2.7.3. Choose the “Author” to sort the exported data by author.
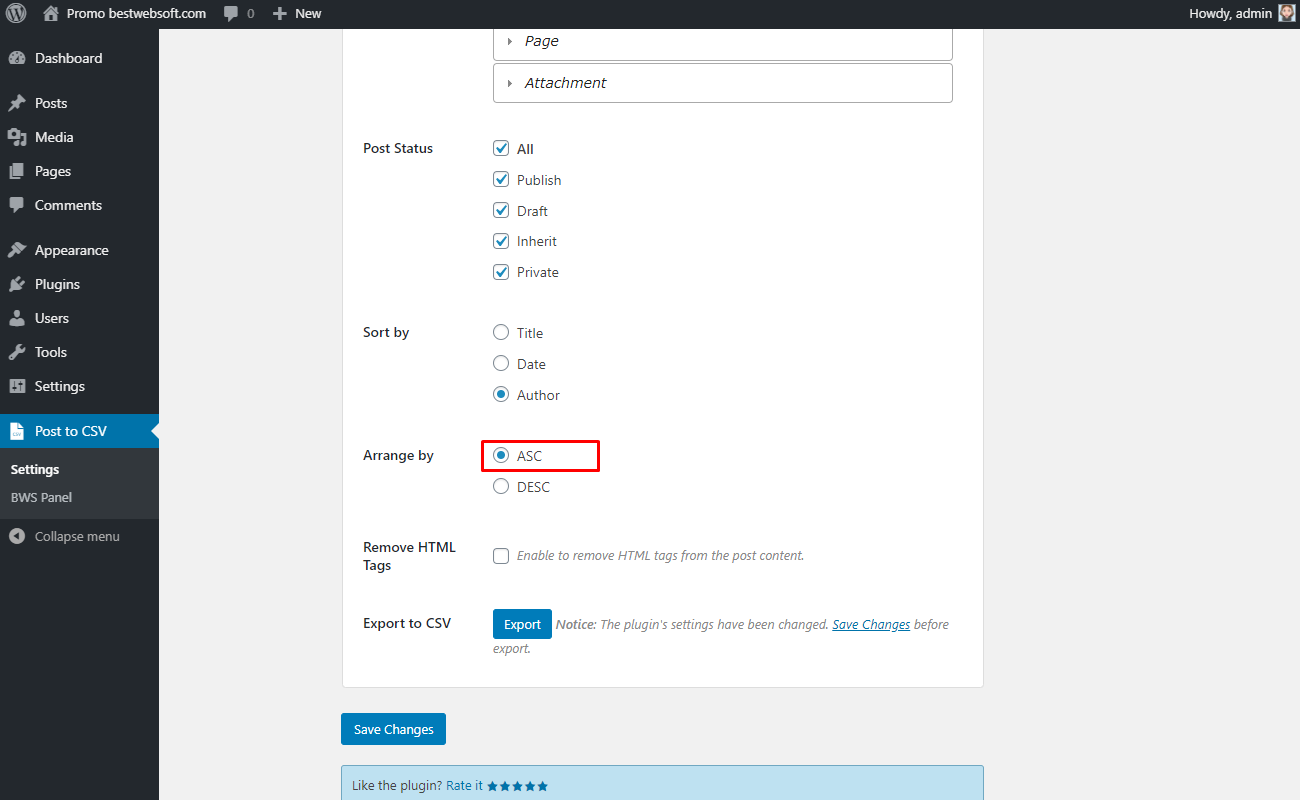
2.8. Arrange by
Use the “Arrange by” option to choose the sort order by descending (DESC) or ascending (ASC) order.

2.8.1. Choose “ASC” to set ascending order.
2.8.2. Choose “DESC” to set the descending order.

2.9. Remote HTML Tags
Enable the “Remote HTML Tags” option in order to remove HTML tags from the post.
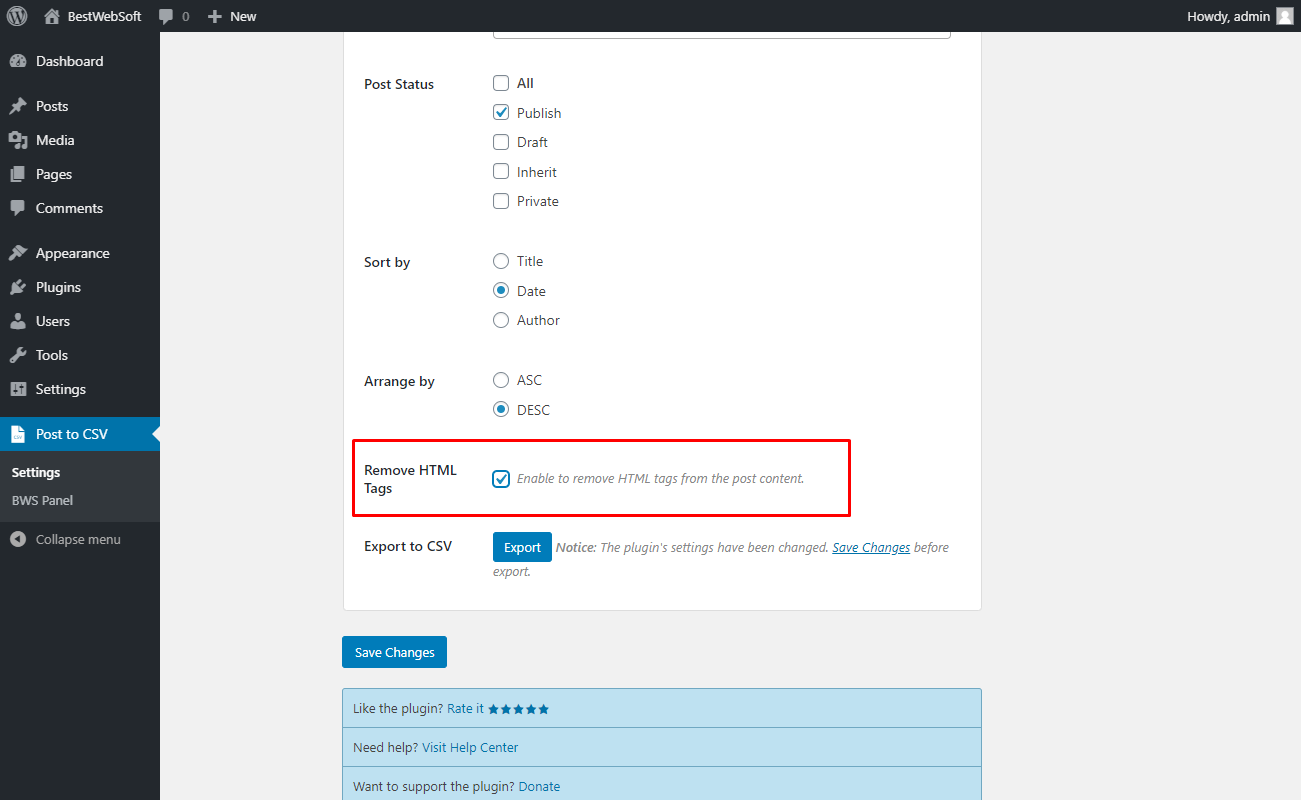
2.10. Export to CSV
Use the “Export to CSV” option to export the data to CSV format.

2.10.1. Click on the “Export” button to export all the chosen elements.
Note: Сlick the “Save Changes” button before exporting. |

2.10.2. The exported file may look as follows.

3. Comments
Use the “Comments” tab to make settings regarding comments export.
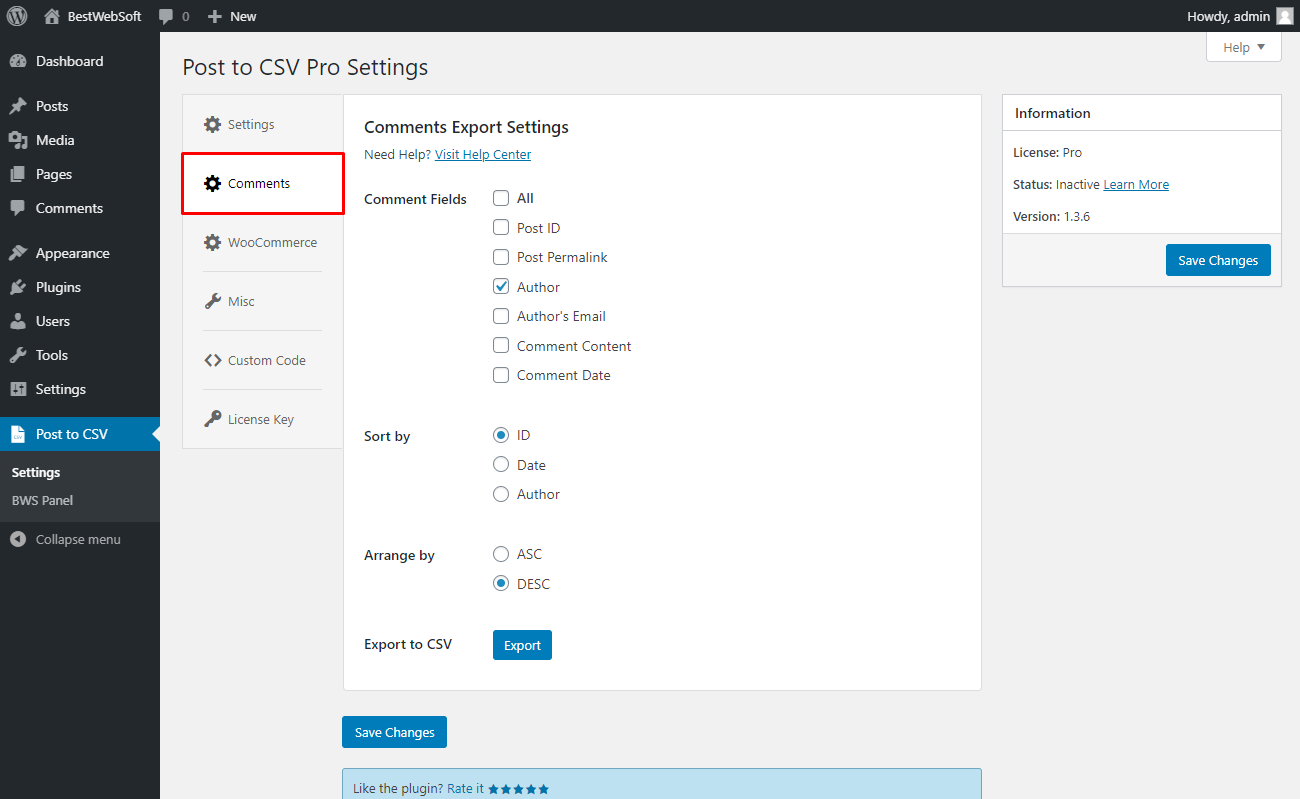
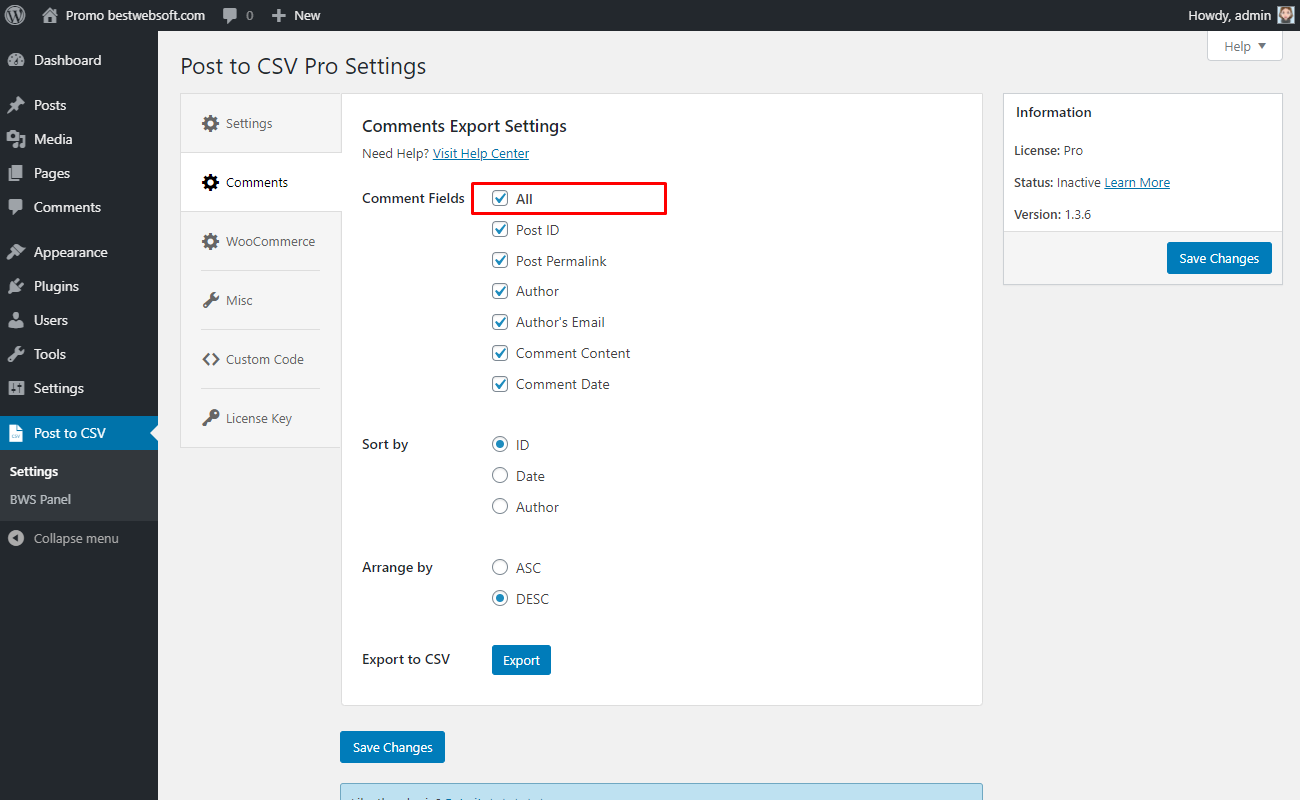
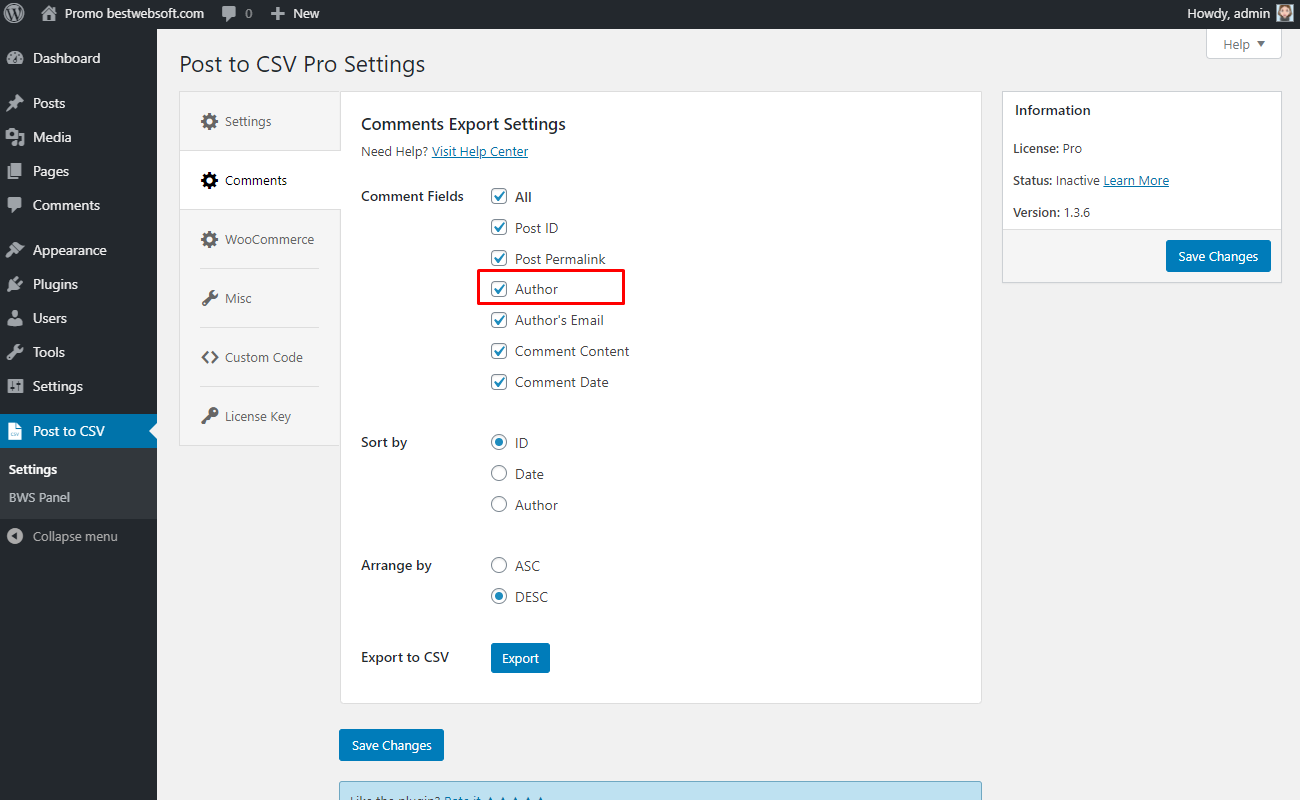
3.1. Comment Fields
Use the “Comment Fields” option to select fields of comments that will be exported.
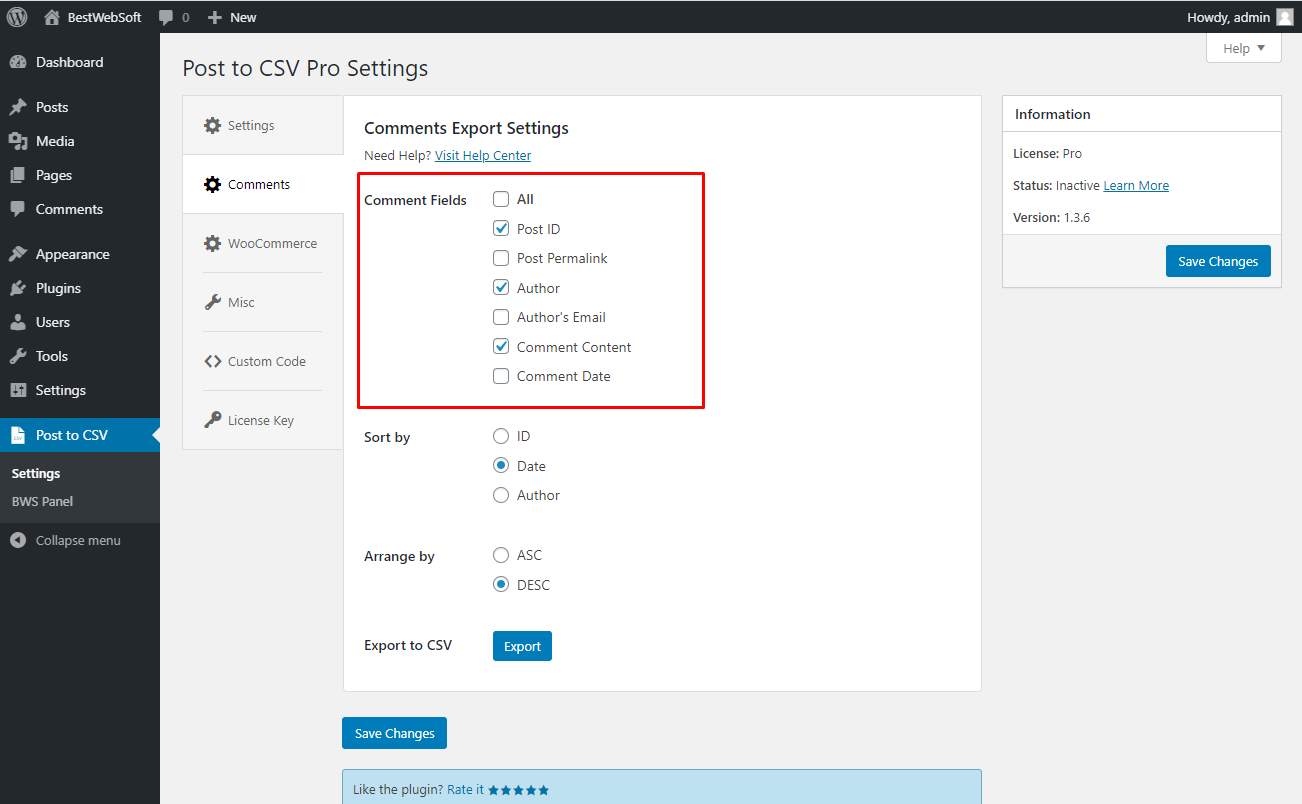
3.1.1. Enable “All” to export all comments information.
3.1.2. Enable the “Post ID” to export the ID of the post where the comment is.

3.1.3. Enable the “Post Permalink” to export the permalink to the post.

3.1.4. Enable the “Author” to export the comments author.
3.1.5. Enable the “Author`s Email” to export the email address of the comments author.

3.1.6. Enable the “Comments Content” to export the content of the comment.

3.1.7. Enable the “Comment Date” to export the date the comment was created.

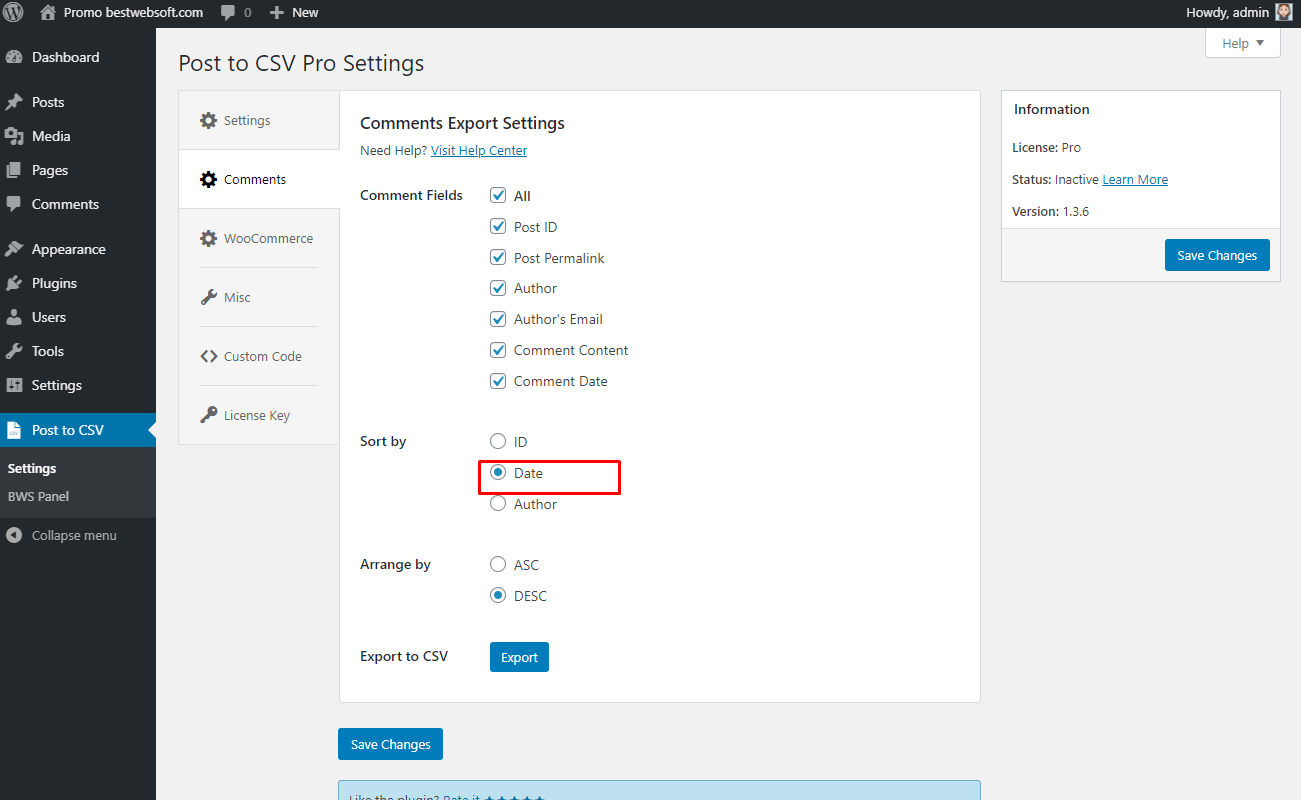
3.2. Sort by
Use the “Sort by” option to choose the parameter that comments will be sorted by.

3.2.1. Choose the “ID” to sort the exported comments by ID.

3.2.2. Choose the “Date” to sort the exported comments by date.
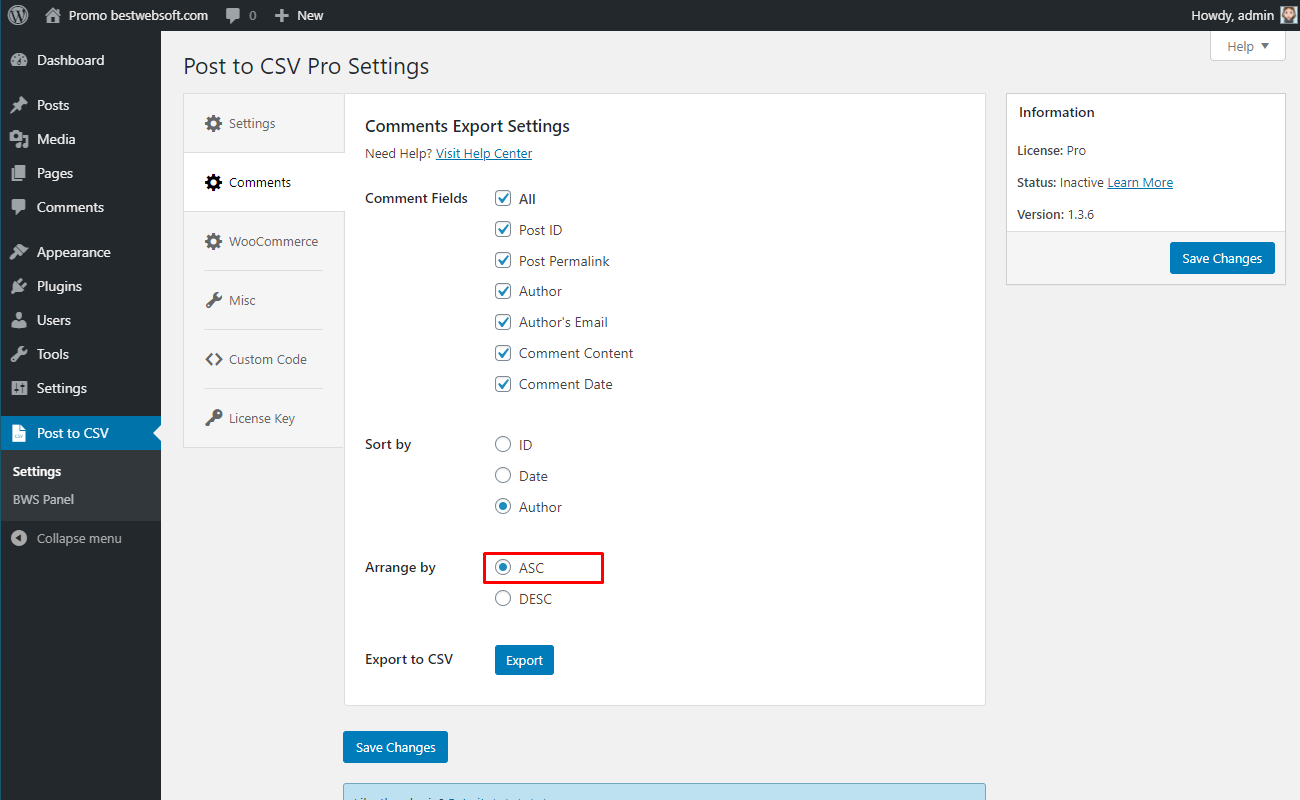
3.2.3. Choose the “Author” to sort the exported comments by author.

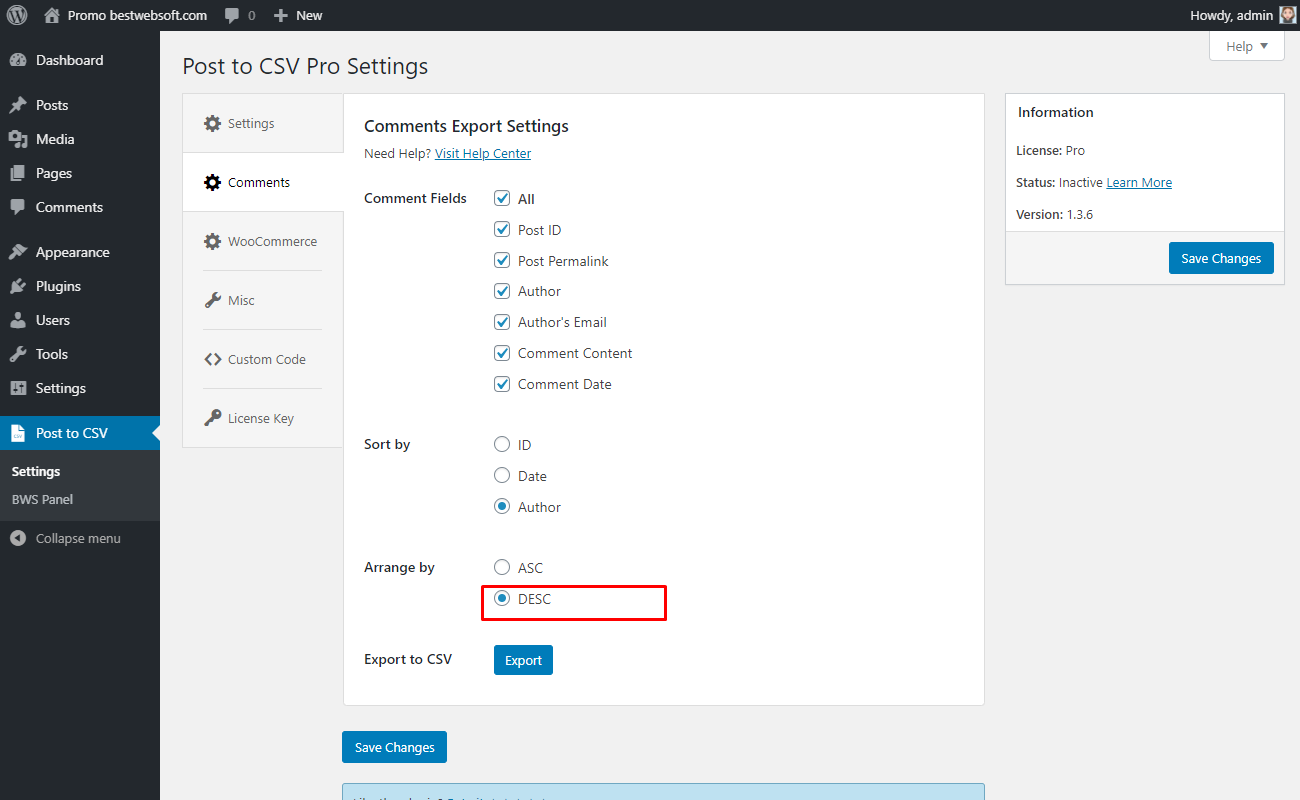
3.3. Arrange by
Use the “Arrange by” option to choose in what way to sort by descending (DESC) or ascending (ASC) order.
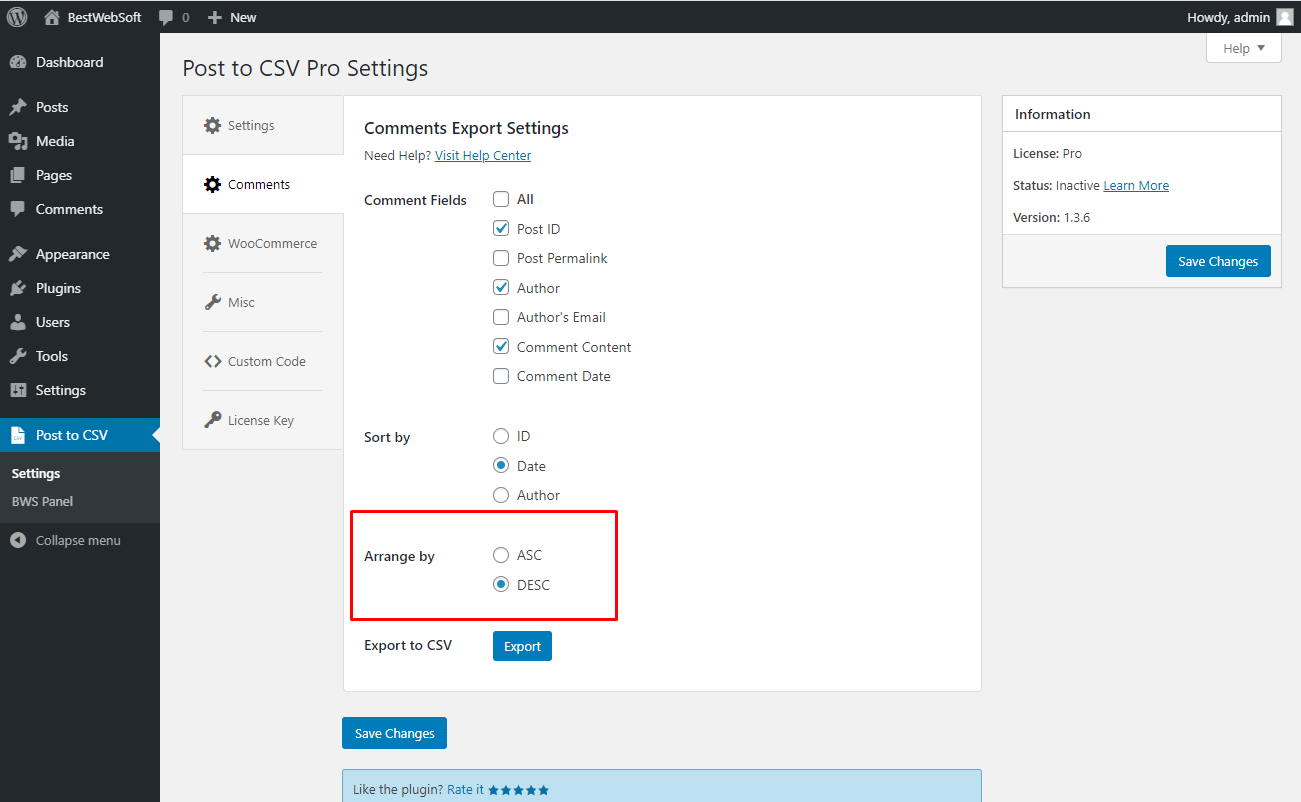
3.3.1. Choose “ASC” to set ascending order.
3.3.2. Choose “DESC” to set the descending order.
3.4. Export to CSV
Use the “Export to CSV” option to export the data to CSV format.
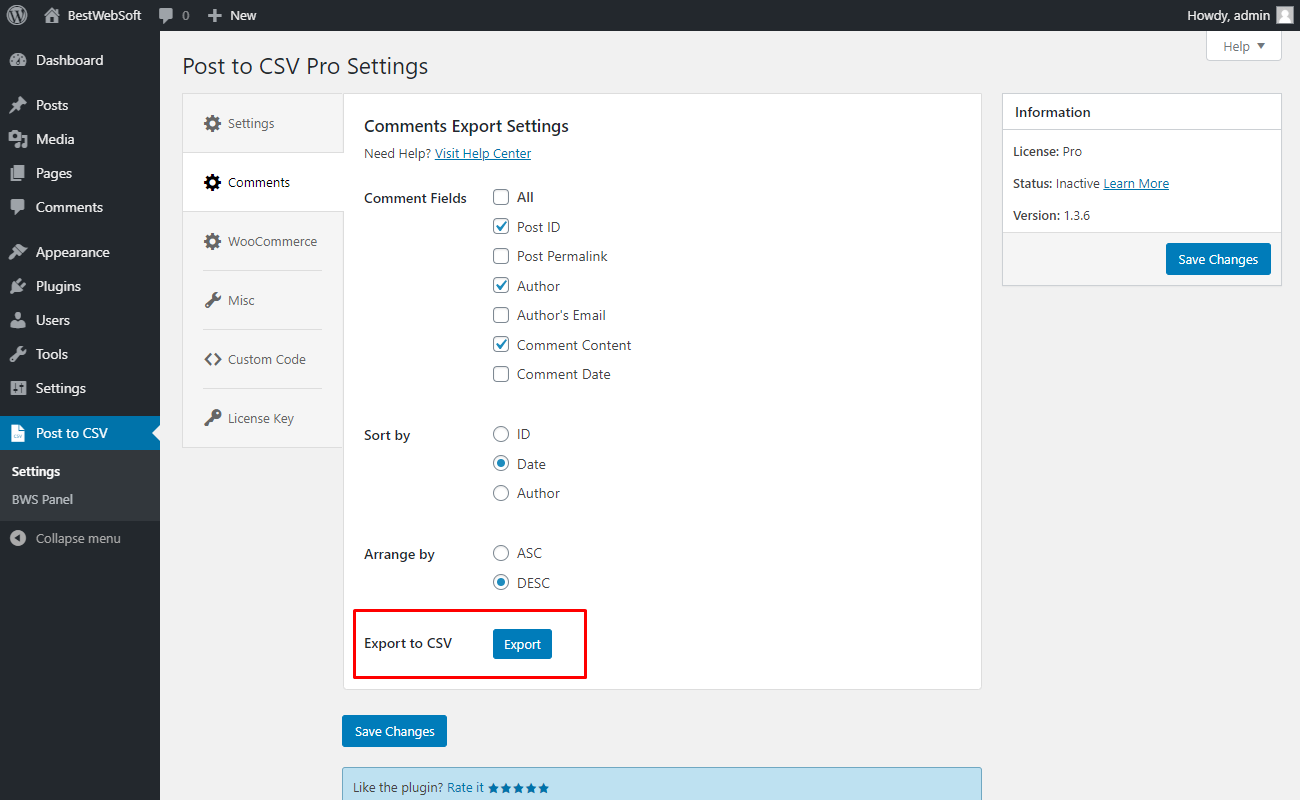
3.4.1. Click on the “Export” button to export all the chosen elements.
Note: Сlick the “Save Changes” button before exporting. |

3.4.2. The exported comments may look as follows.

4. WooCommerce
Use the ”WooCommerce” tab to export the information of WooCommerce products.

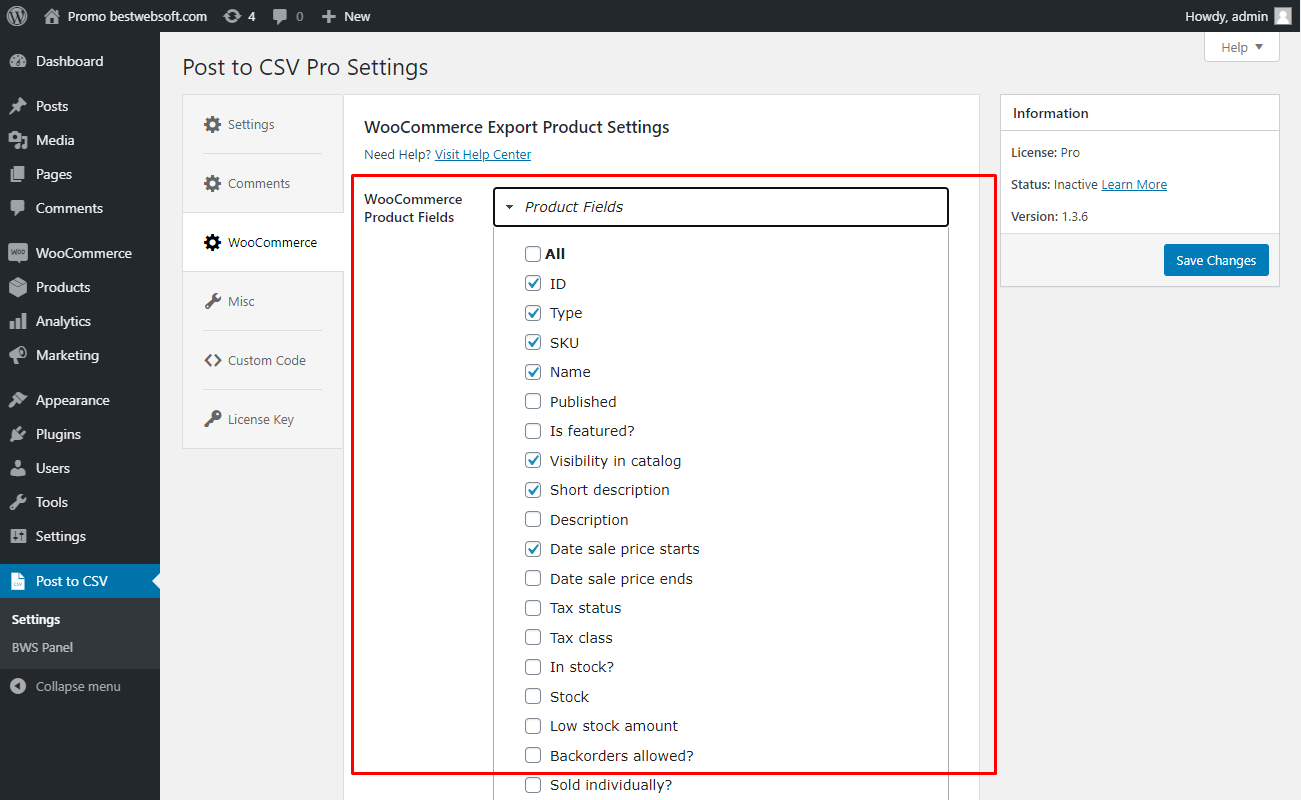
4.1. WooCommerce Product Fields
Use the “WooCommerce Product Fields” option to select product fields for future export.
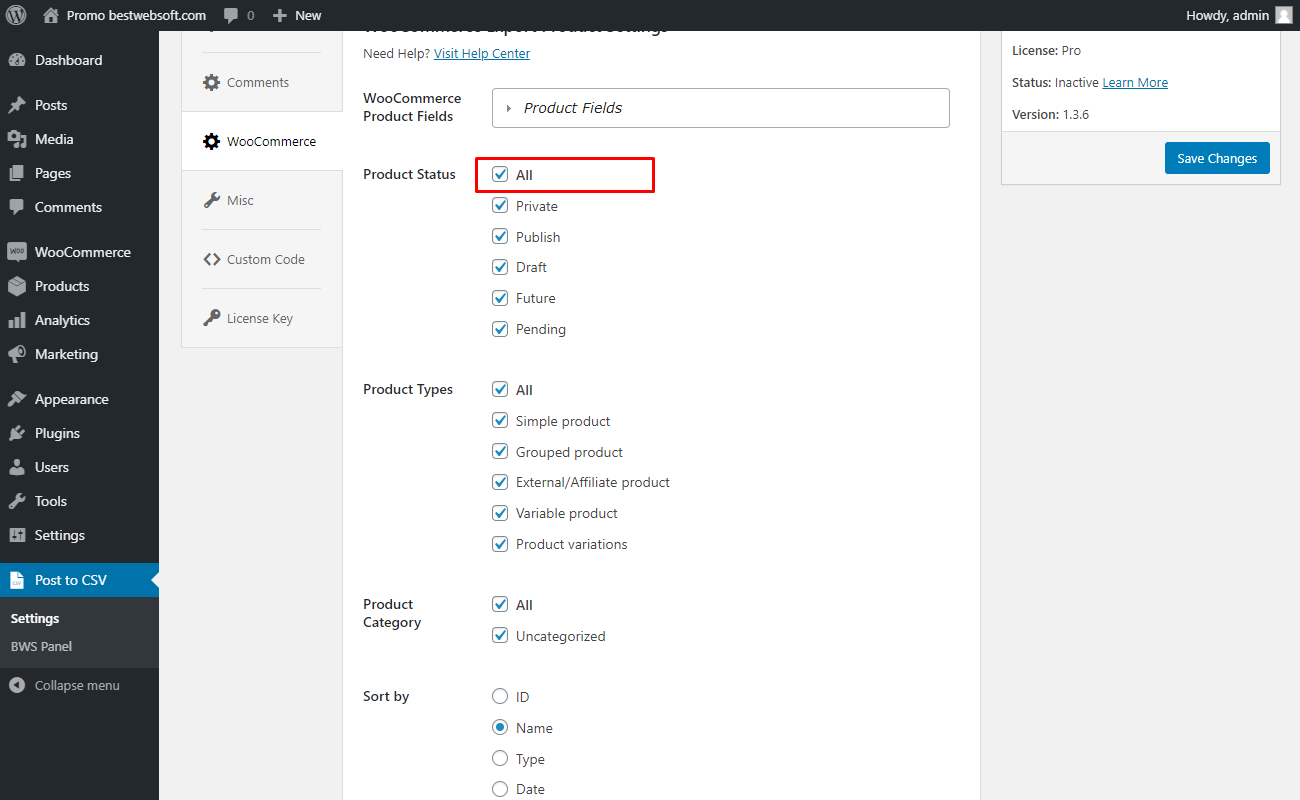
4.2. Product Status
Use the “Product Status” option to select the status of the products which will be exported.
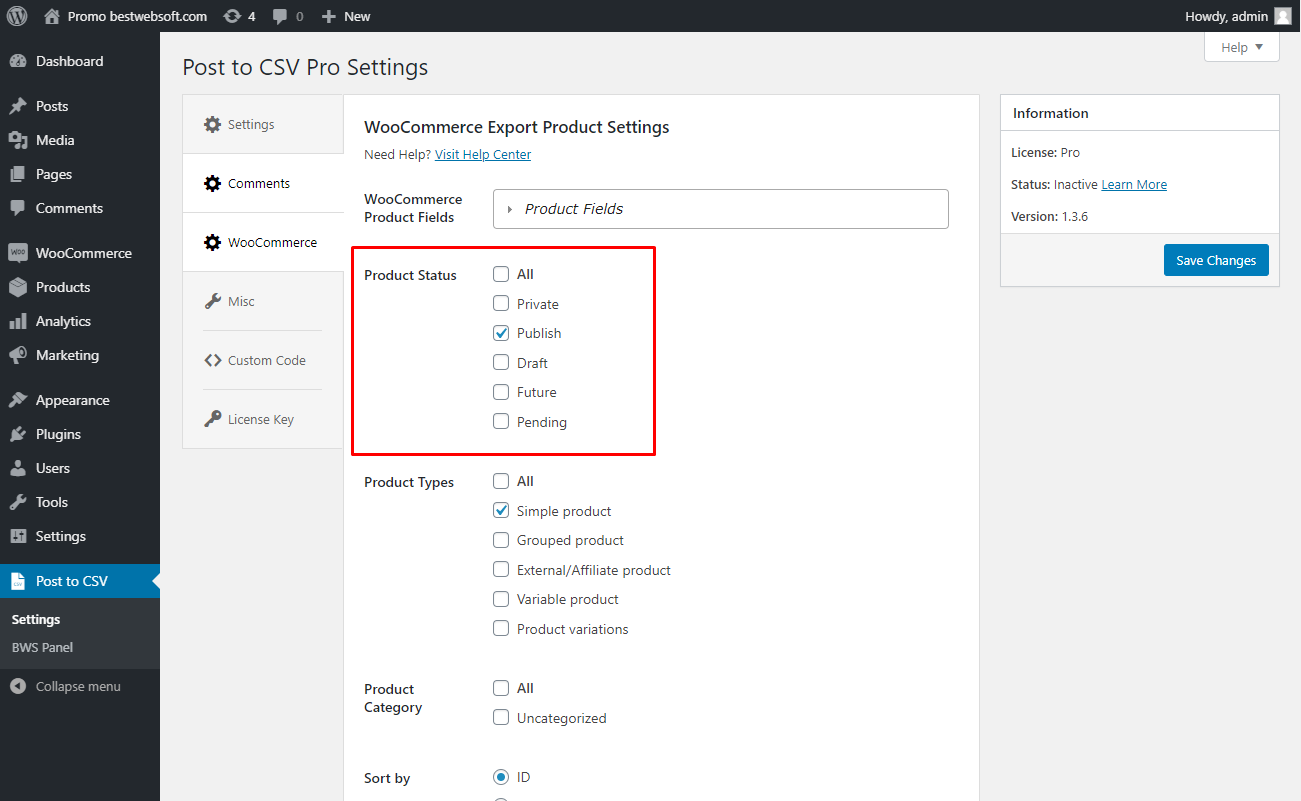
4.2.1. Enable “All” to export the products with all statuses.
4.2.2. Enable the “Private” to export the products with private status.

4.2.3. Enable the “Publish” to export the products with publish status.

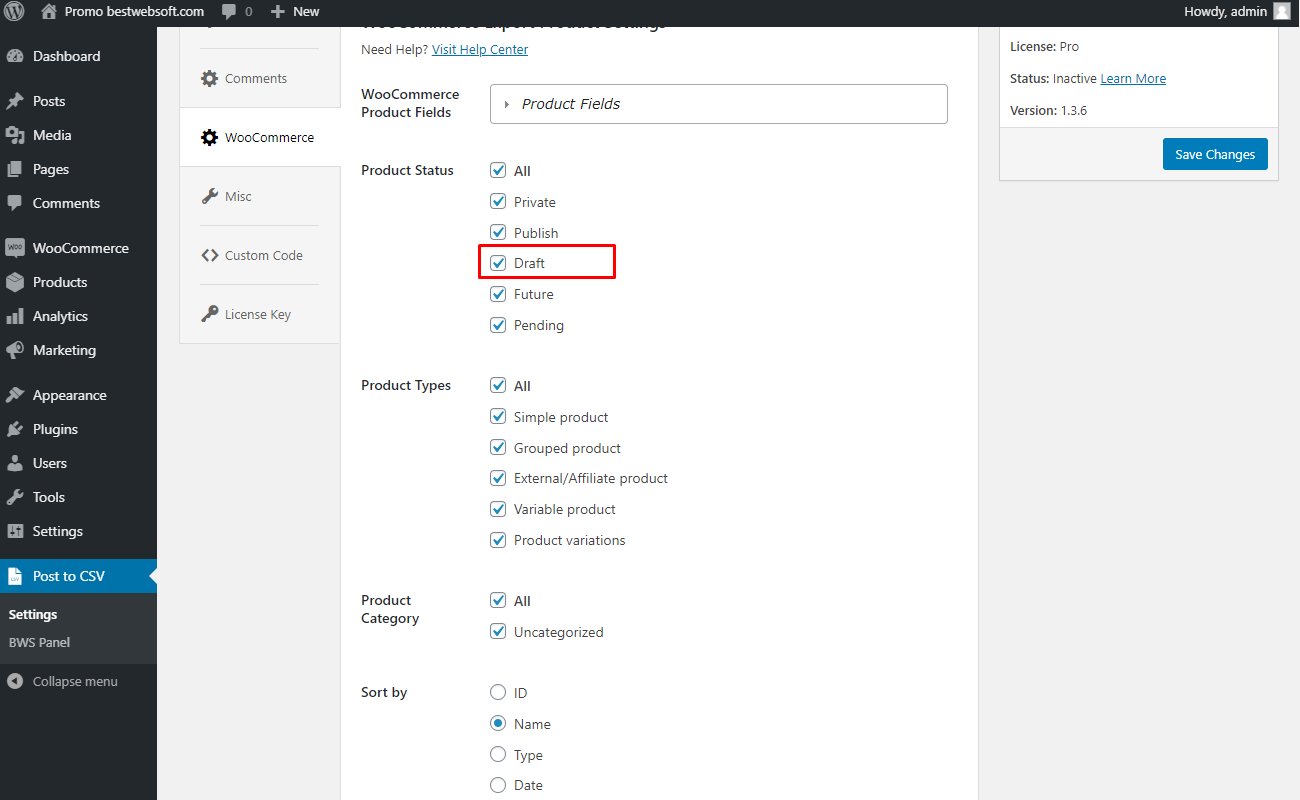
4.2.4. Enable the “Draft” to export the products with draft status.
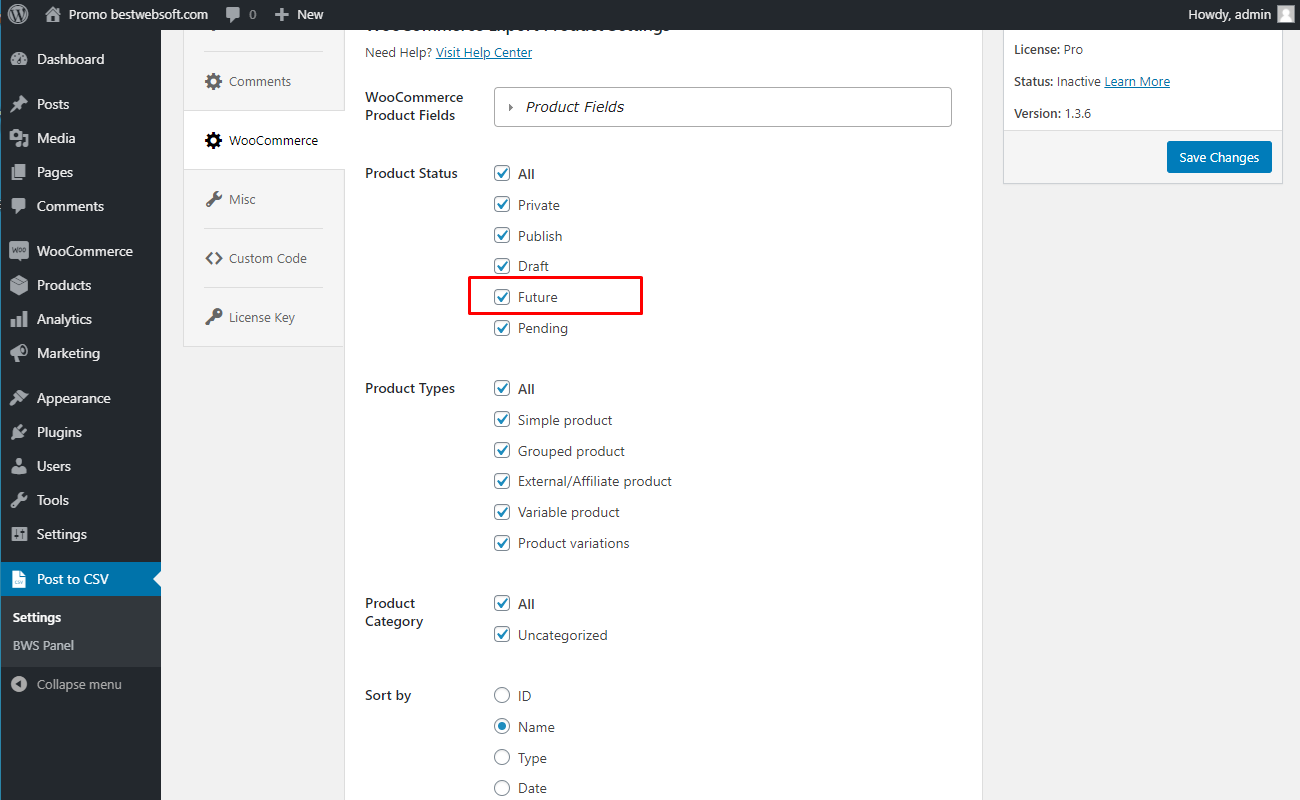
4.2.5. Enable the “Future” to export the products with future status.
4.2.6. Enable “Pending” to export the products with pending status.

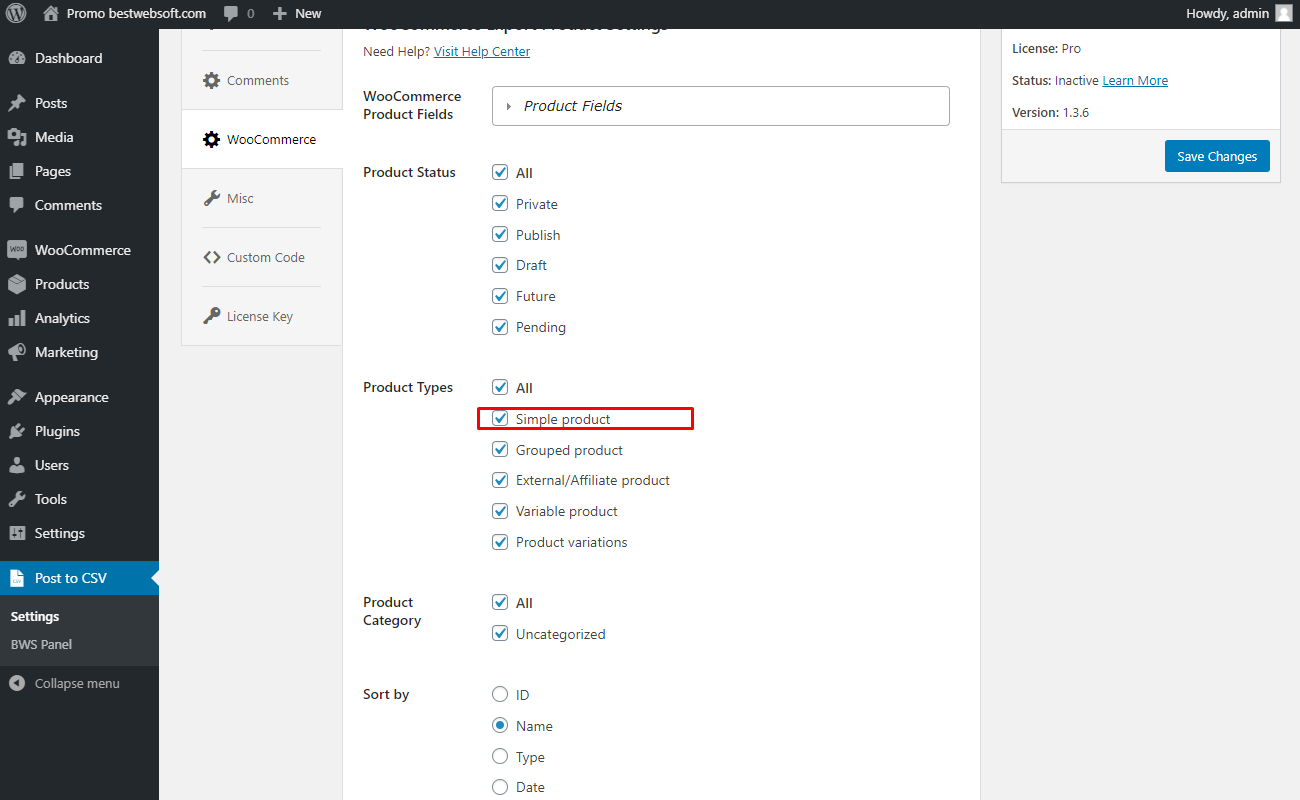
4.3. Product Types
Use the “Product Types” option to select types of product which will be exported.
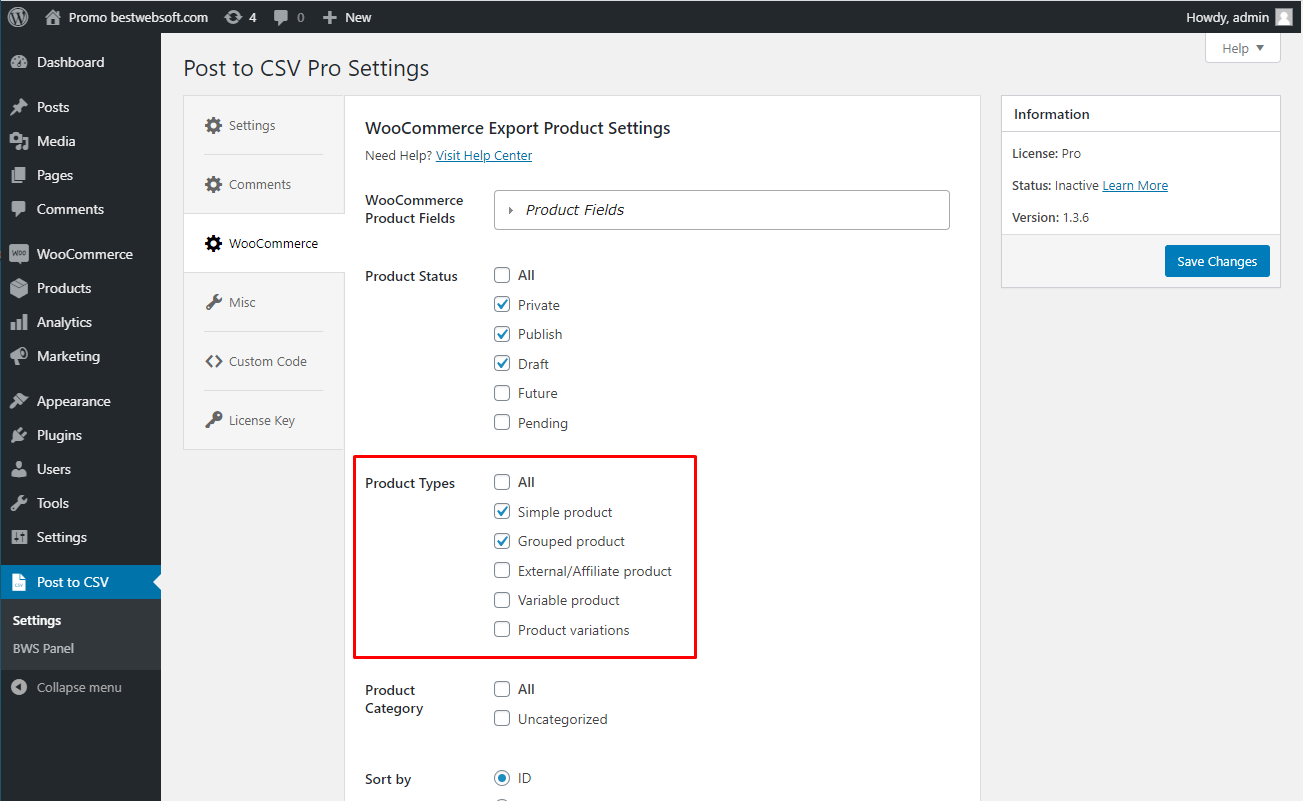
4.3.1. Enable “All” to export all product types.

4.3.2. Enable “Simple product” to export products of simple product type.
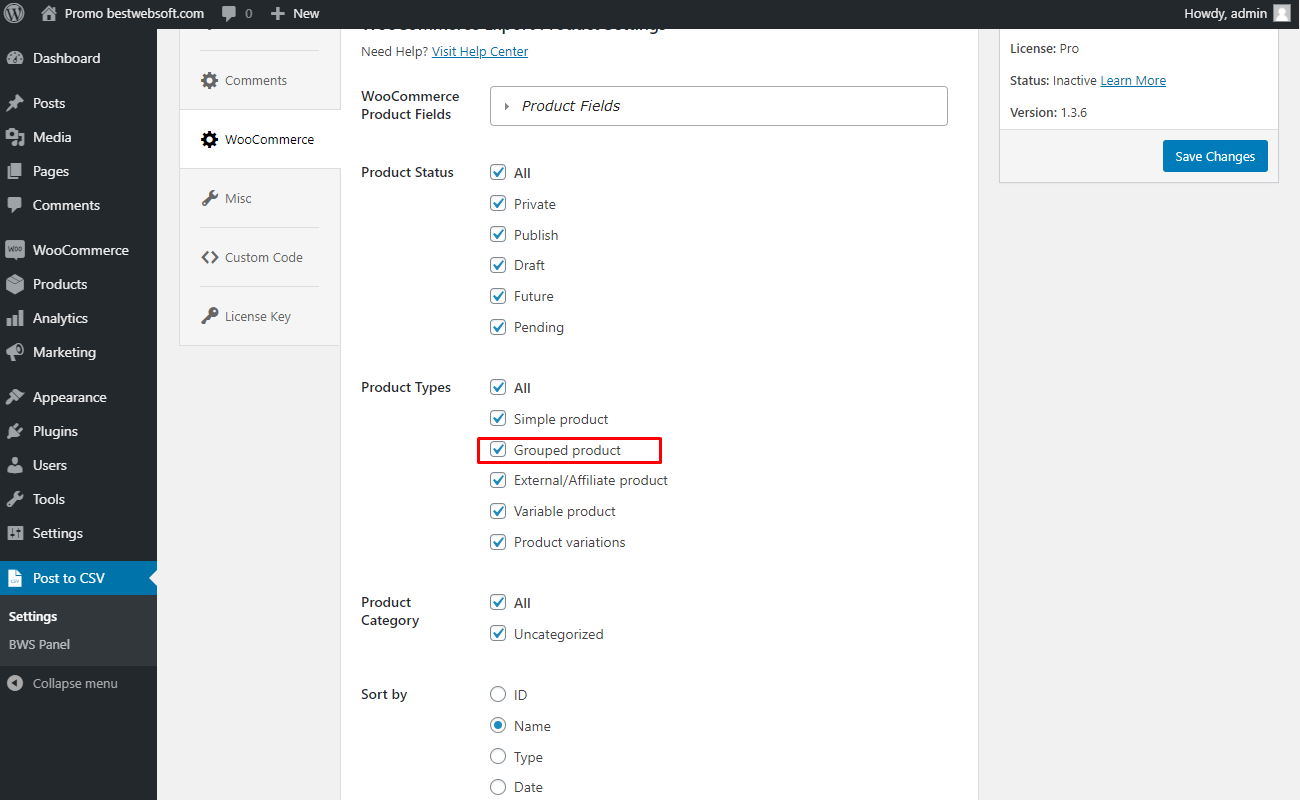
4.3.3. Enable “Grouped product” to export products of grouped product type.
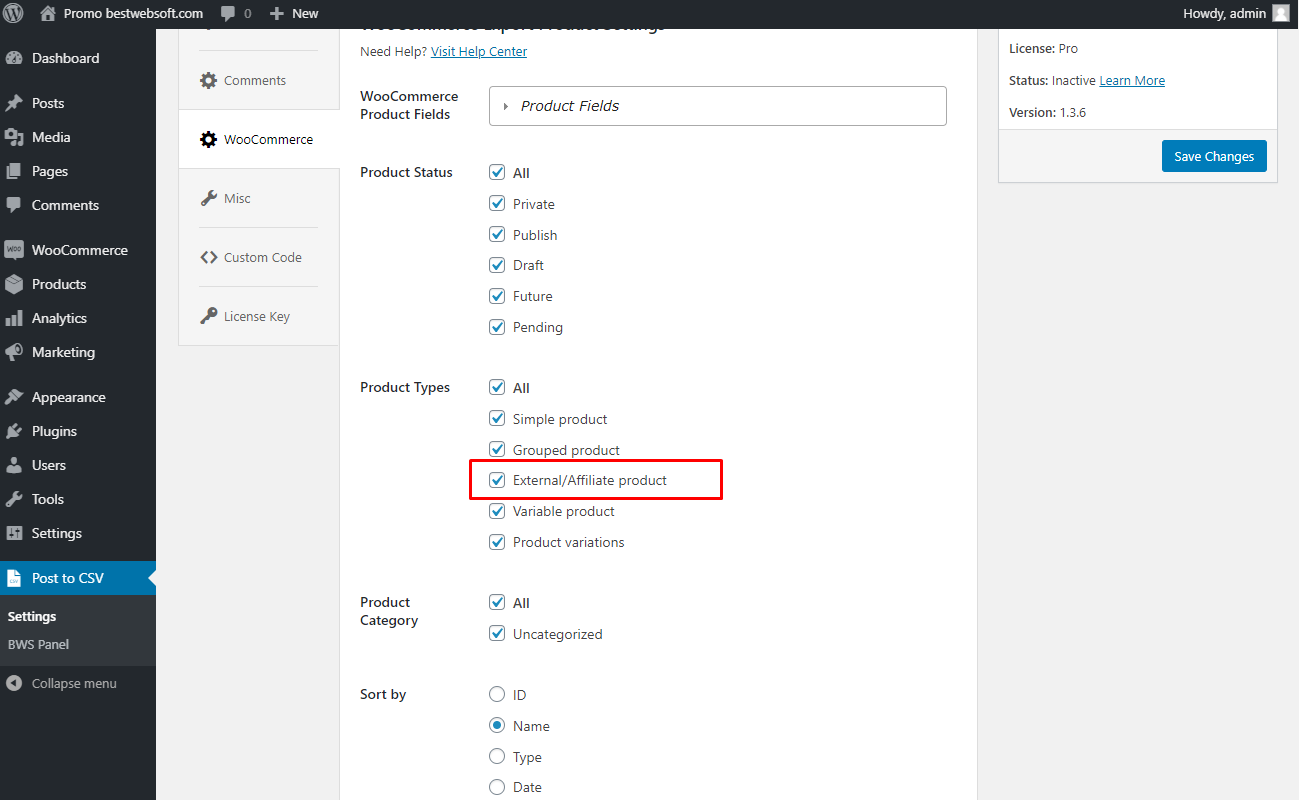
4.3.4. Enable “External/Affiliate product” to export products of external/affiliate product type.
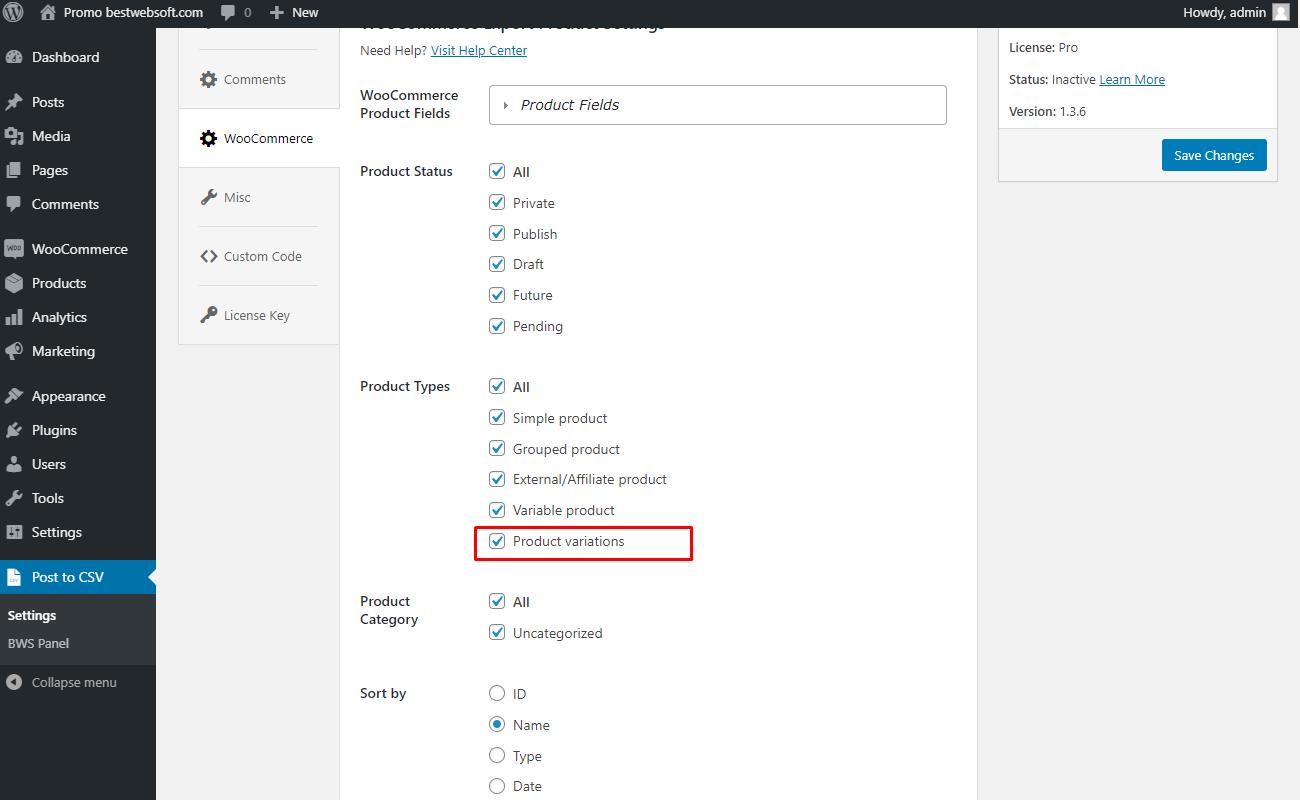
4.3.5. Enable “Variable product” to export products of variable product type.

4.3.6. Enable “Product variations” to export product variations product type.
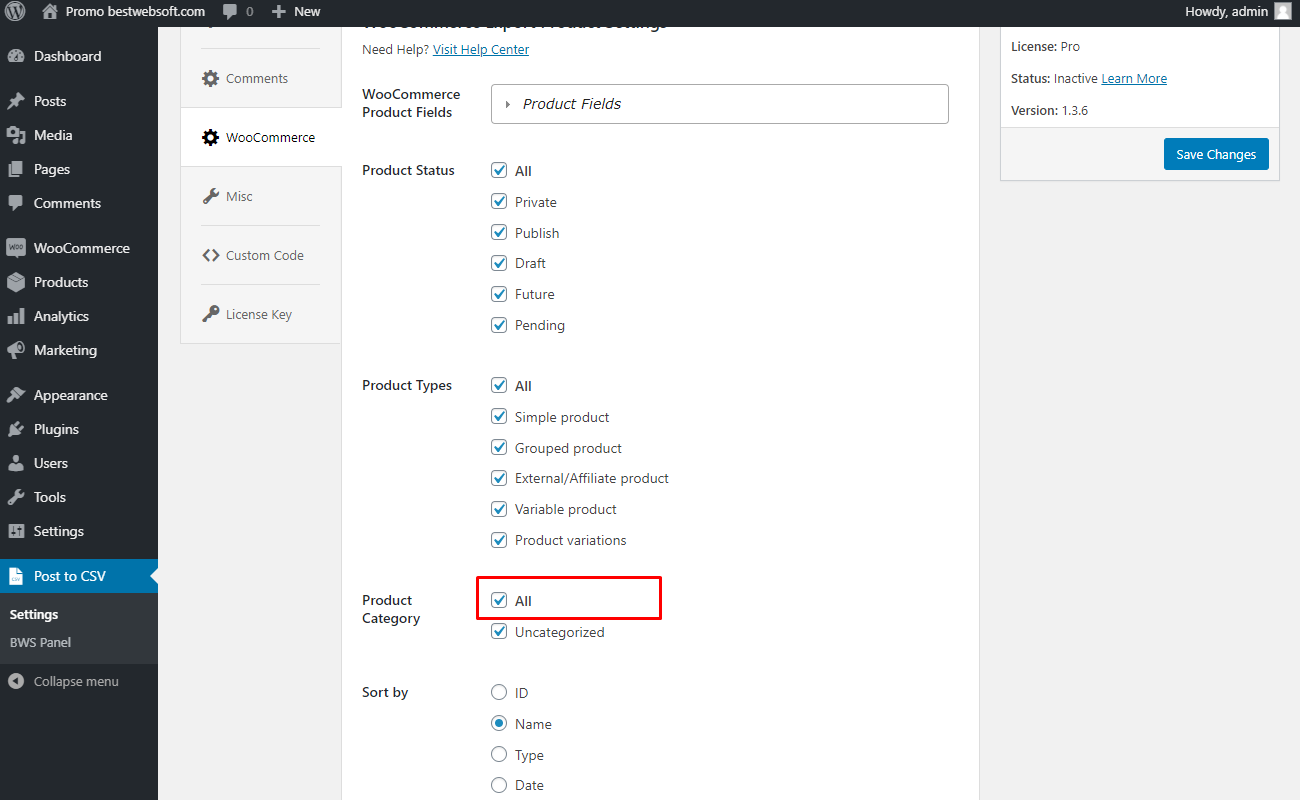
4.4. Product Category
Enable the “Product Category” option to select categories for future export.

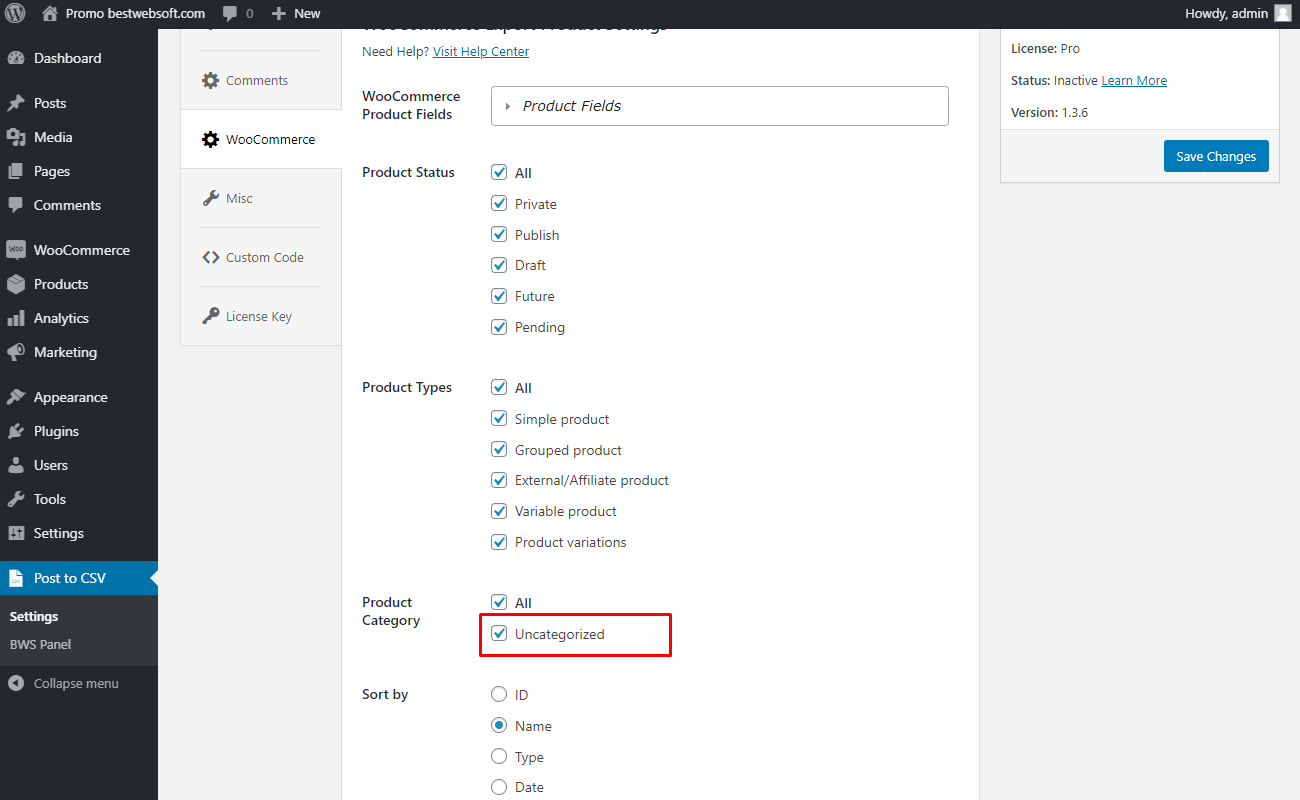
4.4.1. Enable “All” to export all product categories.
4.4.2. Enable “Uncategorized” to export products without category.
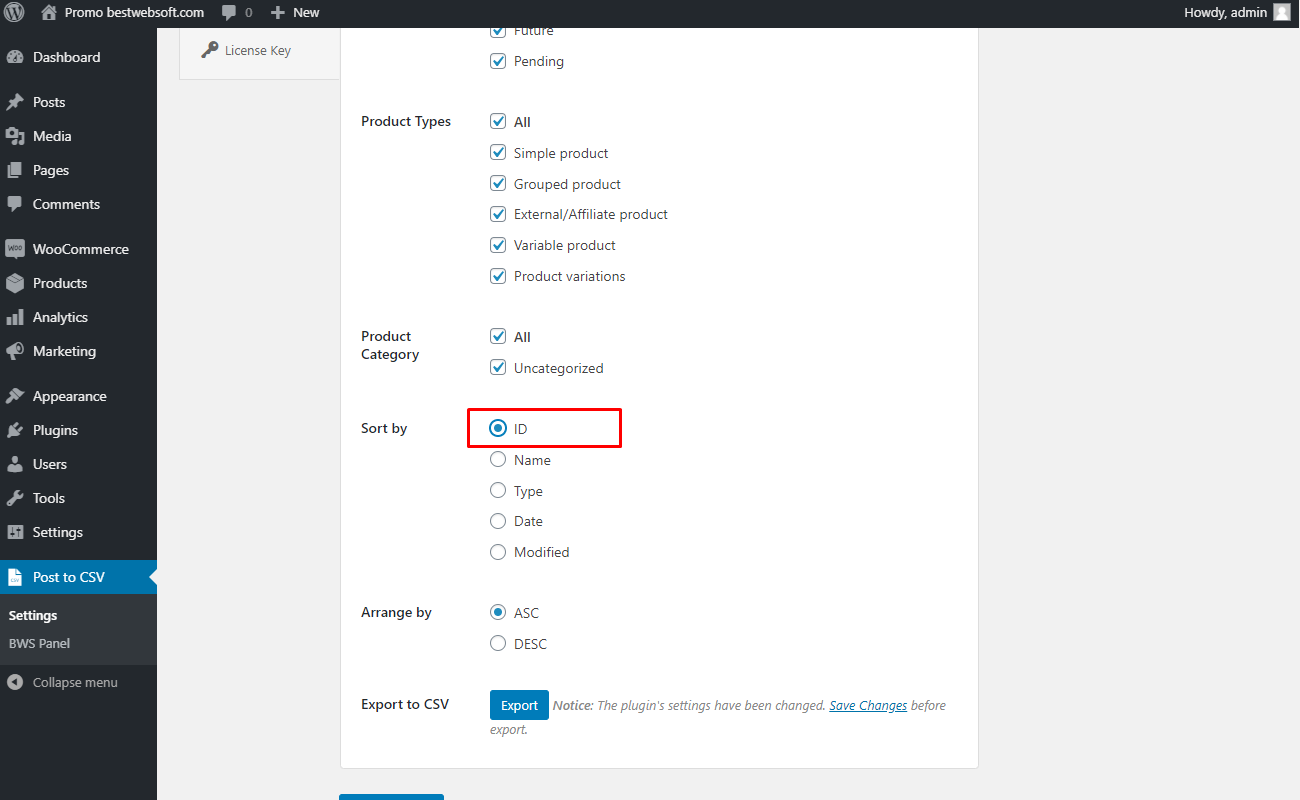
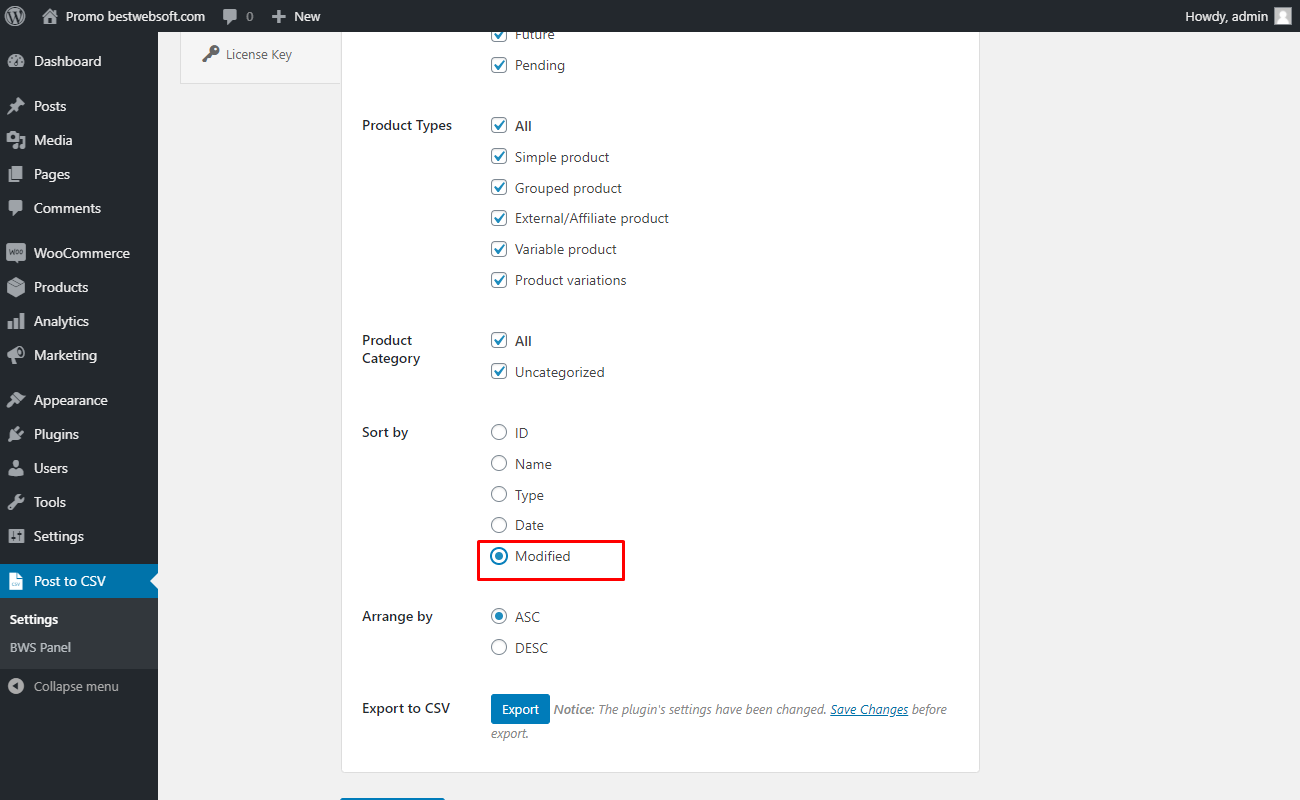
4.5. Sort by
Use the “Sort by” option to choose the by which parameter products will be sorted by.

4.5.1. Choose “ID” to set the sorting by ID of the product.
4.5.2. Choose “Name” to set the sorting by name of the product.

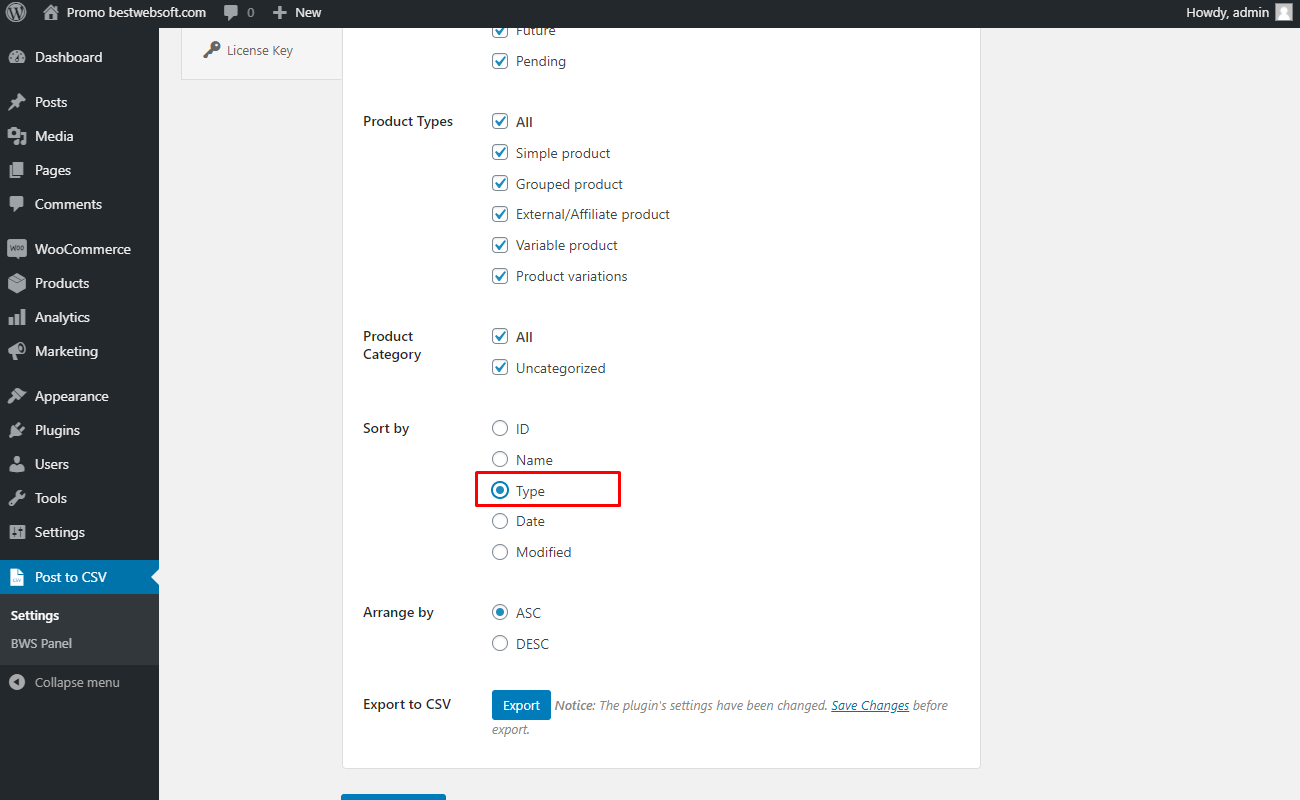
4.5.3. Choose “Type” to set the sorting by the type of the product.
4.5.4. Choose “Date” to set the sorting by the date of product adding.

4.5.5. Choose the ”Modified” to set the sorting by the last modification of the product.
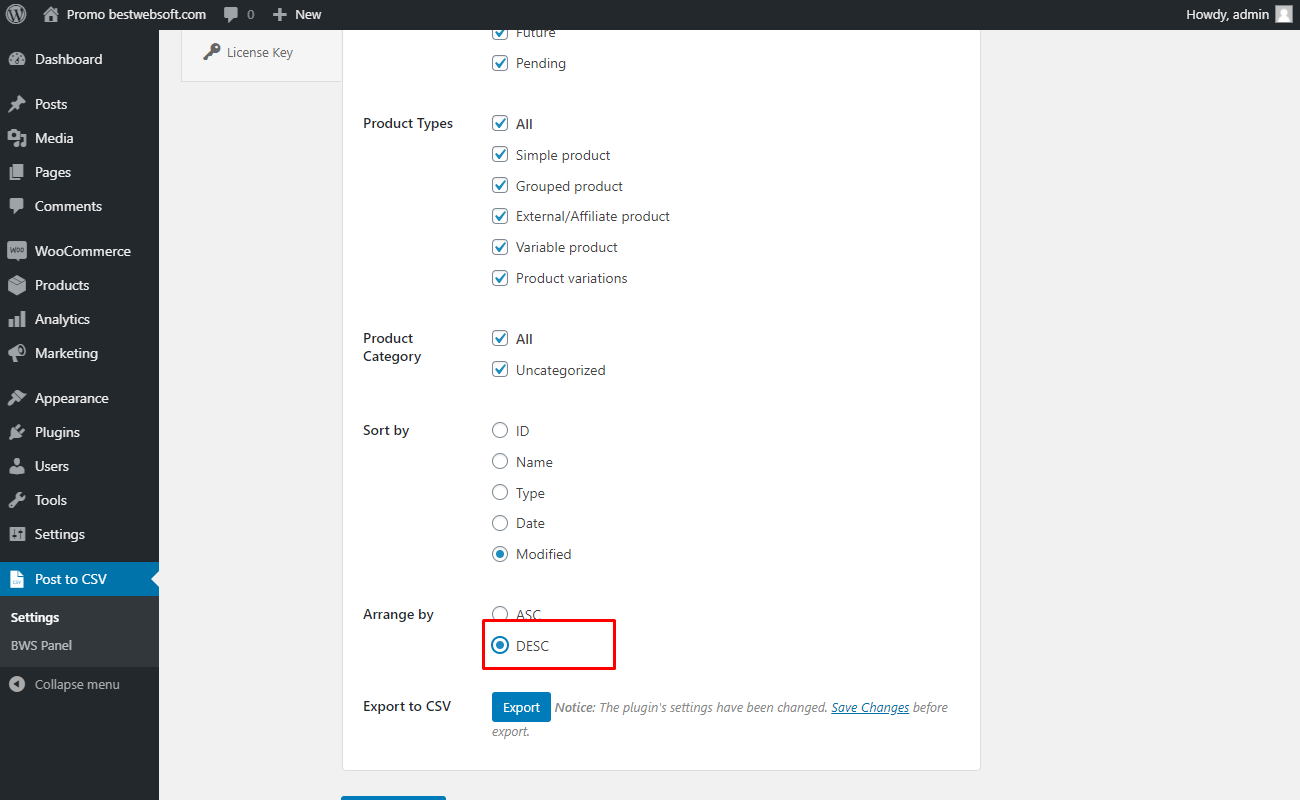
4.6. Arrange by
Use the “Arrange by” option to choose in what way to sort by descending (DESC) or ascending (ASC) order.

4.6.1. Choose “ASC” to set the ascending order of the sorting.

4.6.2. Choose the “DESC” to set the descending order of the sorting.
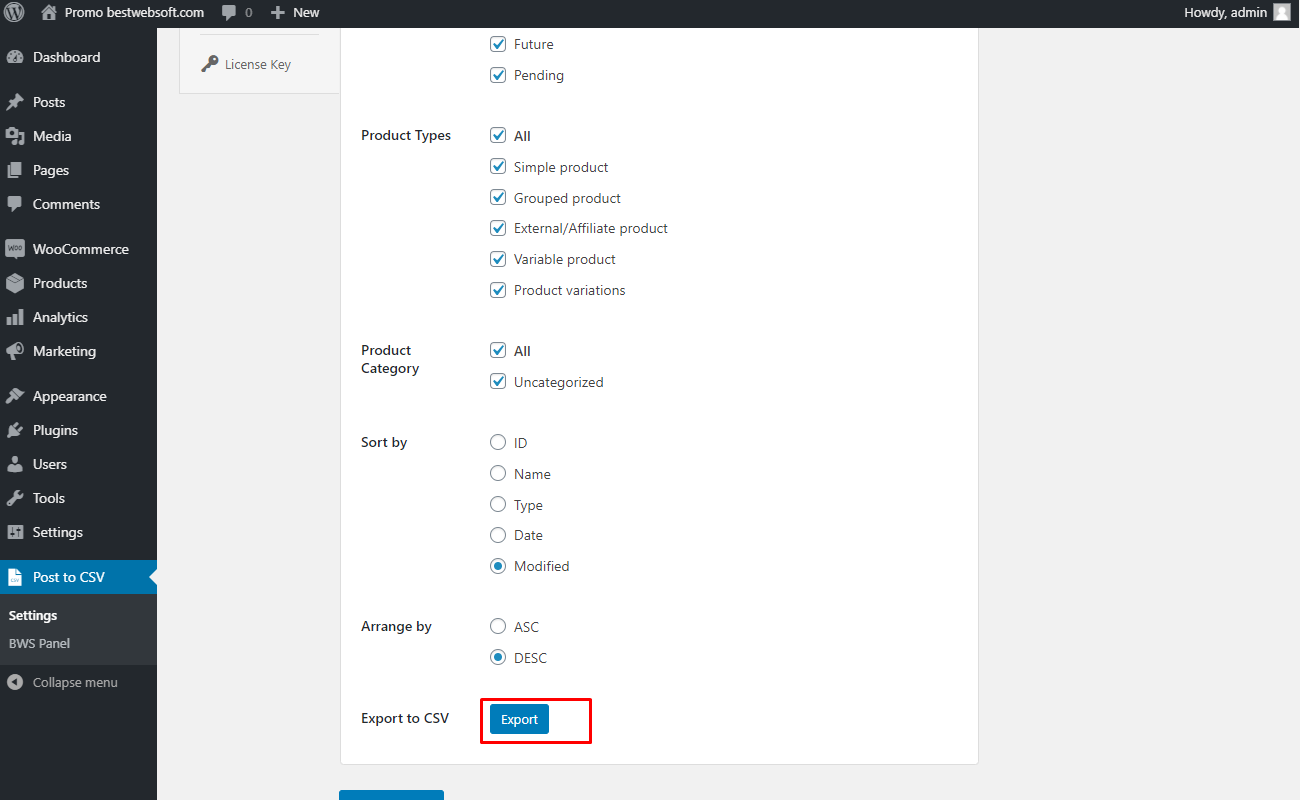
4.7. Export to CSV
Use the “Export to CSV” option to export the data to CSV format.

4.7.1. Click on the “Export” button to export all the chosen elements.
Note: Сlick the “Save Changes” button before exporting. |
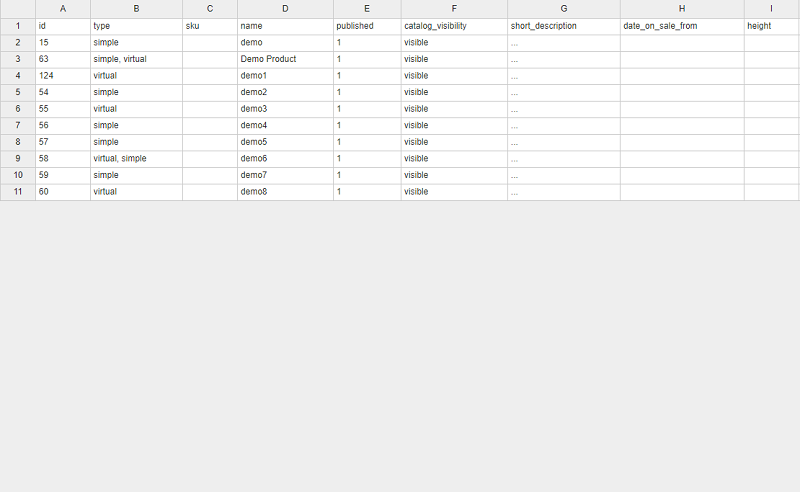
4.7.2. The exported WooCommerece data may look as follows.
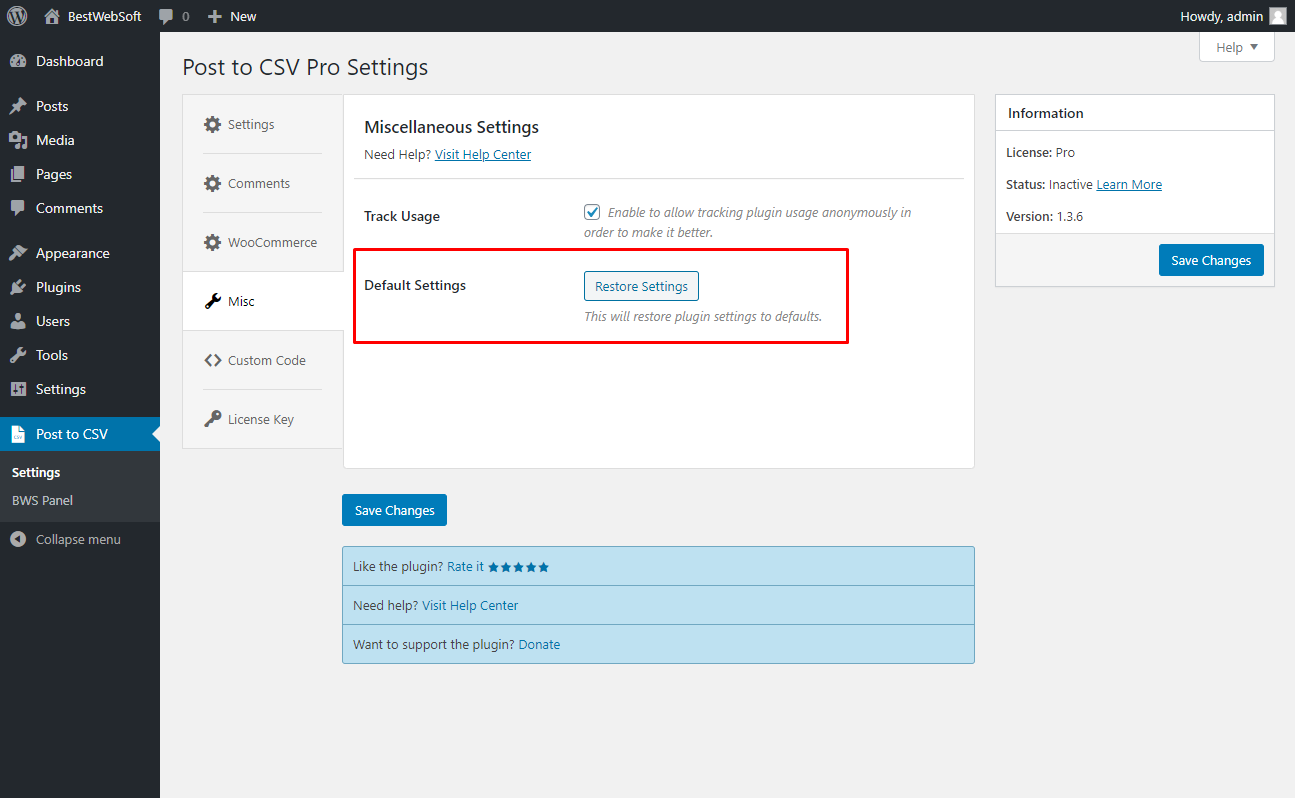
5. Miscellaneous Settings
Use the options of the “Miscellaneous Settings” tab to make the settings regarding the track usage and restoration settings.

5.1. Track Usage
Use the ”Track Usage” option to allow tracking plugin usage anonymously.

5.2. Default Settings
Use the “Default Settings” button to return all the changes back to the default state.
5.2.1. Click “Yes, restore all settings” button to confirm the procedure.

6. Custom Code
Use the “Custom Code” tab to insert a CSS, PHP or JavaScript code. To activate a custom code, enable the “Activate custom … code” option and save changes.

7. License Key
Use the “License Key” tab to activate or check the Pro plugin license.

7.1. Post to CSV Pro License
After a successful plugin purchase, you will receive an email notification with a download link and a license key. Activate Pro license by pasting a license key into the “Post to CSV Pro License” field and clicking the “Save Changes” button.
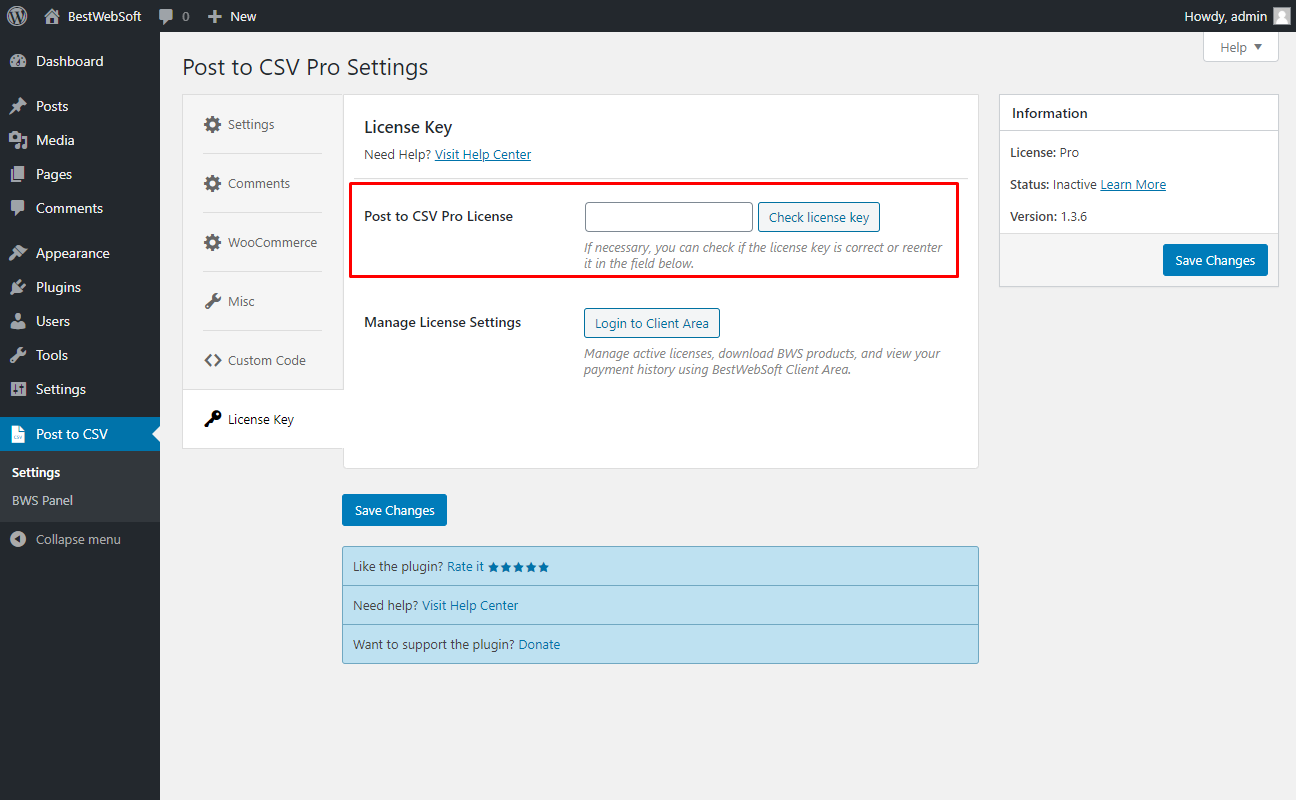
7.2. Check License Key
To check the license key, click the “Check license key” button. If the entered key is correct, the notification “The license key is valid. Your license will expire on XXXX-XX-XX” will be displayed in the upper left corner of the page.

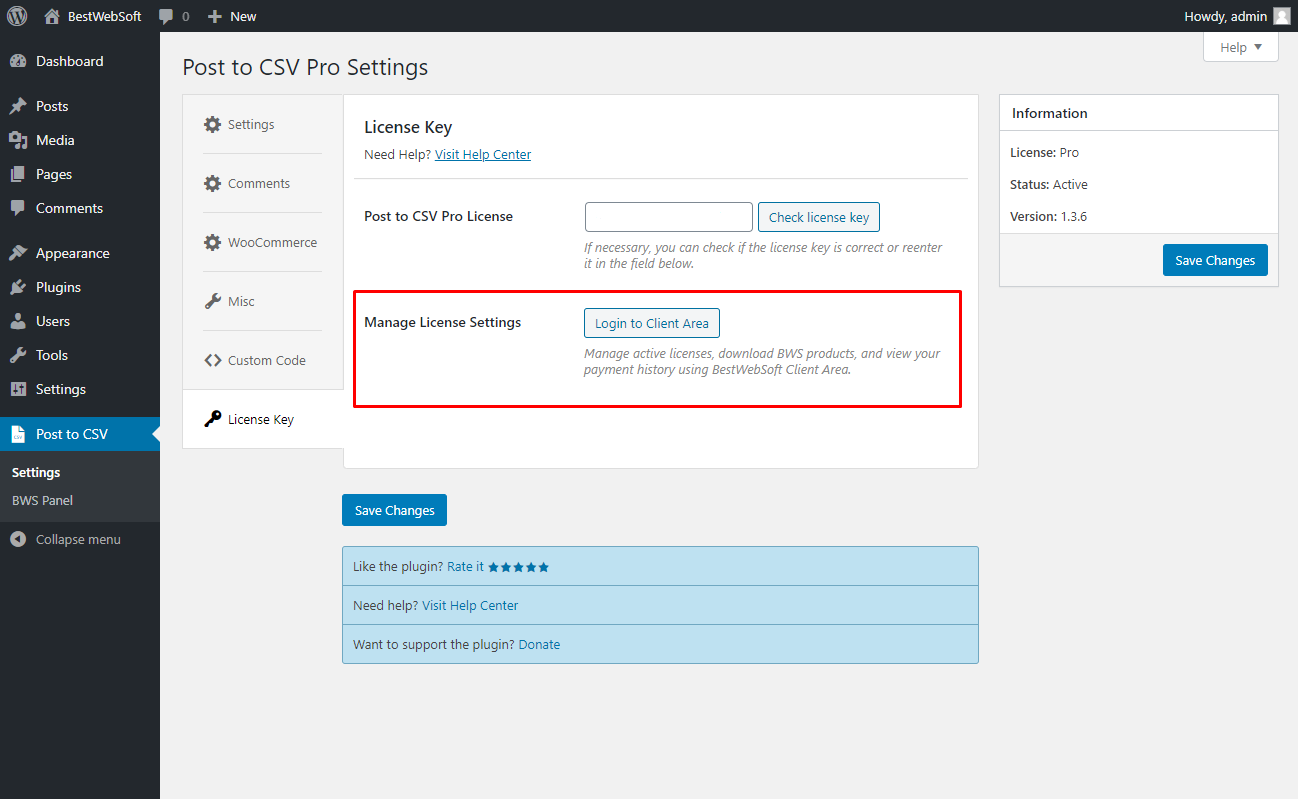
7.3. Manage License Settings
Use the “Manage License Settings” option to change your license settings. Click the “Login to Client Area” button to open your personal Client Area dashboard found on the https://bestwebsoft.com/ website. Browse and download purchased products, change the license domain and copy the license keys.
Thank you!
Help & Support
Visit our Help Center if you have any questions — https://support.bestwebsoft.com/
Services
We provide additional services such as WordPress themes & plugins development,
graphic design, custom programming.
Contact us now to get a free quote — https://bestwebsoft.com/contacts/