Google Maps by BestWebSoft
How to Use
Step-by-step Instruction
WordPress version: | 4.5.1 * |
Google Maps version: Google Maps Pro version: | 1.3.3 * 1.1.5 *
|
* When using other versions some differences are possible to occur
** Screenshots are taken from a PC
Table of Contents
1. Introduction
2.1 Add an API Key
2.2 Set Google Maps interface language
2.3 Configure default Google Maps Editor settings
3.1 Add Map Title
3.2 Add markers
3.3 Map size
3.4 Map alignment
3.5 Map type
3.6 View 45° option
3.7 Zoom option
3.8 Controls options
3.8.1 Type Control
3.8.2 Rotate Control
3.8.3 Zoom Control
3.8.4 Scale Control
4. Add existing Google Maps to your website
Google Maps Pro by BestWebSoft
1.2 Listing styles
1.2.1 Sort the styles
1.2.2 Filter styles
1.2.3 Searching styles
1.5 Delete previously installed styles
2.1 Style
2.2 Zoom
2.3 Controls options
2.3.1 Street view
2.3.2 Draggable
2.3.3 Double click
2.3.4 Scroll wheel
Google Maps by BestWebSoft
You can download Google Maps by BestWebSoft here https://bestwebsoft.com/products/bws-google-maps/.
Introduction
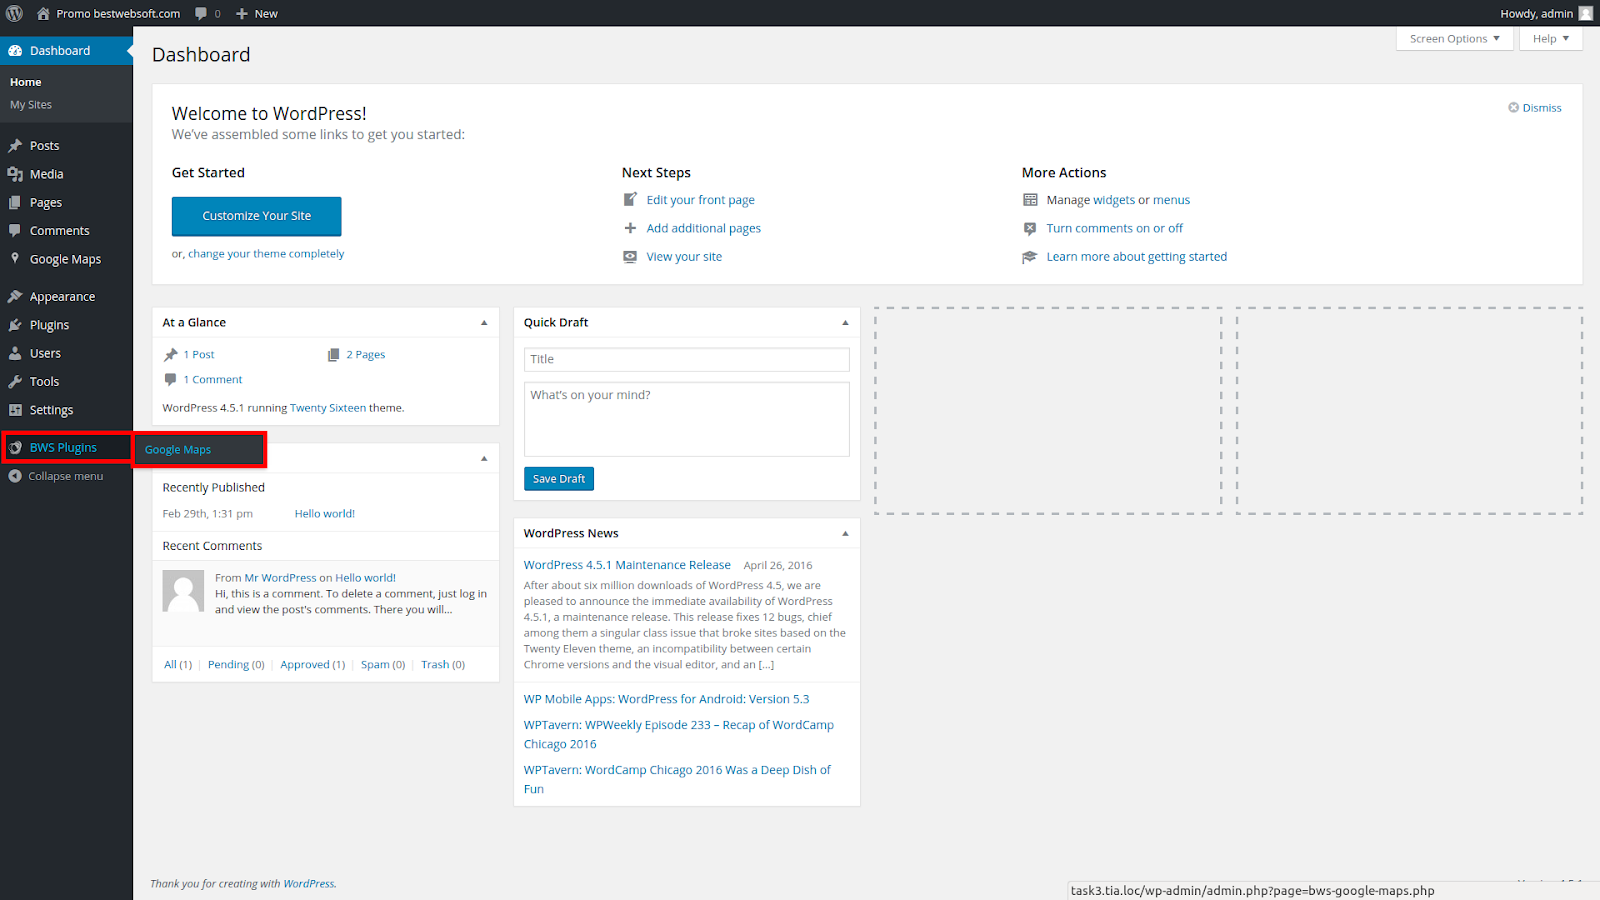
- In your Dashboard find the menu on your left:

- Select “BWS Plugins” => ”Google Maps”:
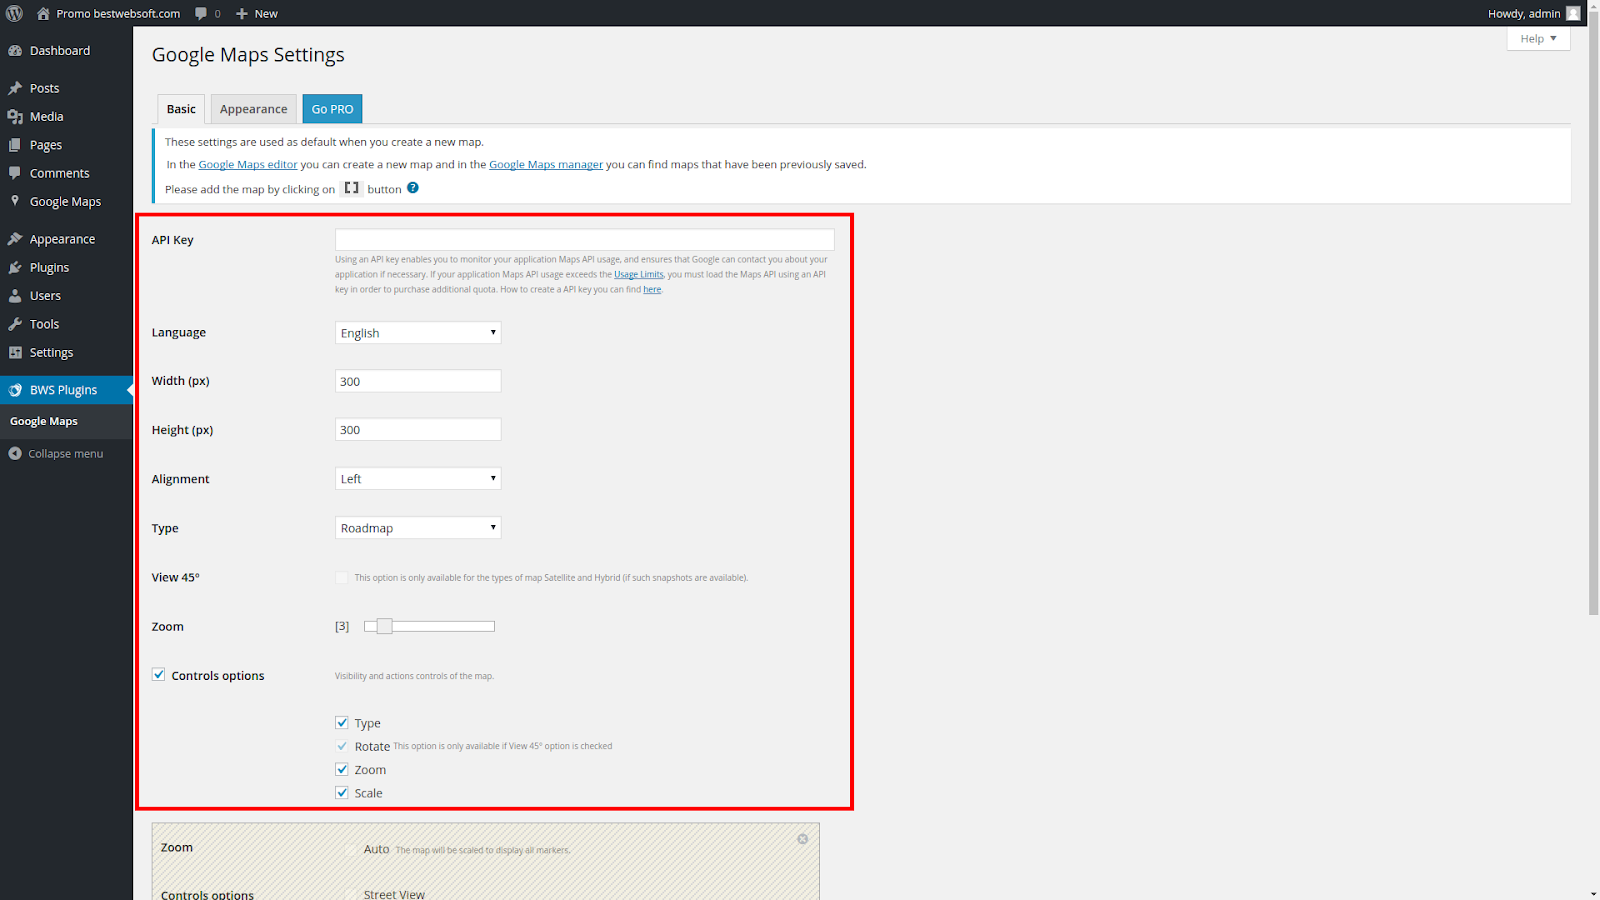
- You will see Google Maps Settings page:

- Configure the plugin the way you like:
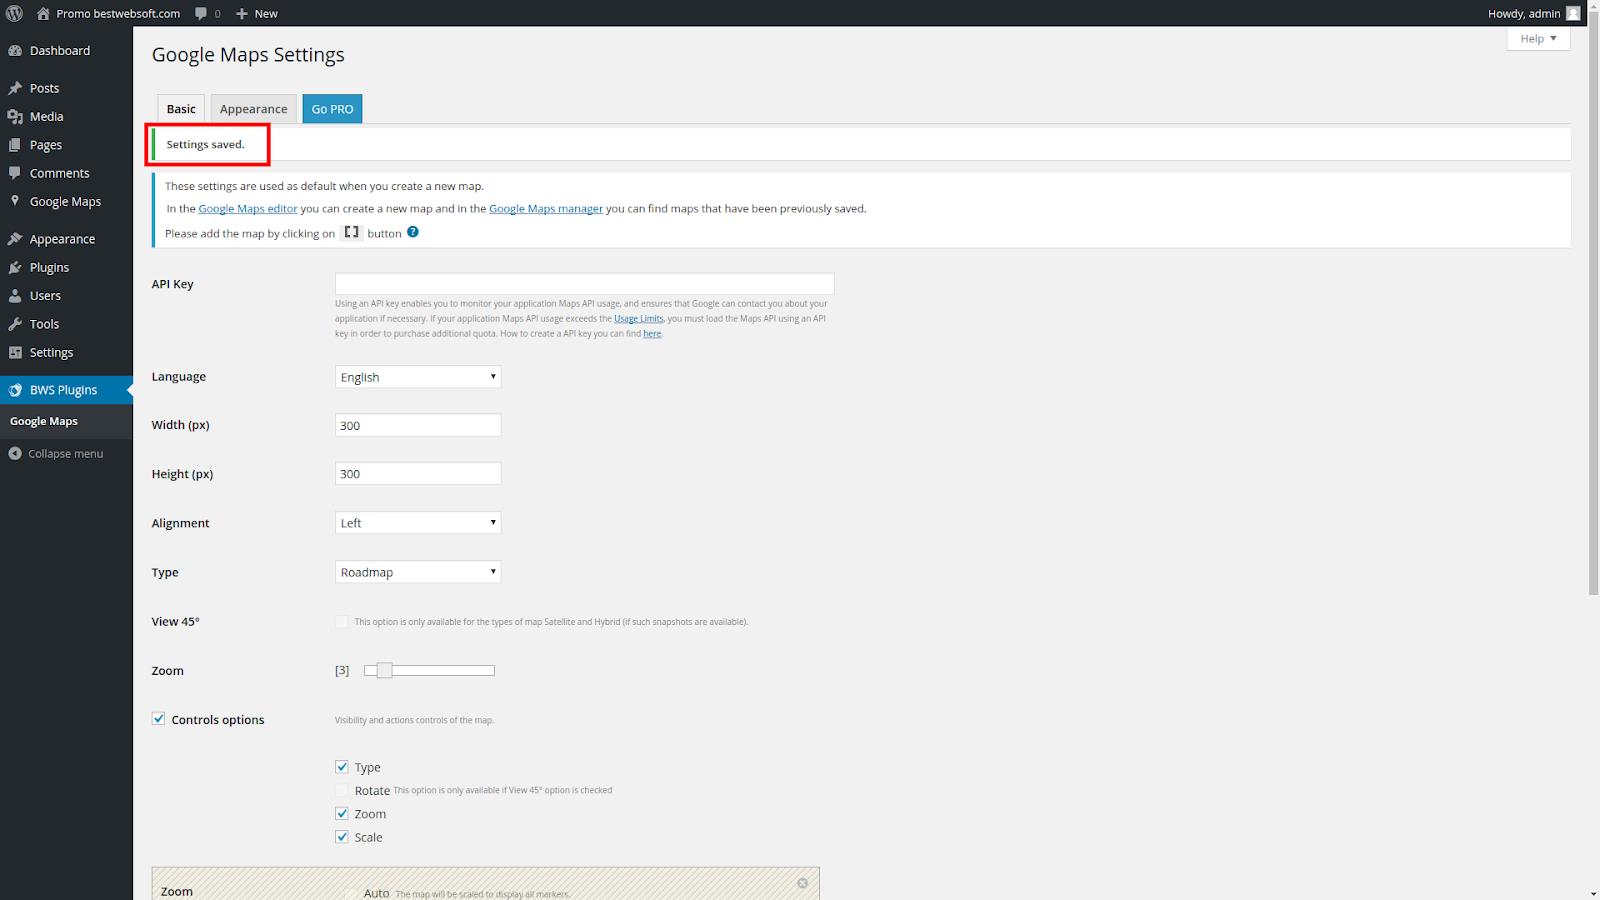
- After you changed plugin’s settings click “Save Settings” button:

A confirmation text box will appear at the top of the page telling that the settings have been saved:
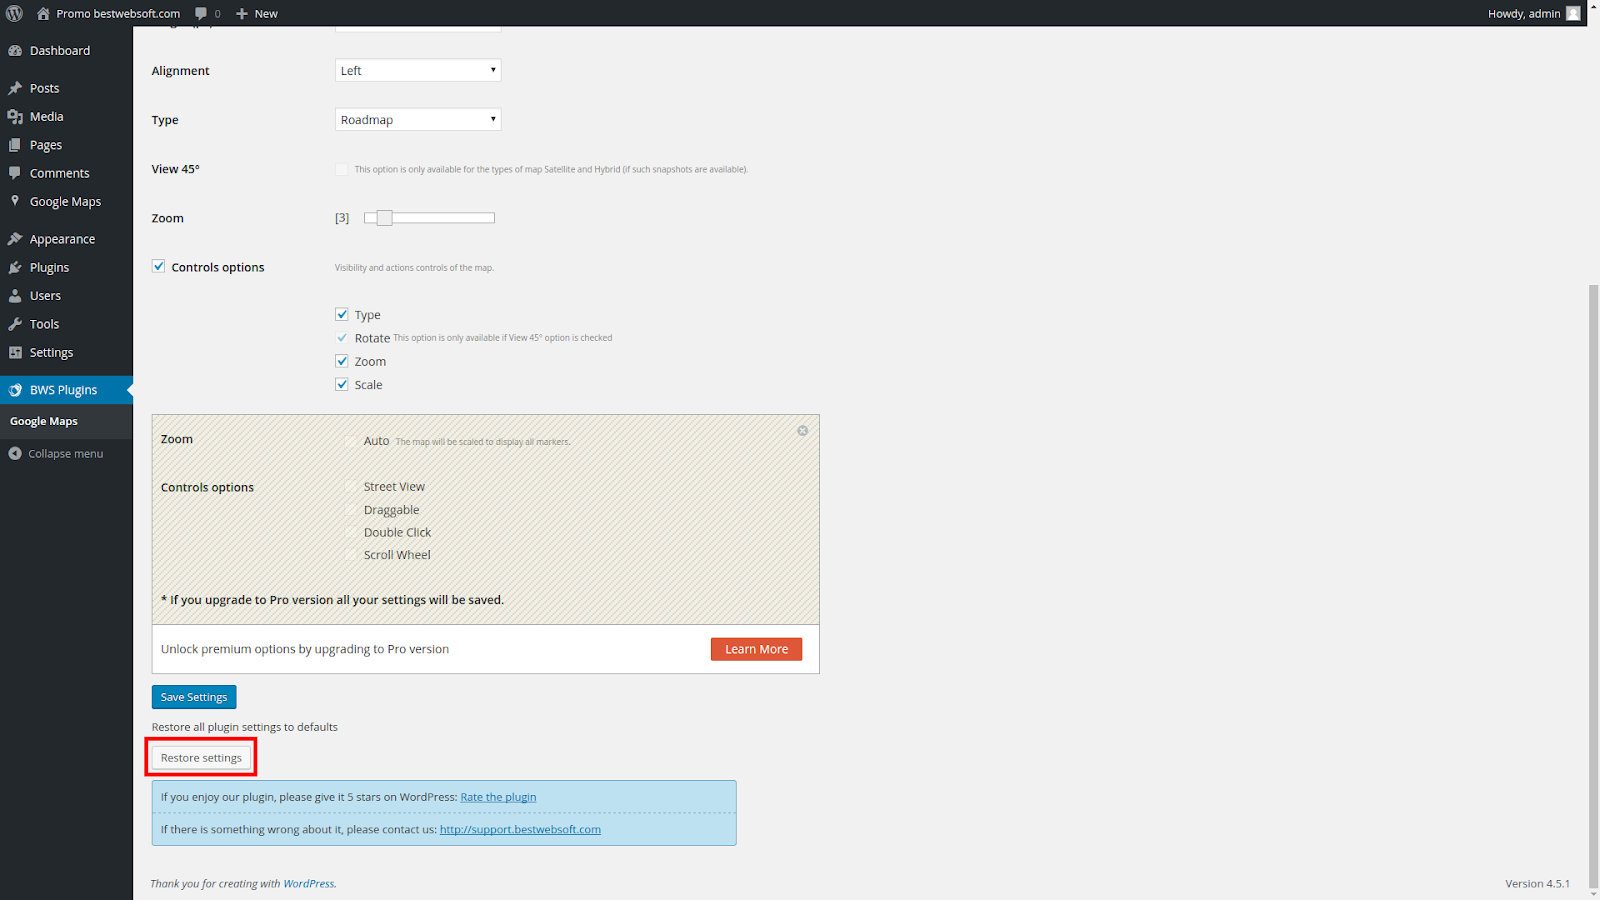
- You can restore all settings to default state by clicking “Restore settings” button:
You will see the confirmation window where you should click “Yes, restore all settings” button:

All the settings will be restored and a confirmation text box will appear at the top of the page telling that the settings have been restored:

Basic Settings page
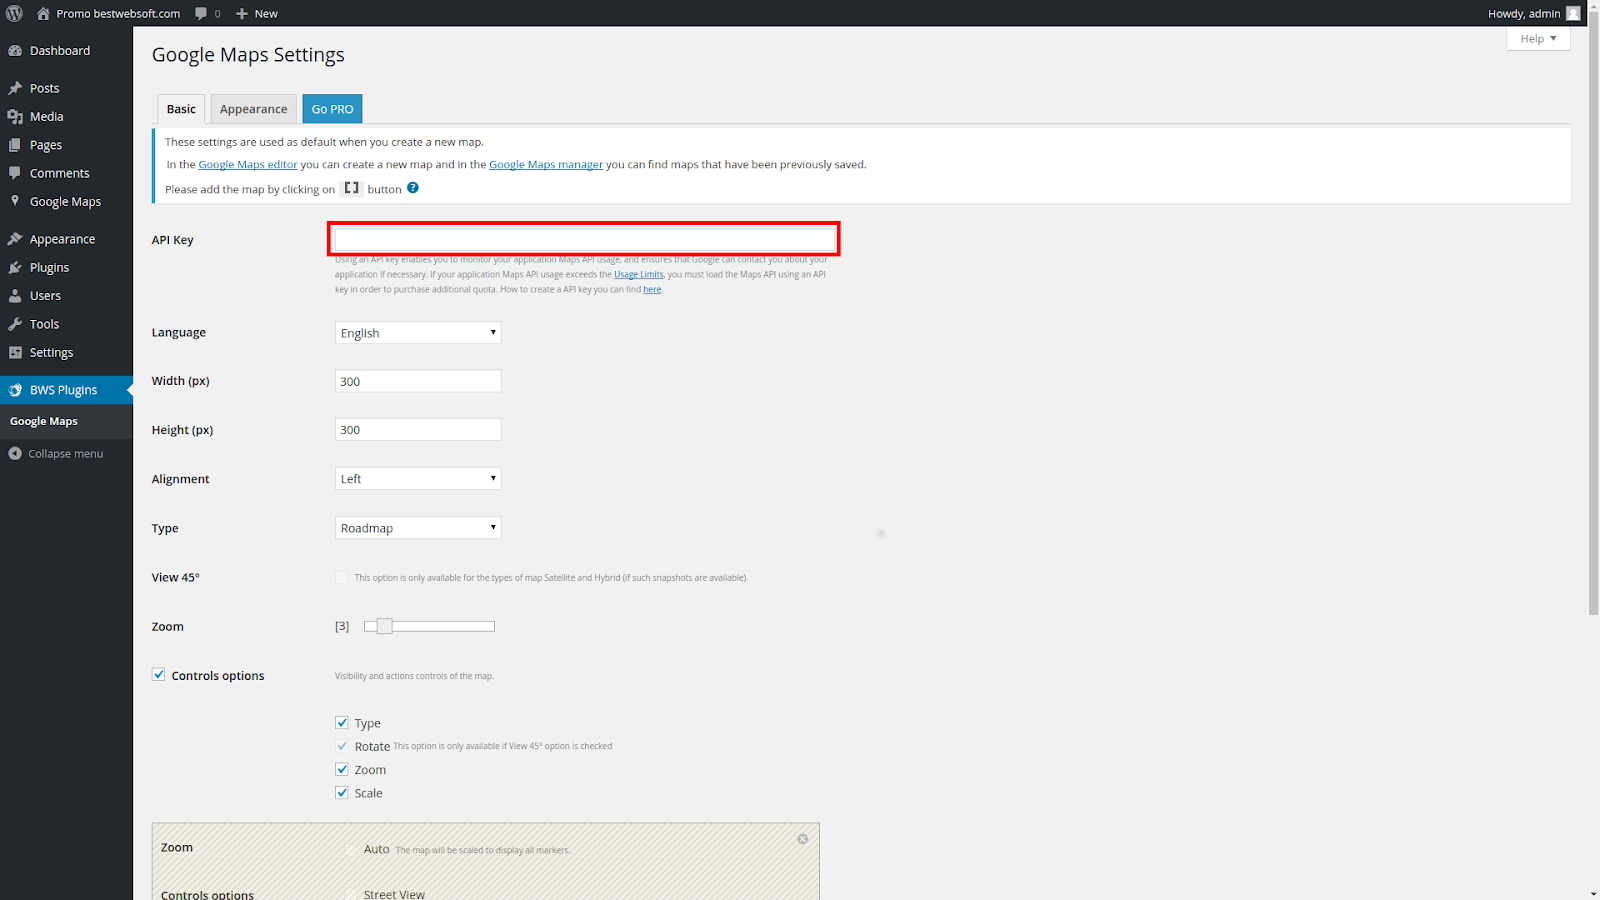
Add an API Key
API key allows to monitor your application API usage and ensures that Google can contact you about your application if necessary. If you exceeded the free Usage Limits, you can purchase additional quota by loading the Maps API using an API key. How to create API key.
If you already have an API key, paste it in the “API Key” field:
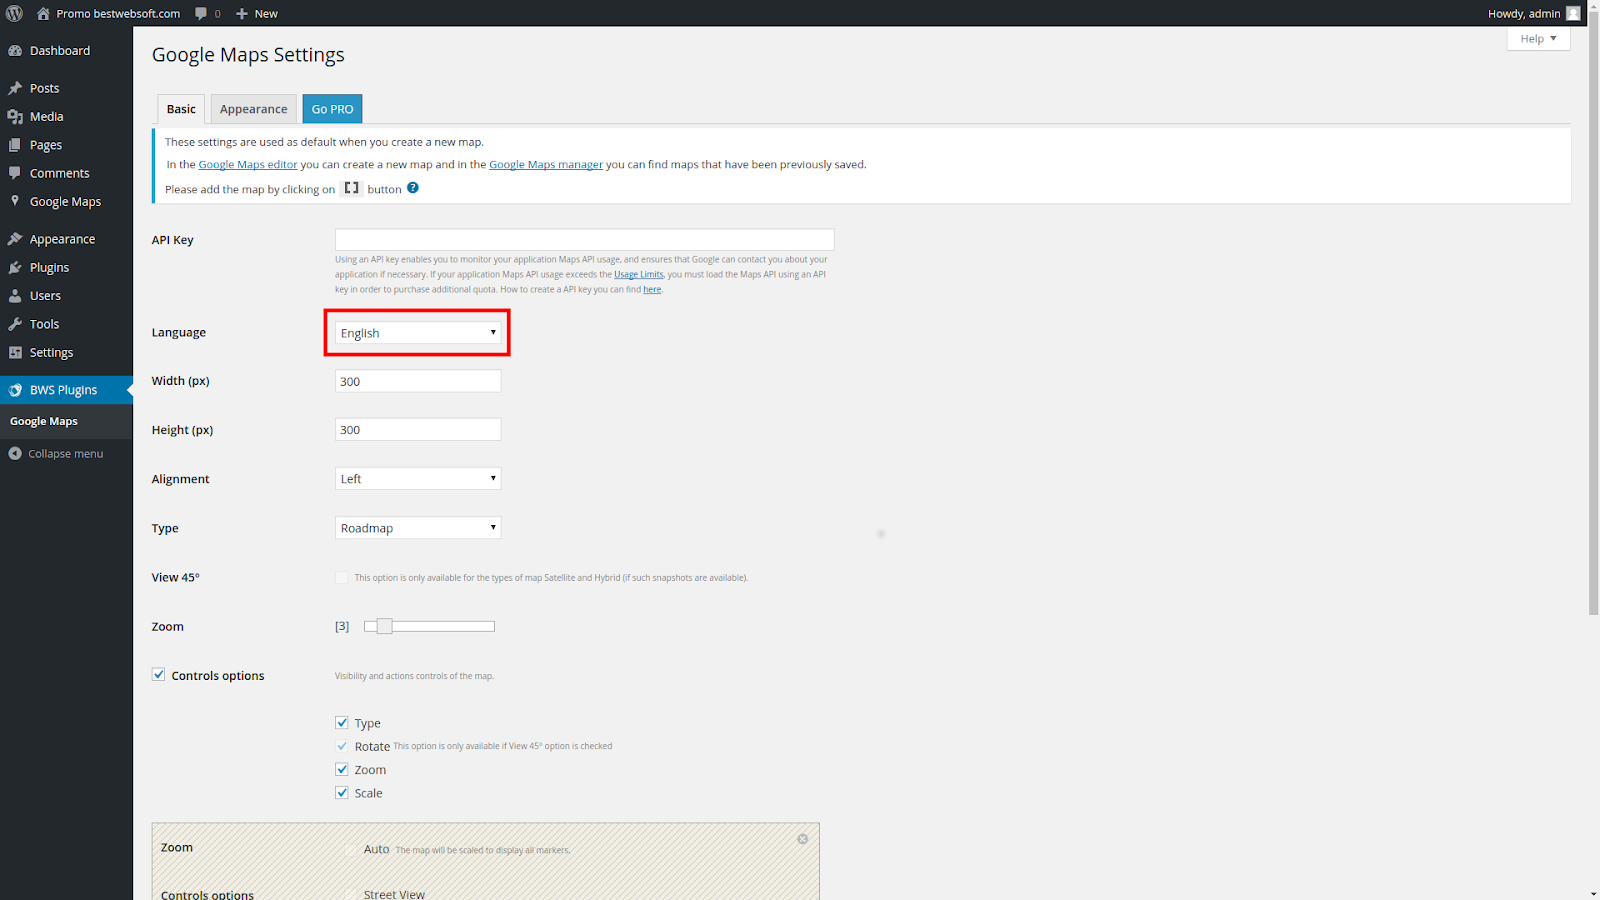
Set Google Maps interface language
Choose a language for Google Maps user interface (including all the names and descriptions on Google Maps):
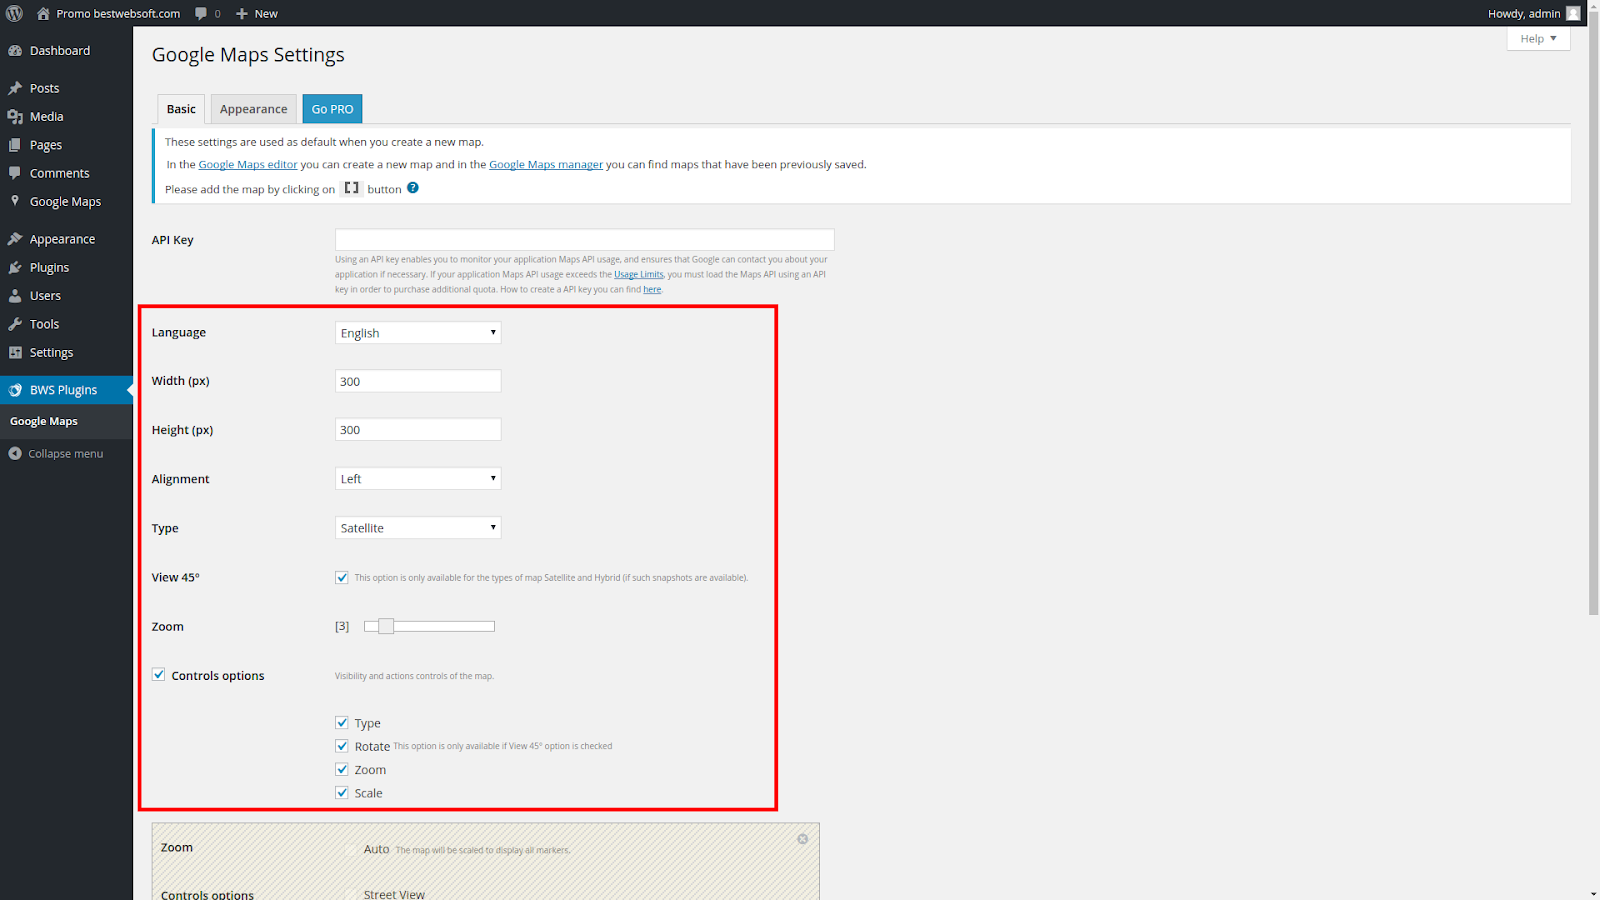
Configure default Google Maps Editor settings
Configure Basic Google Map Settings page. These settings (except API key and Language) considered default for all newly created maps and displayed on Google Maps Editor page. You can configure default settings by editing these fields:
Create a Google Map
Click “Google Maps” => “Add New”:
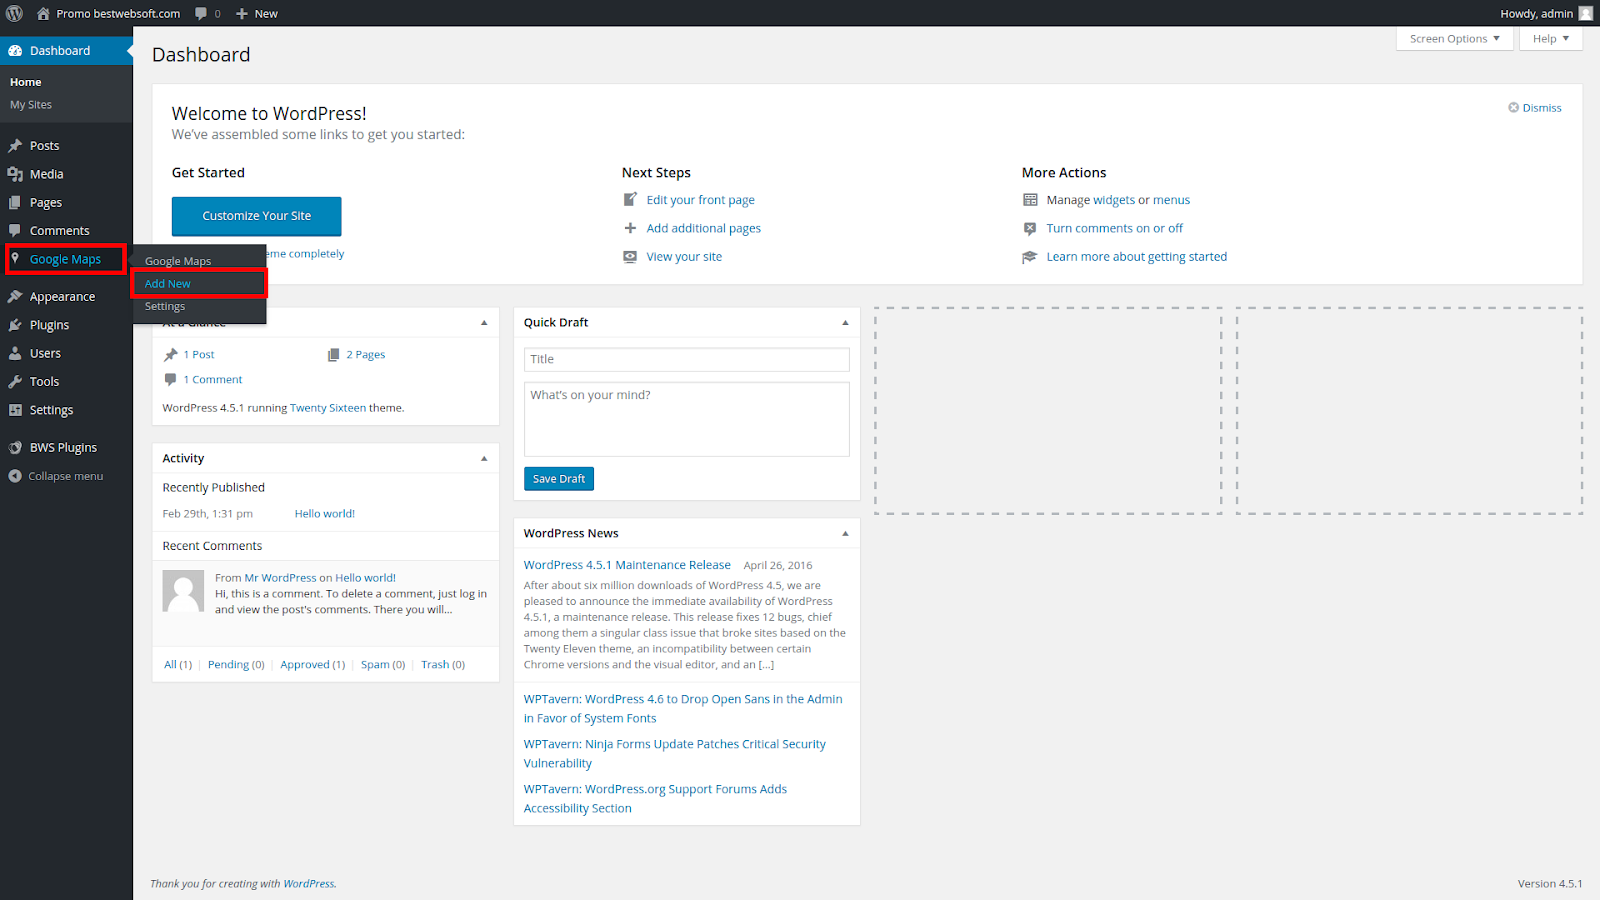
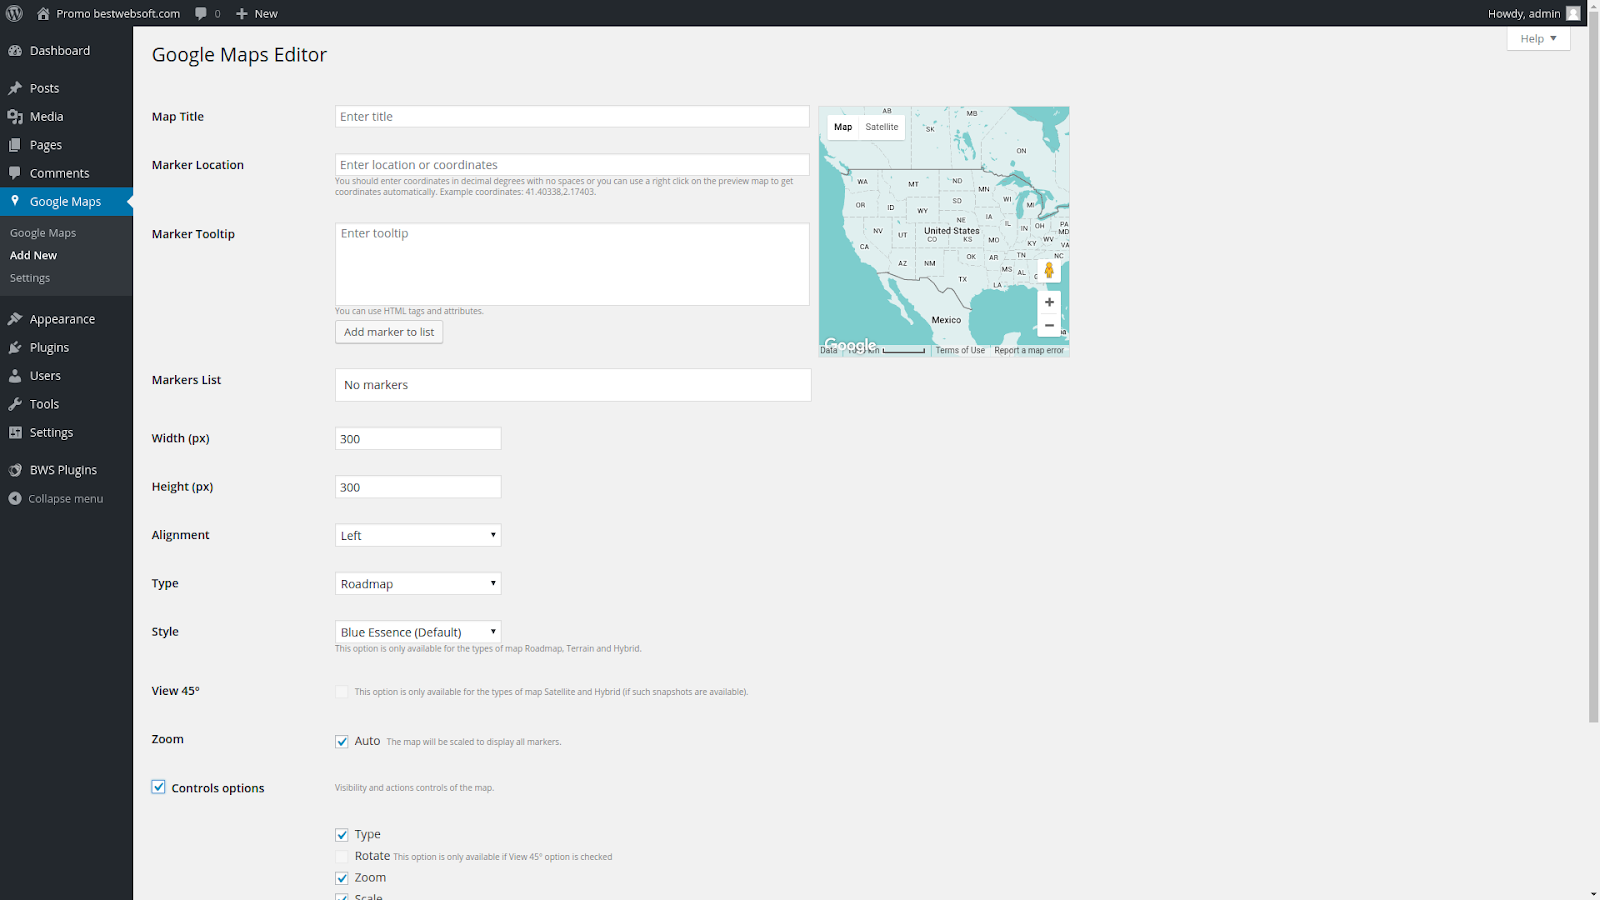
You will see Google Maps Editor page:

All the settings on this page are default for newly created maps and can be configured on the plugin’s Basic Settings page.
Add Map Title
You can enter the name of a Google Map by editing the Map Title field:
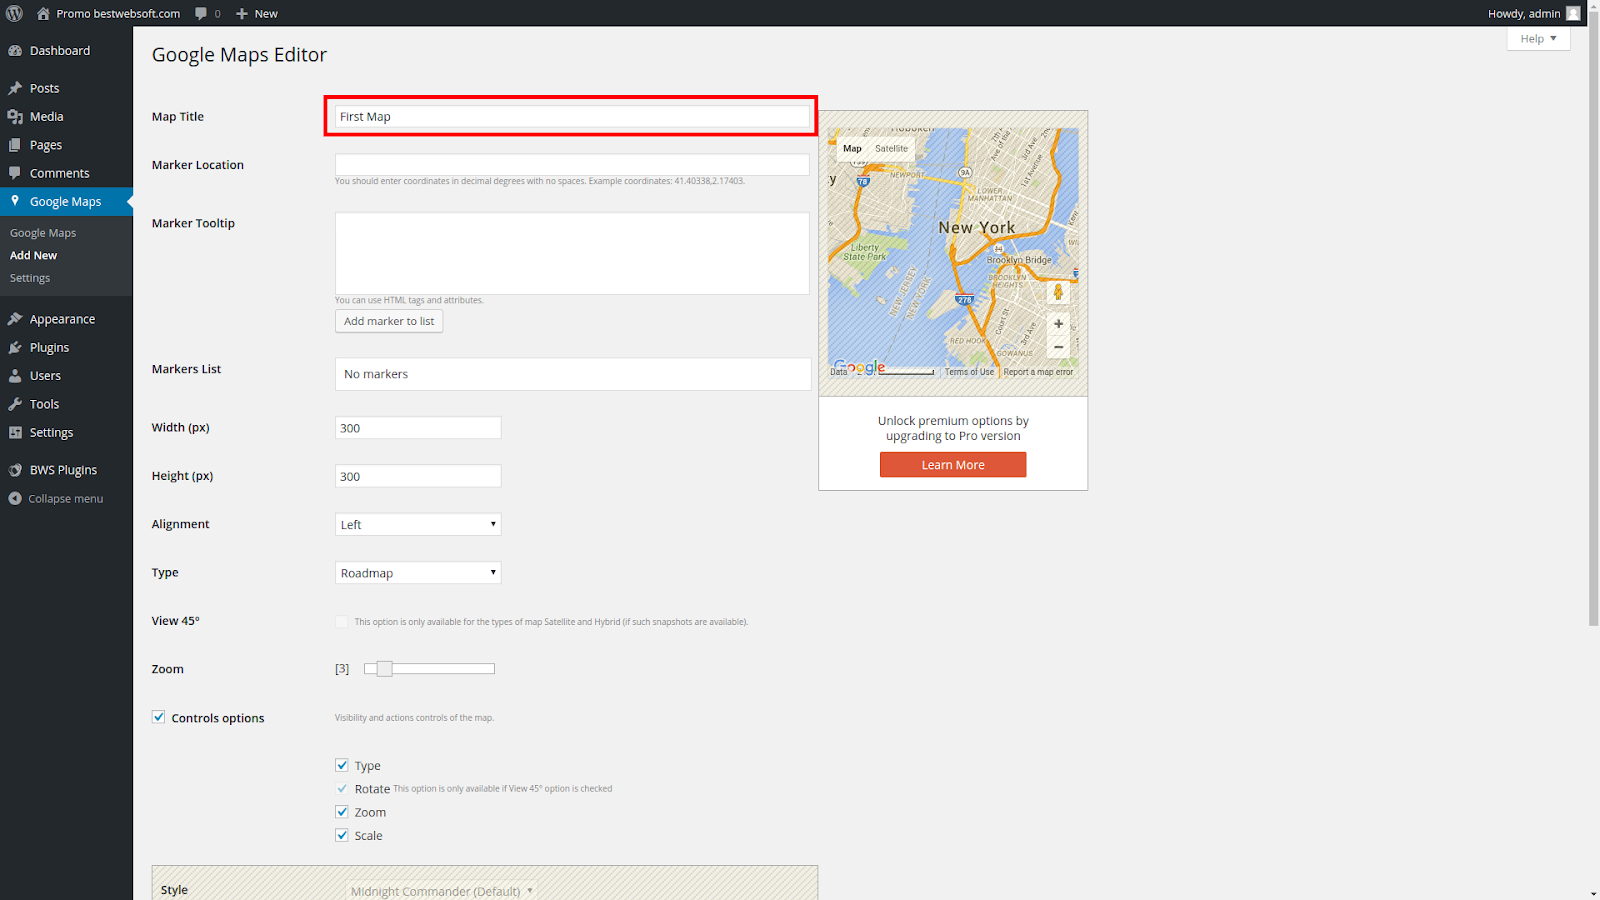
This name will be used in the list of existing Google Maps:

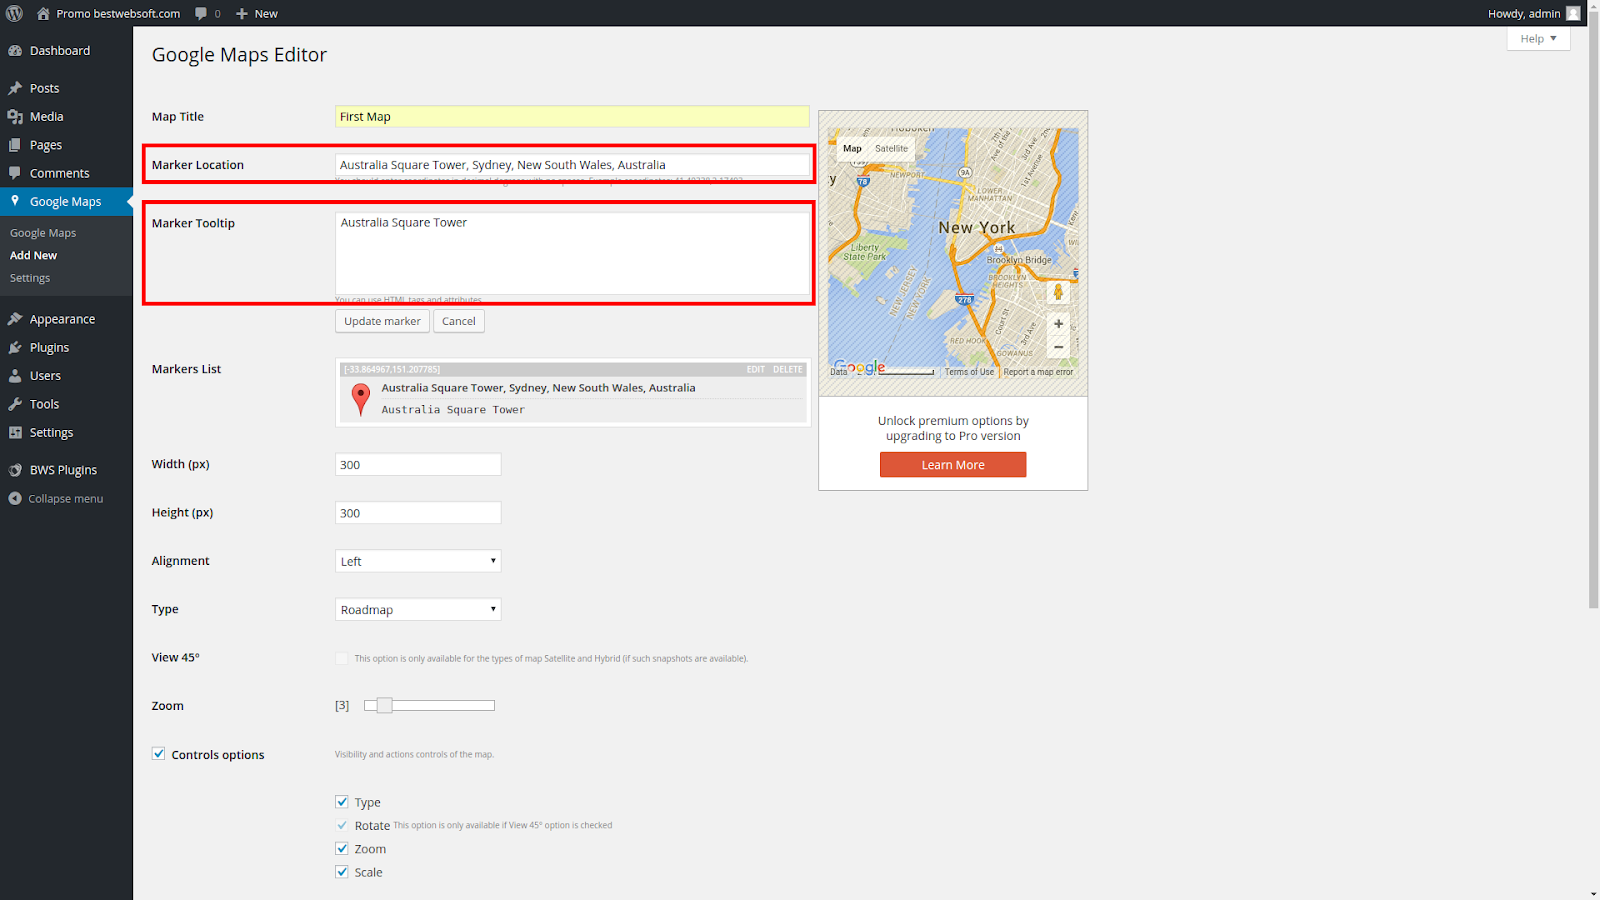
Add markers
You can add markers to Google Maps to pin any locations. To add a marker fill in the Marker Location field, Marker Tooltip field (optionally) and click “Add marker to list” button:
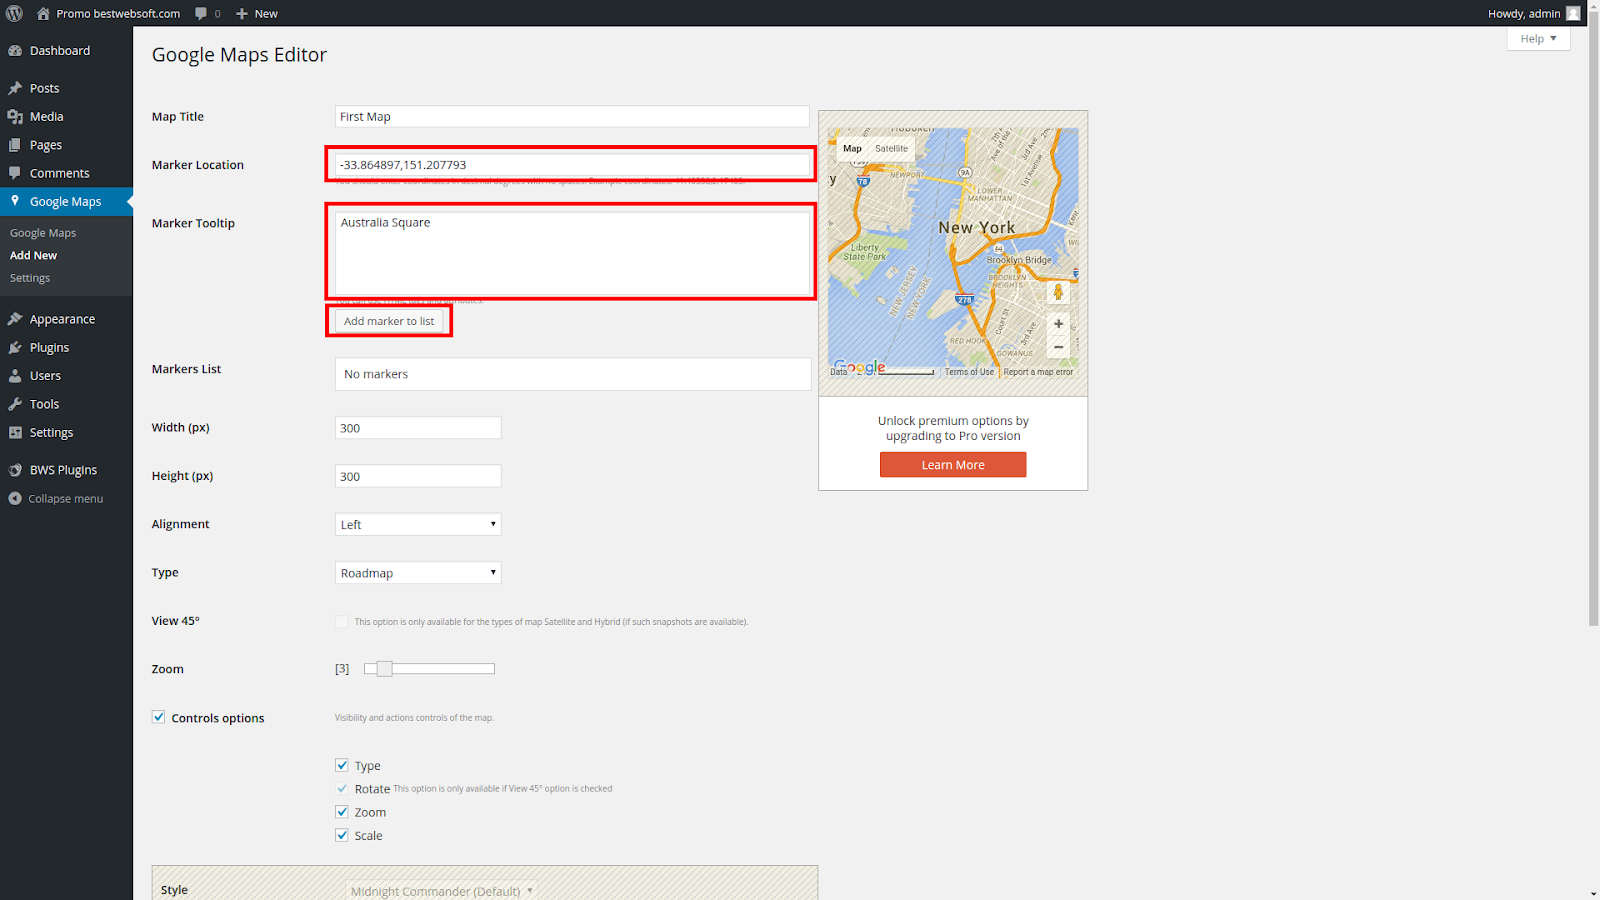
Marker Location coordinates should be entered in decimal degrees with no spaces. Example coordinates: 41.40338,2.17403.
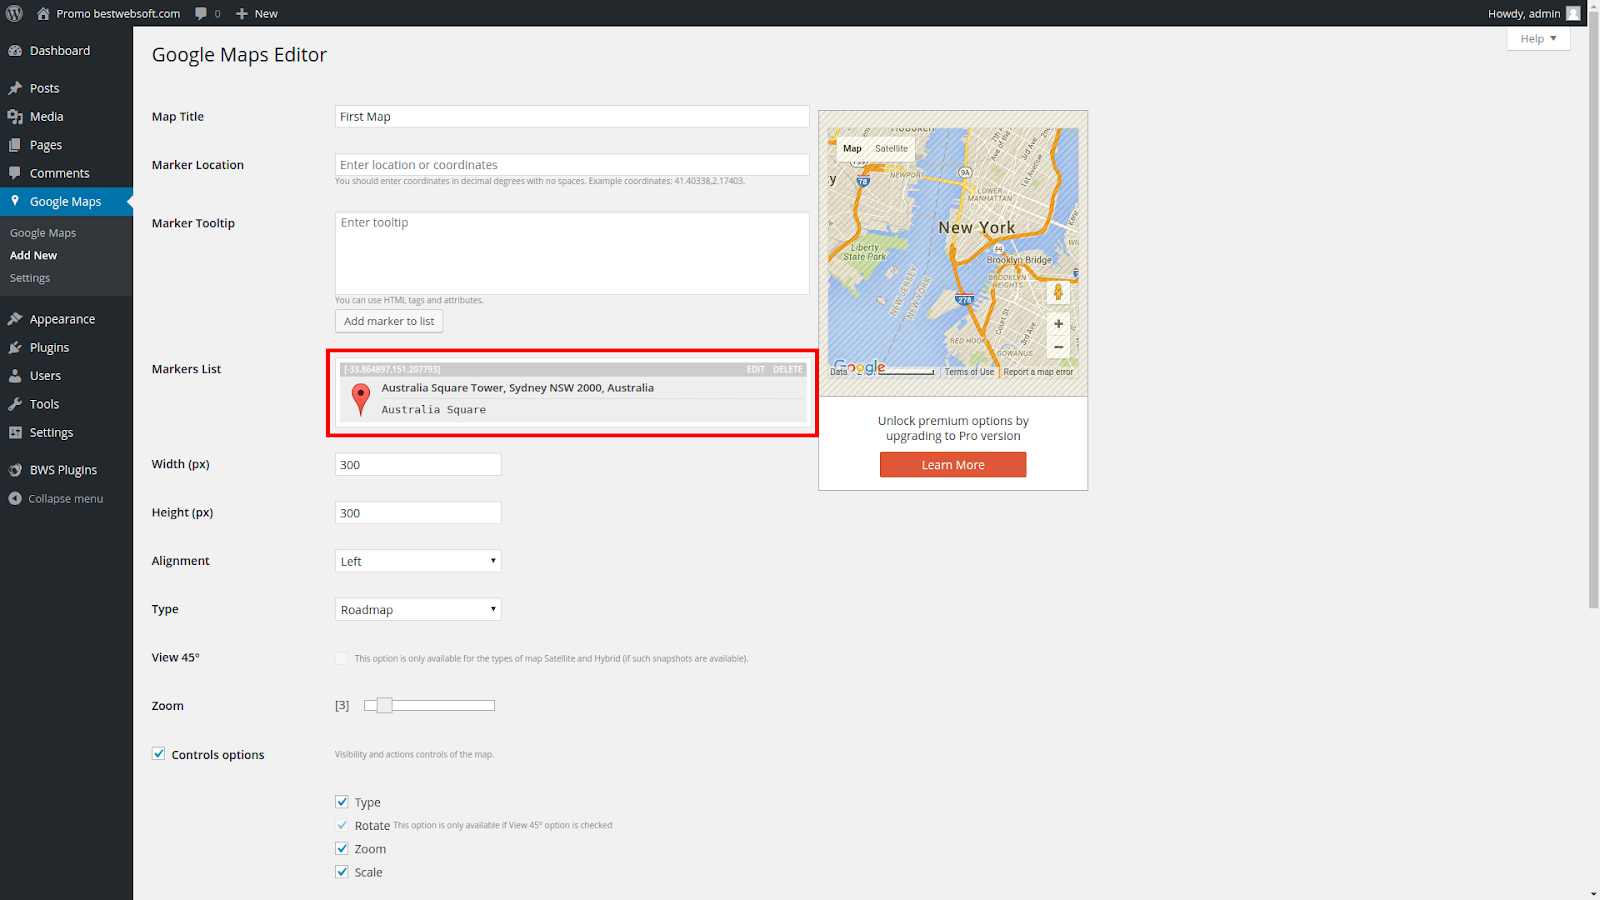
After adding marker you will see a list of added markers:
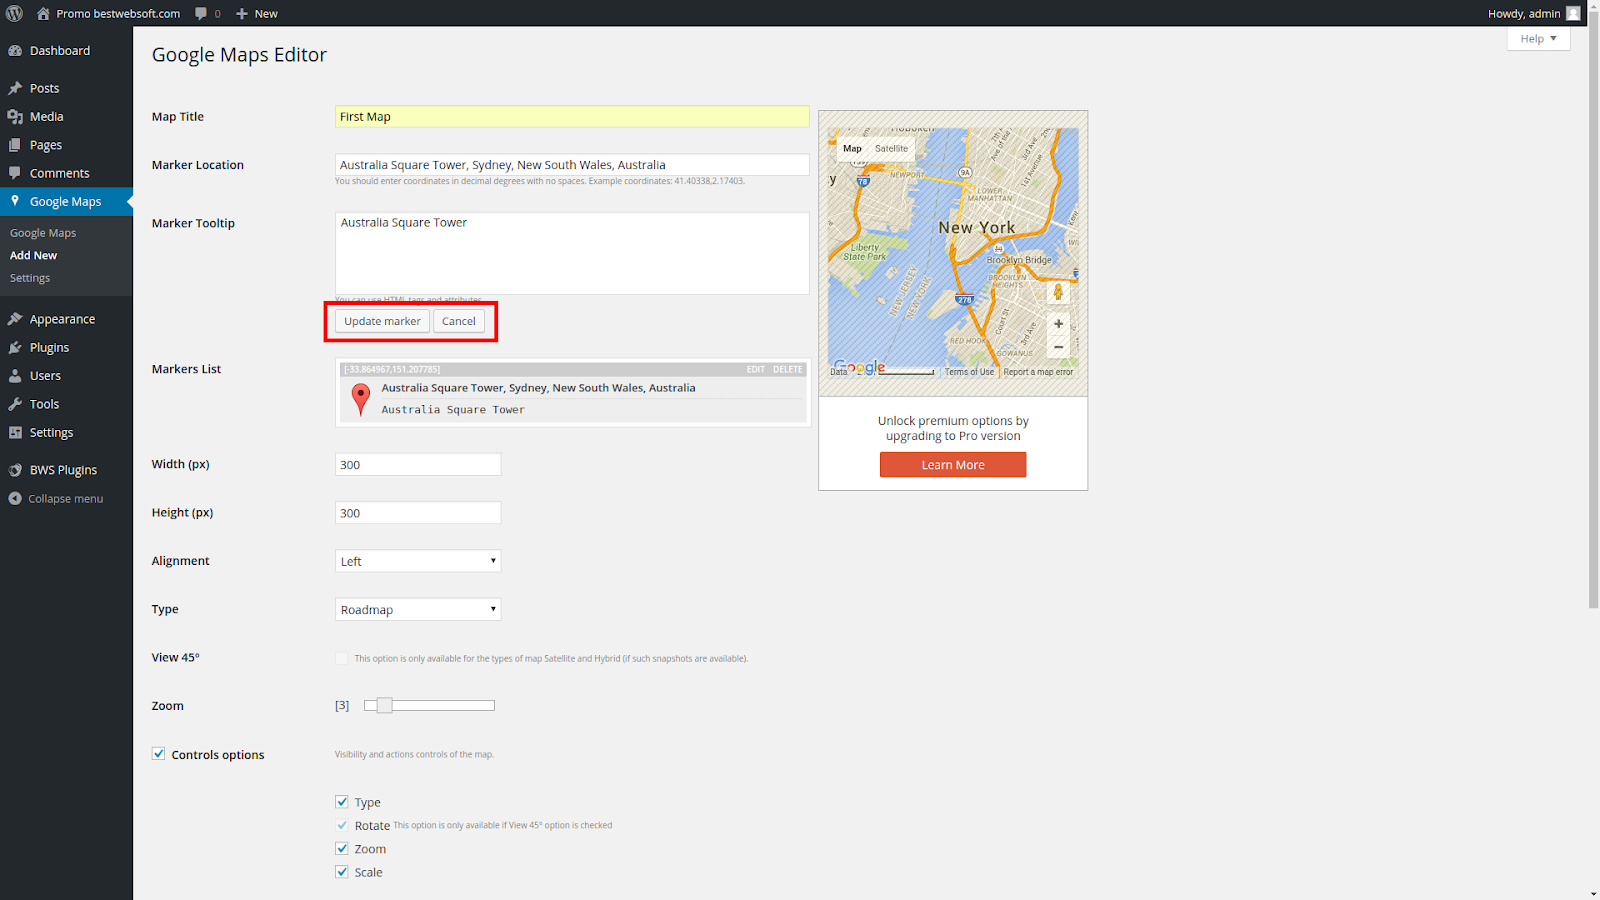
To edit a marker click Edit button:
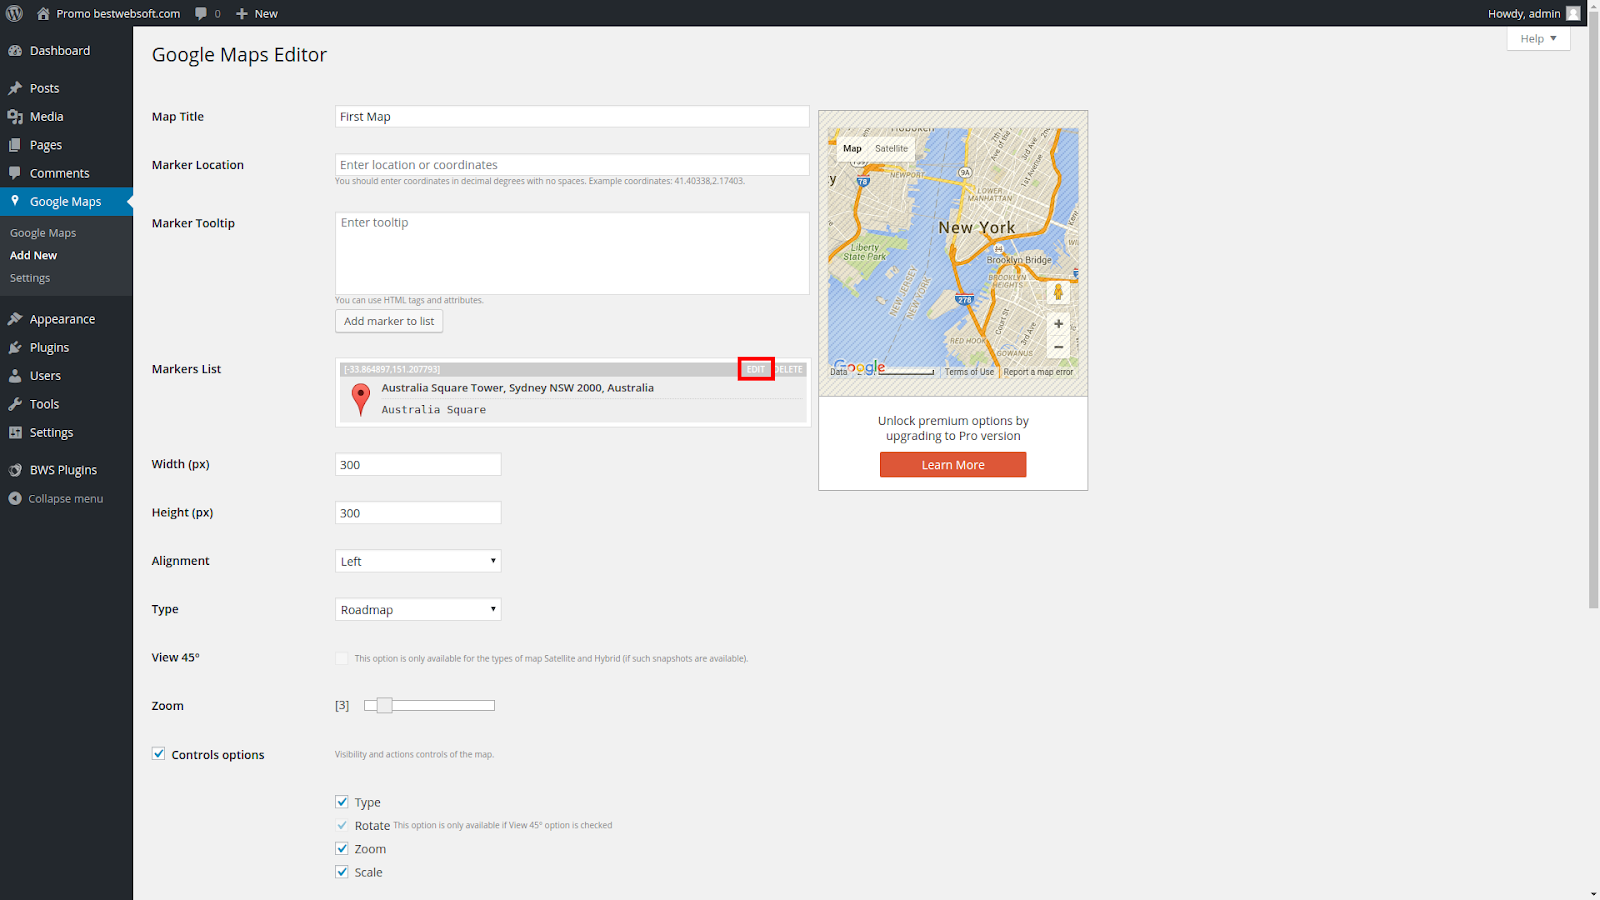
Marker Location and Marker Tooltip will show up in the corresponding fields:
After you made all necessary changes, click “Update Marker” button to apply changes or “Cancel” button to cancel changes:
To delete marker from the list click “Delete” button:

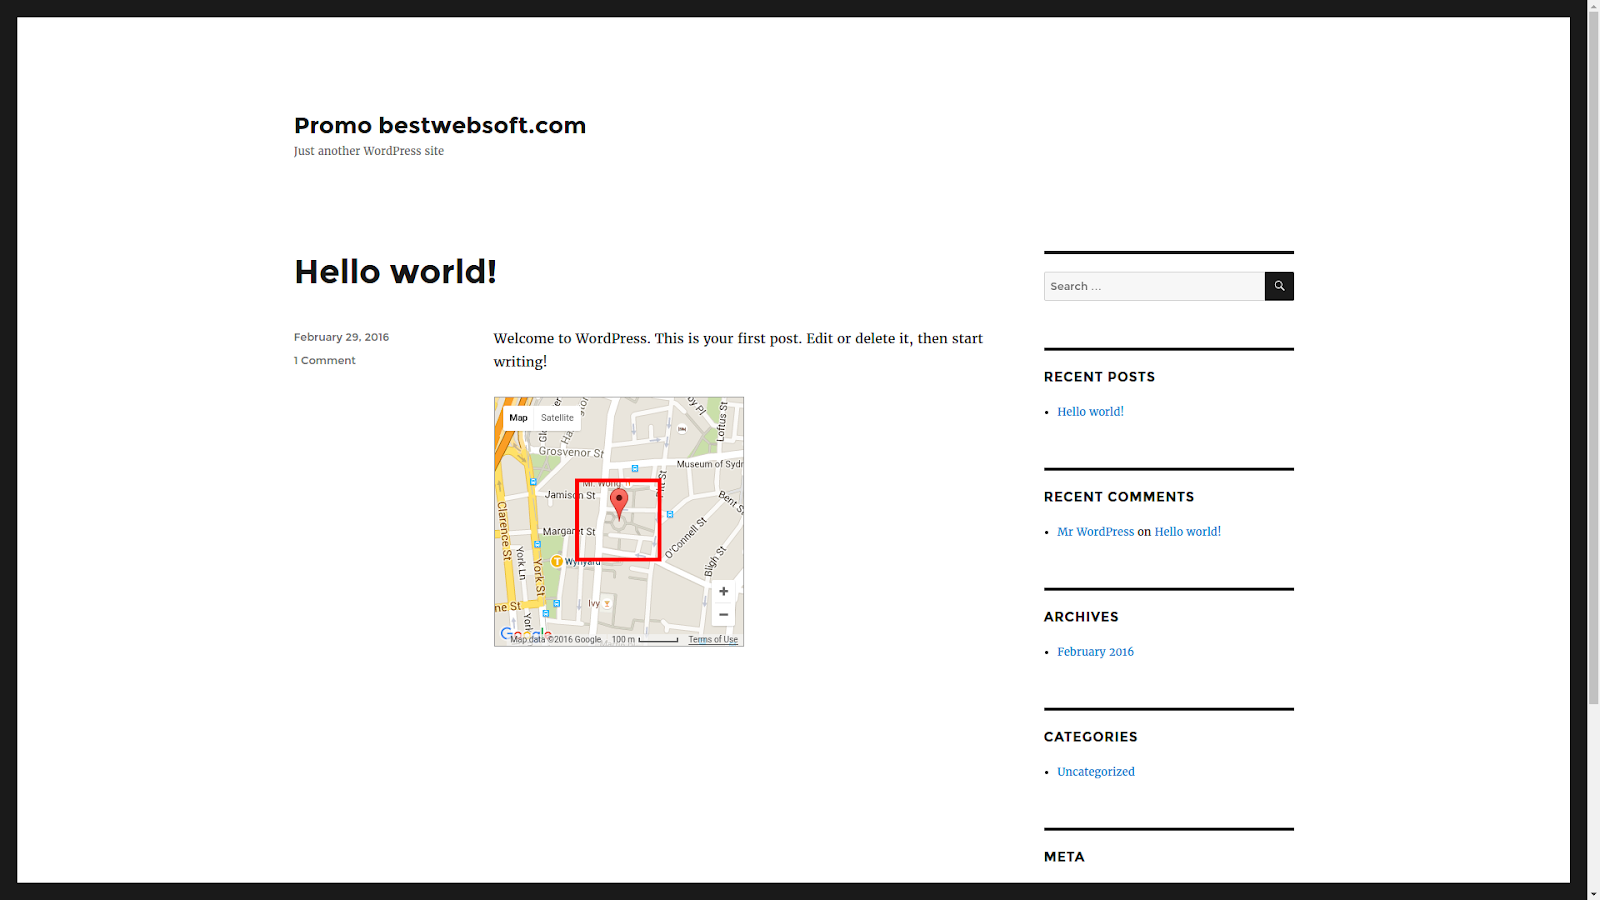
The added marker will be placed in the middle on the map:
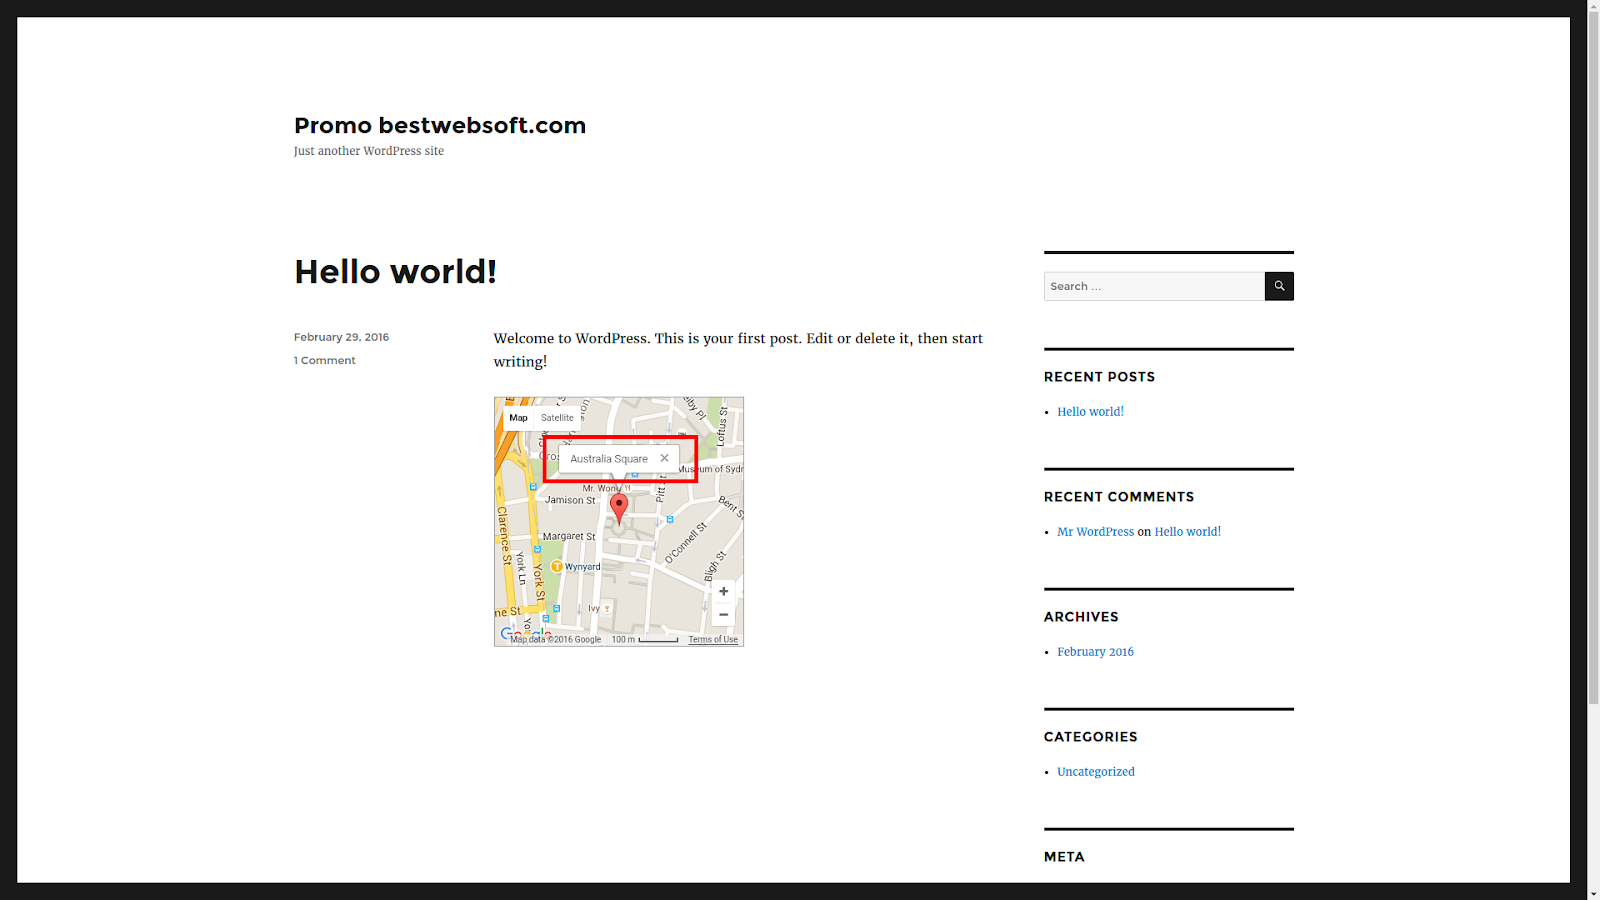
Optionally you can type in a marker tooltip. It will be displayed on the map above the marker on your post page:
Map size
You can change map sizes by adjusting the Width (px) and Height (px) fields:

A map with custom width and height will look the following way:
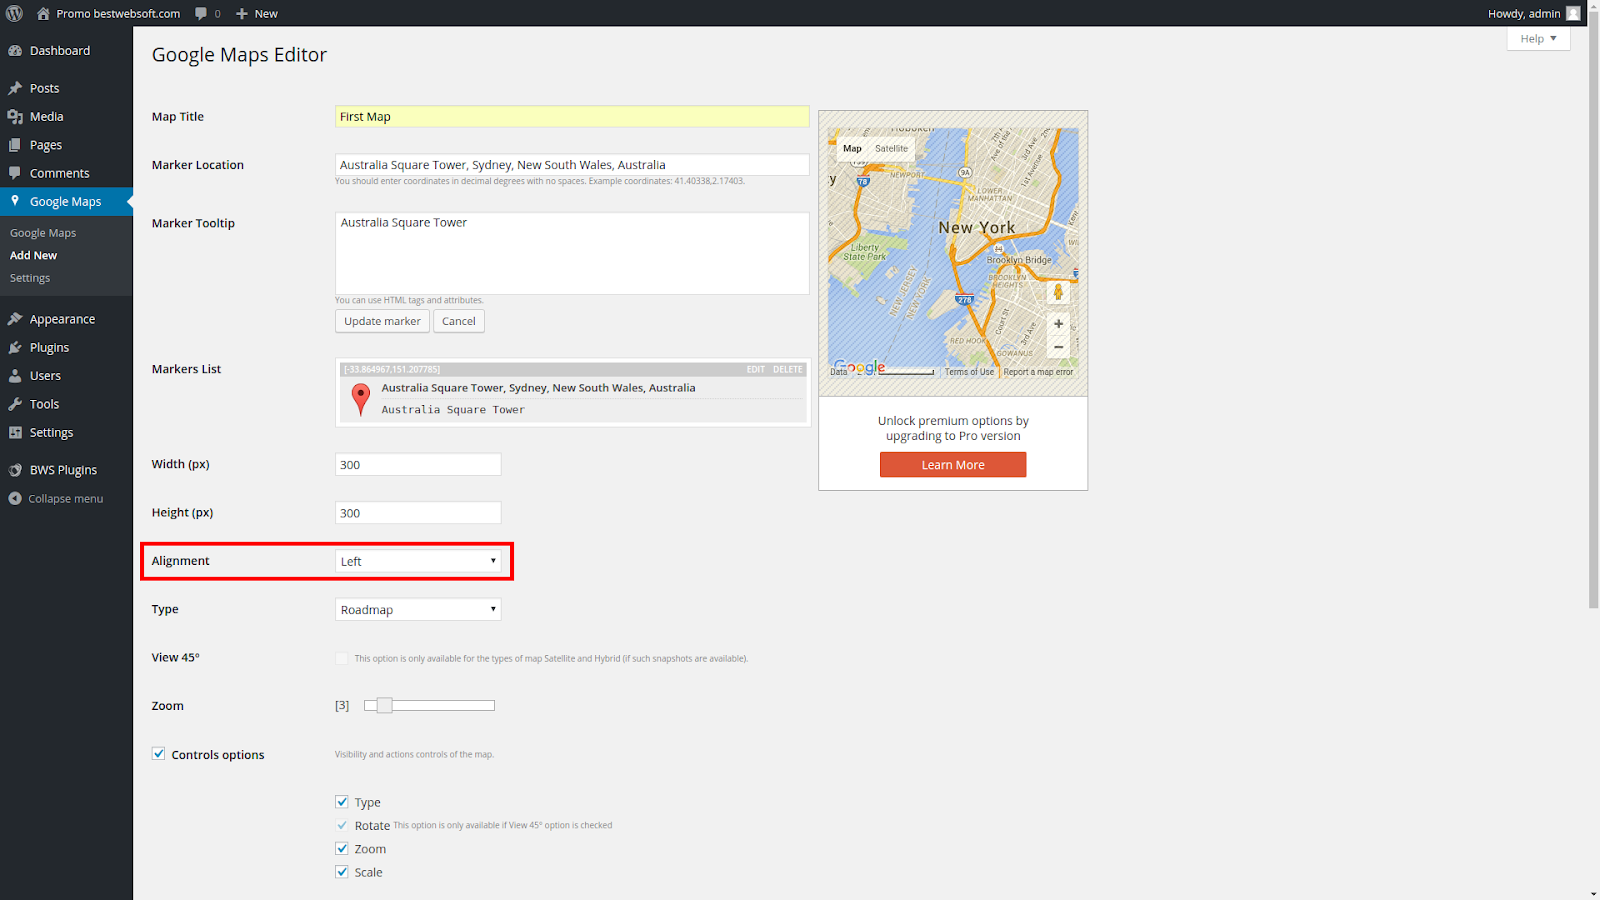
Map alignment
You can change map alignment on post page using Alignment field:
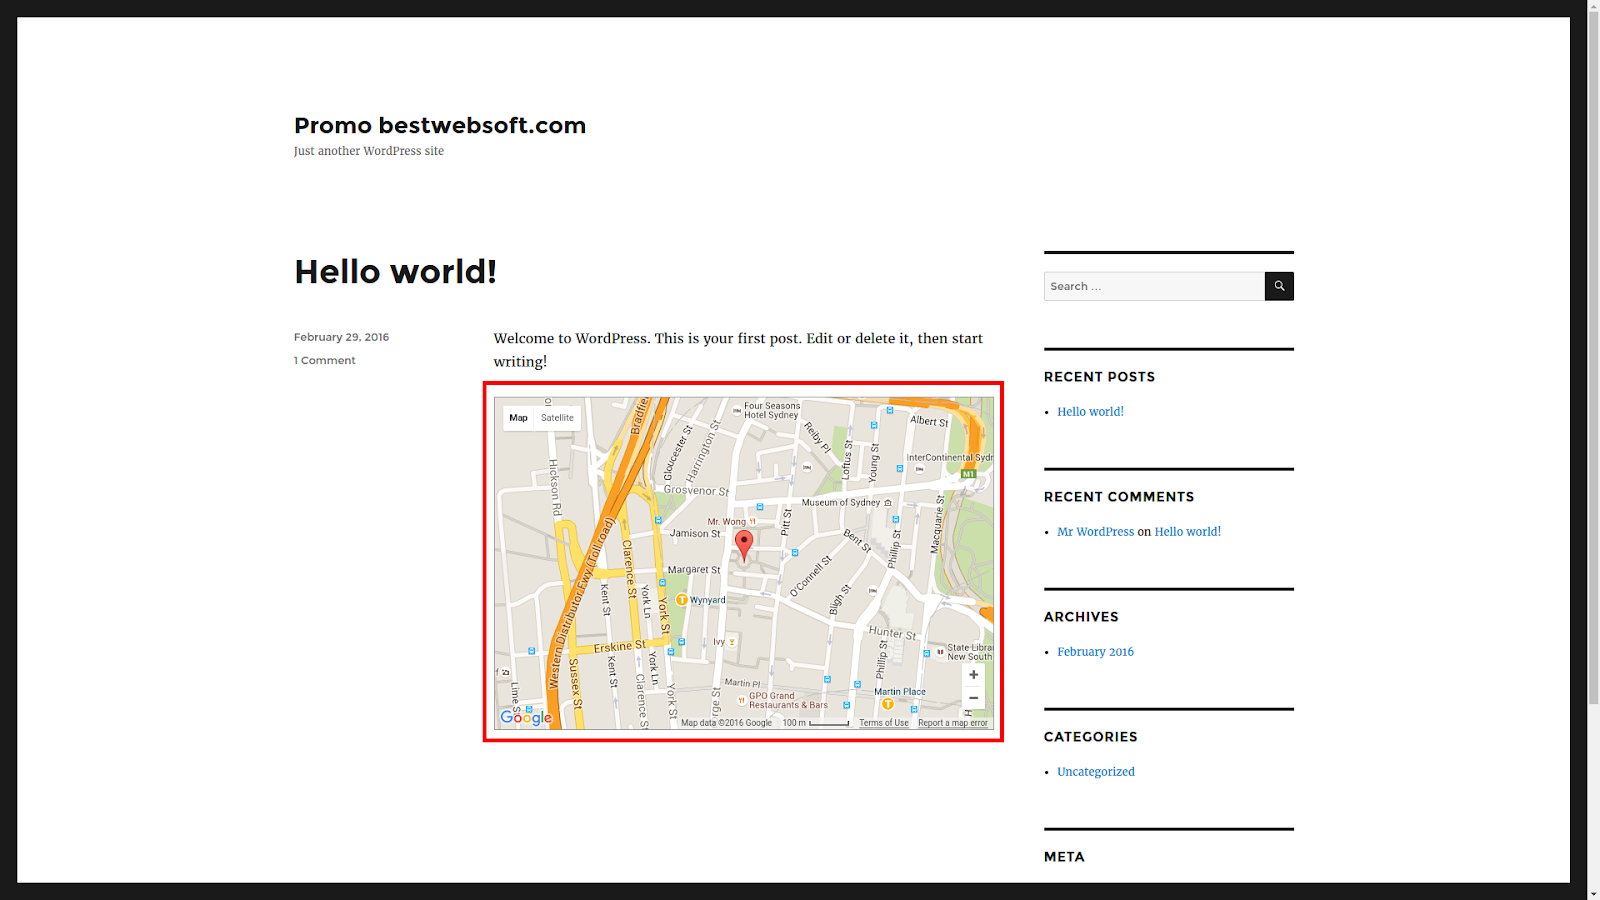
A map with the Left alignment on the post page will look the following way:

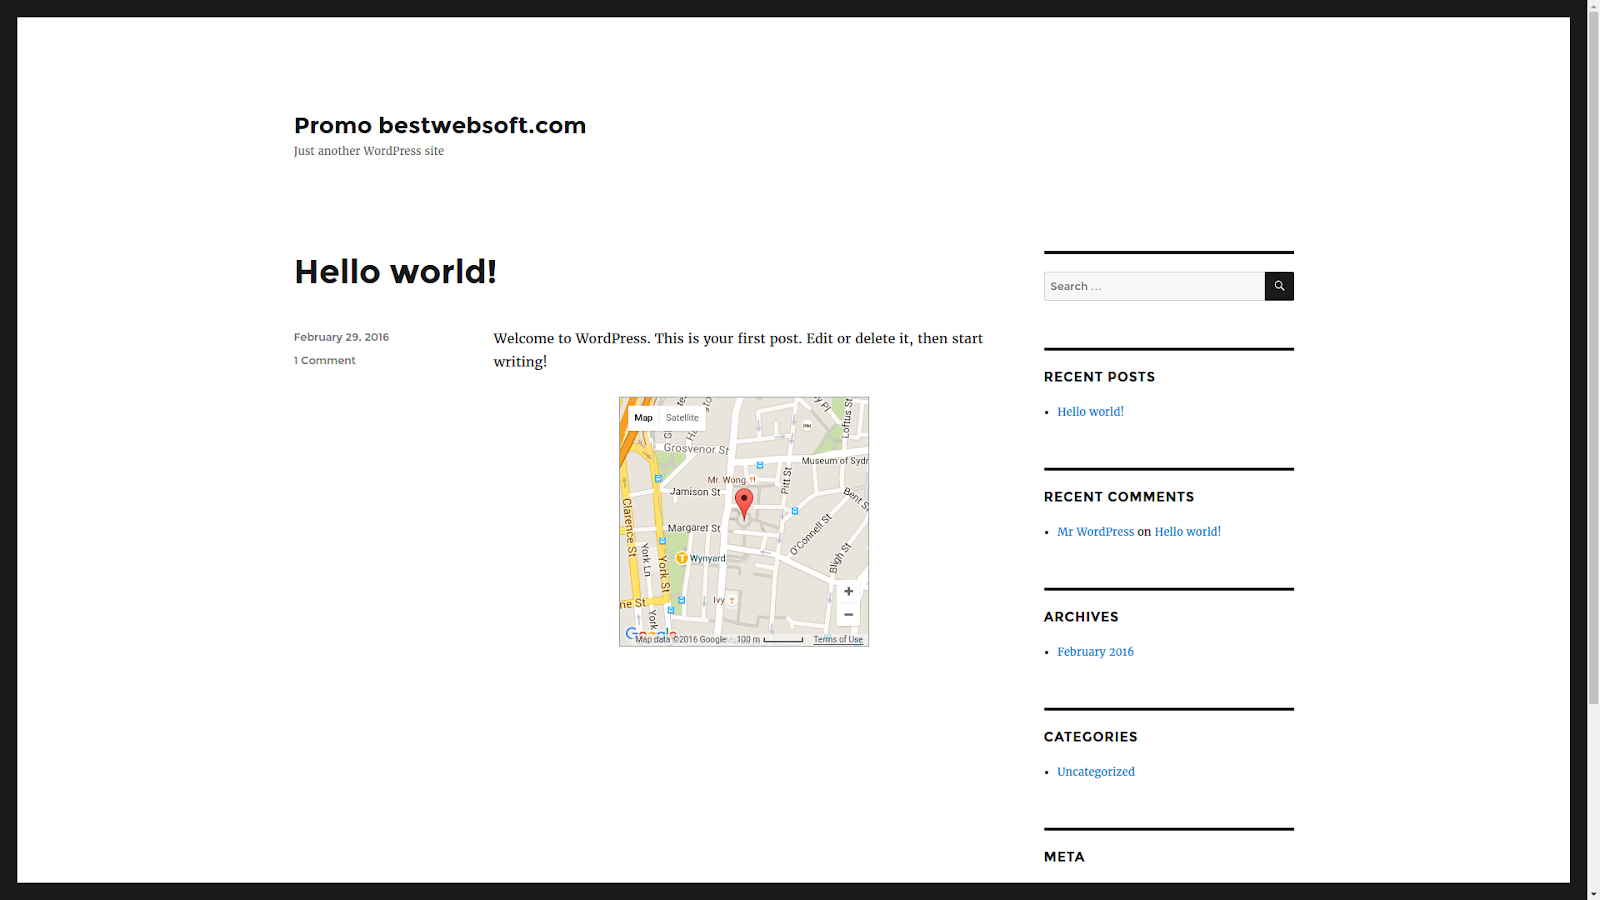
A map with the Center alignment on the post page will look the following way:
A map with the Right alignment on the post page will look the following way:

Map type
You can change map type on post or page using Map Type field:

A map with the Roadmap type selected on post or page will look the following way:

A map with the Terrain map type selected on post page will look the following way:

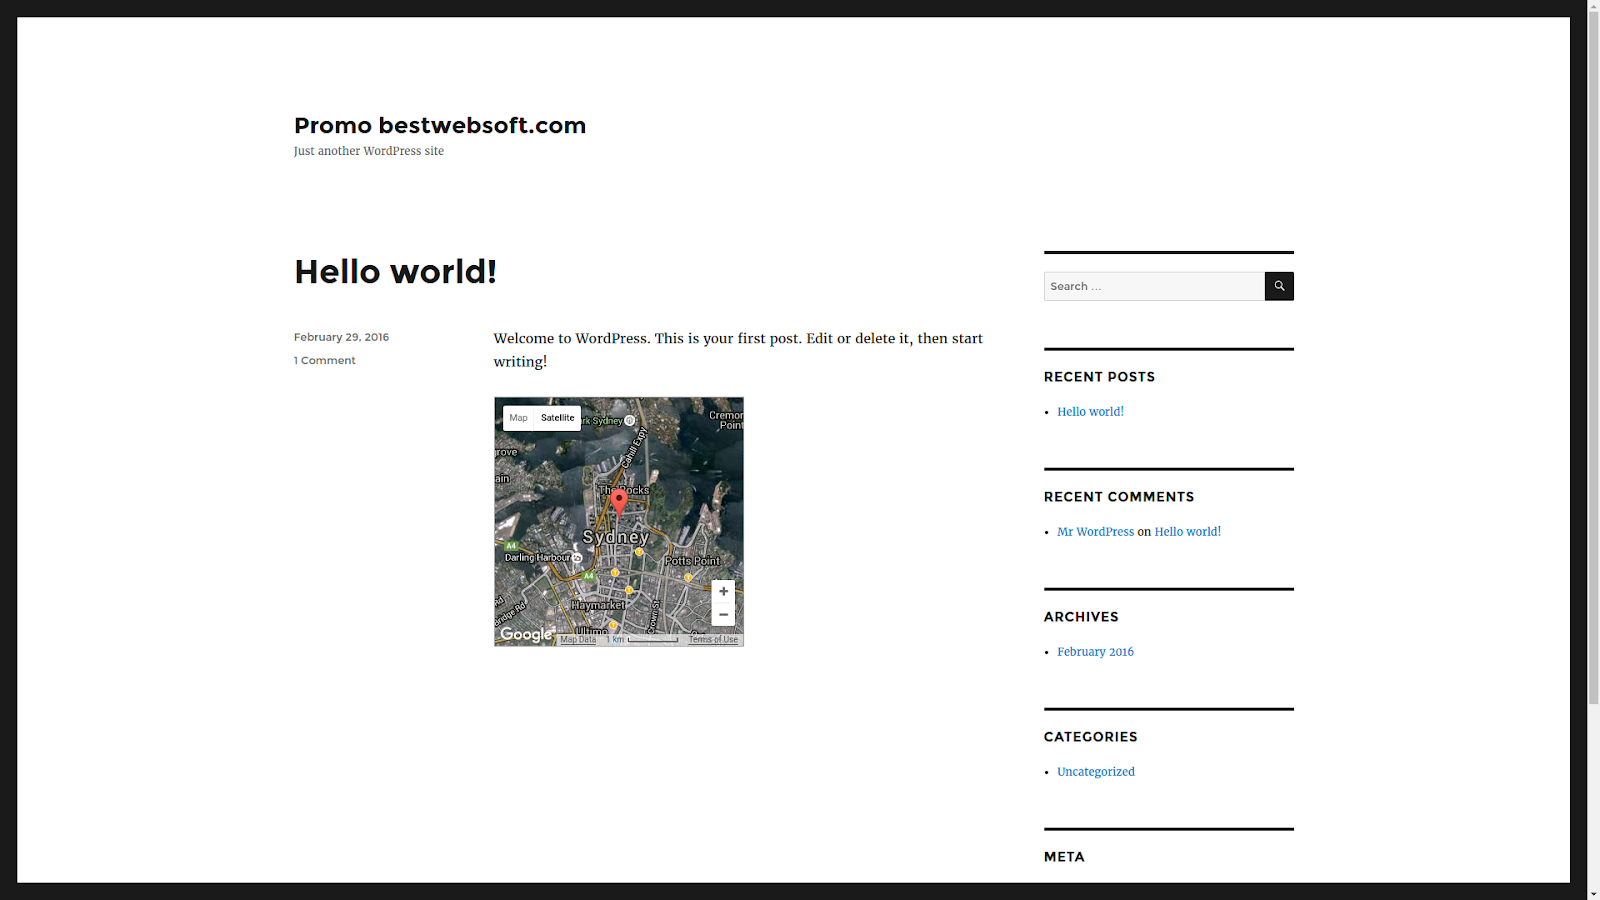
A map with the Satellite map type on the post page will look the following way:

A map with the Hybrid map type selected on post or page will look the following way:
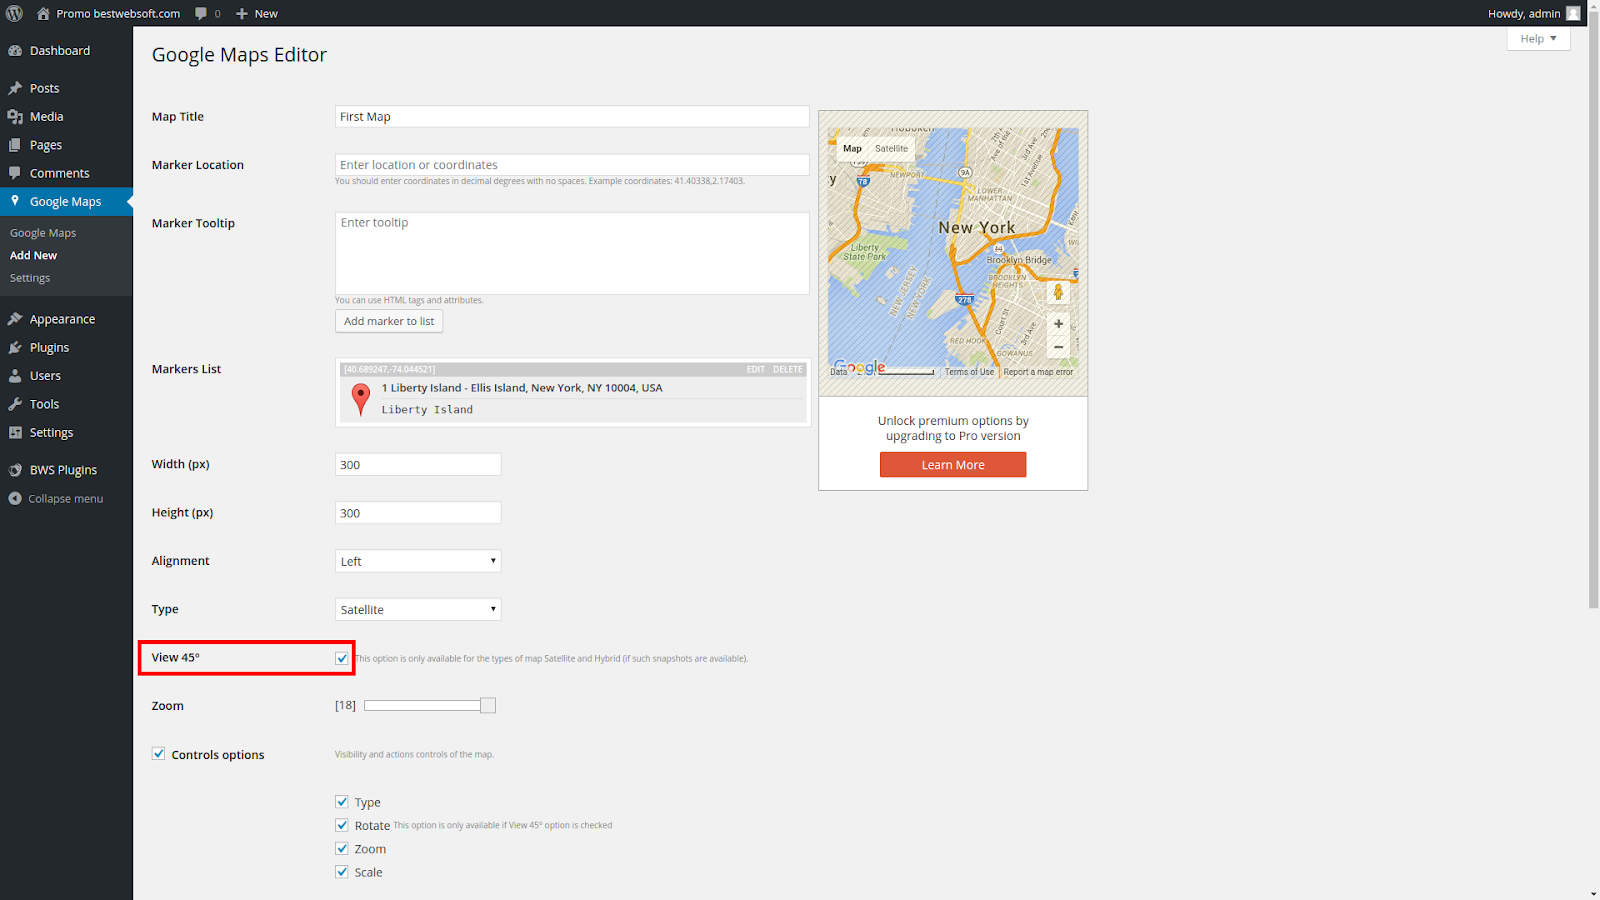
View 45° option
View 45° option sets angled view on your map and this option is only available for Satellite and Hybrid types of map (if such snapshots are available):
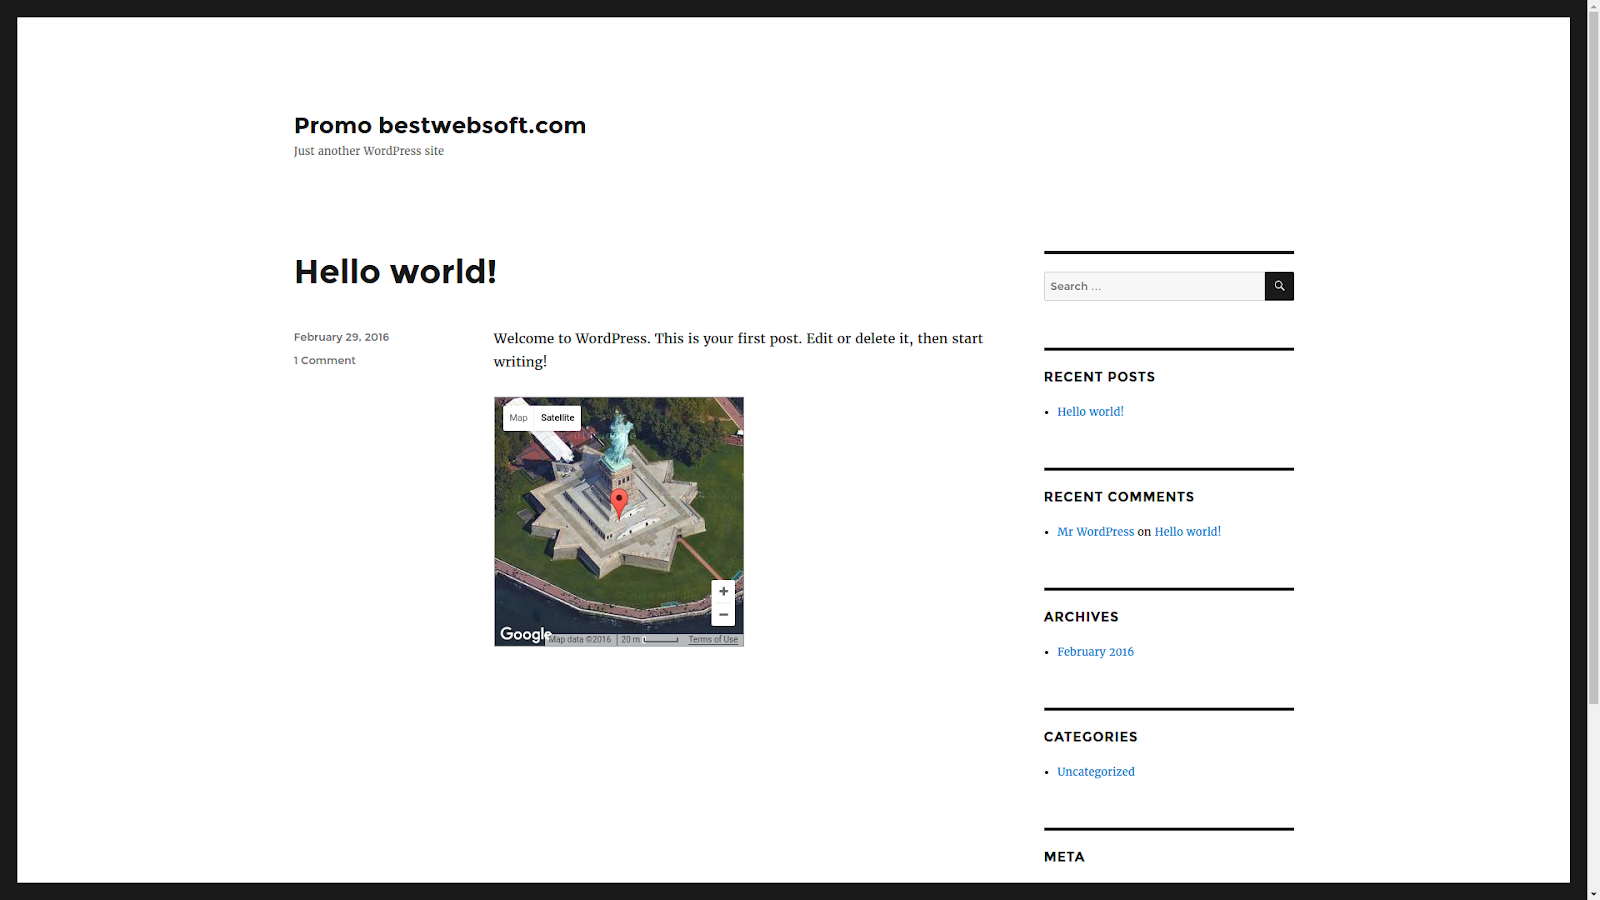
A map with enabled View 45° option will look the following way:
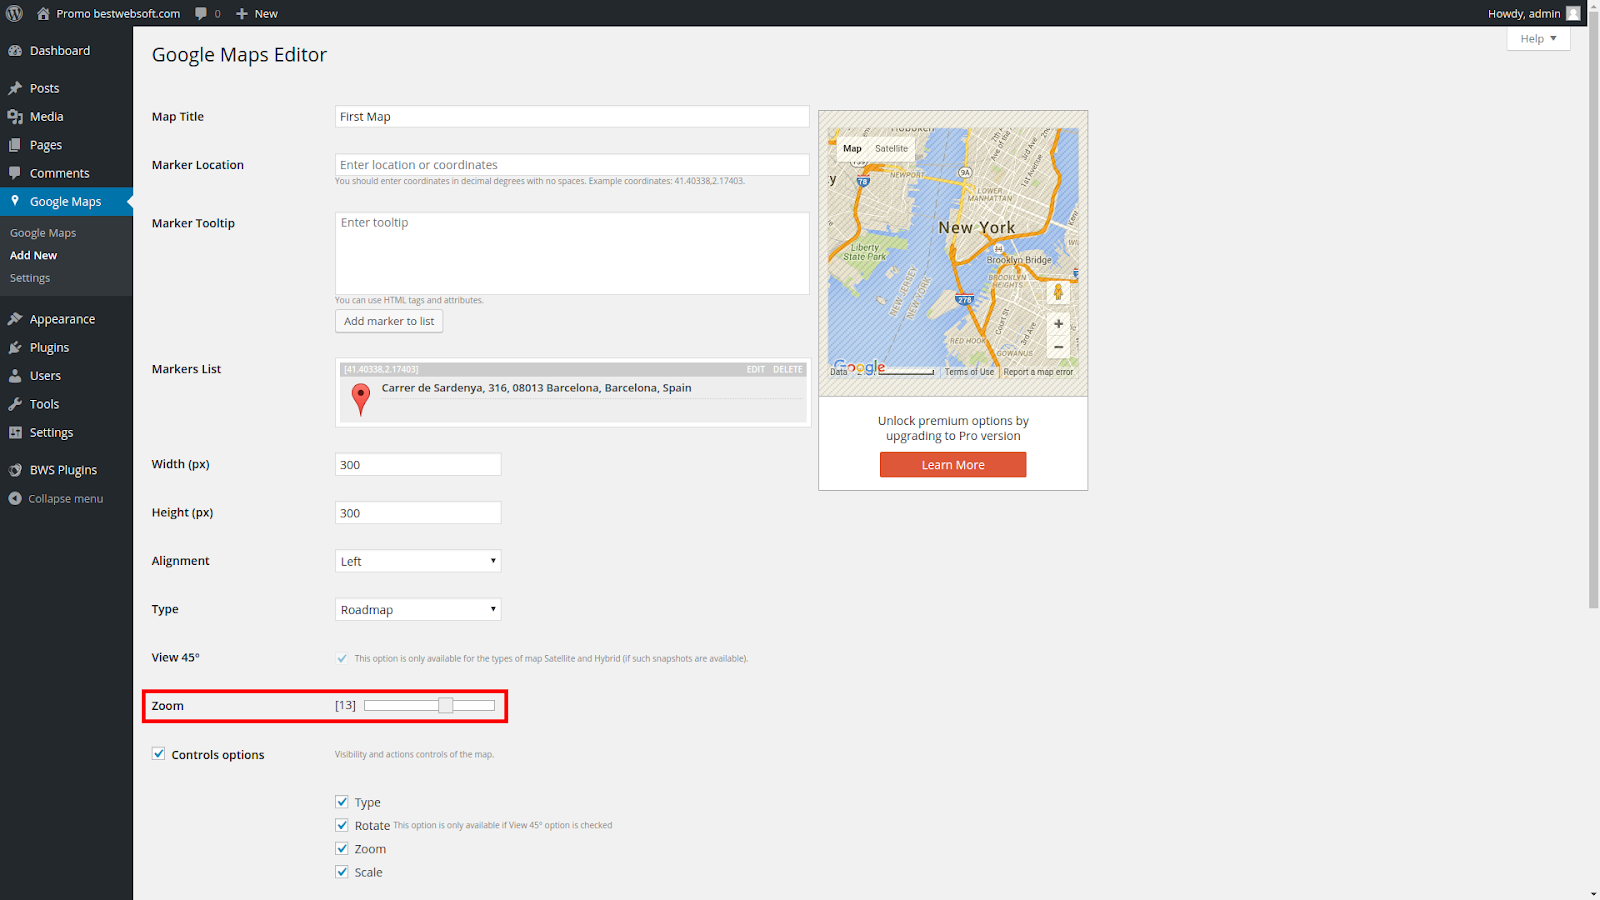
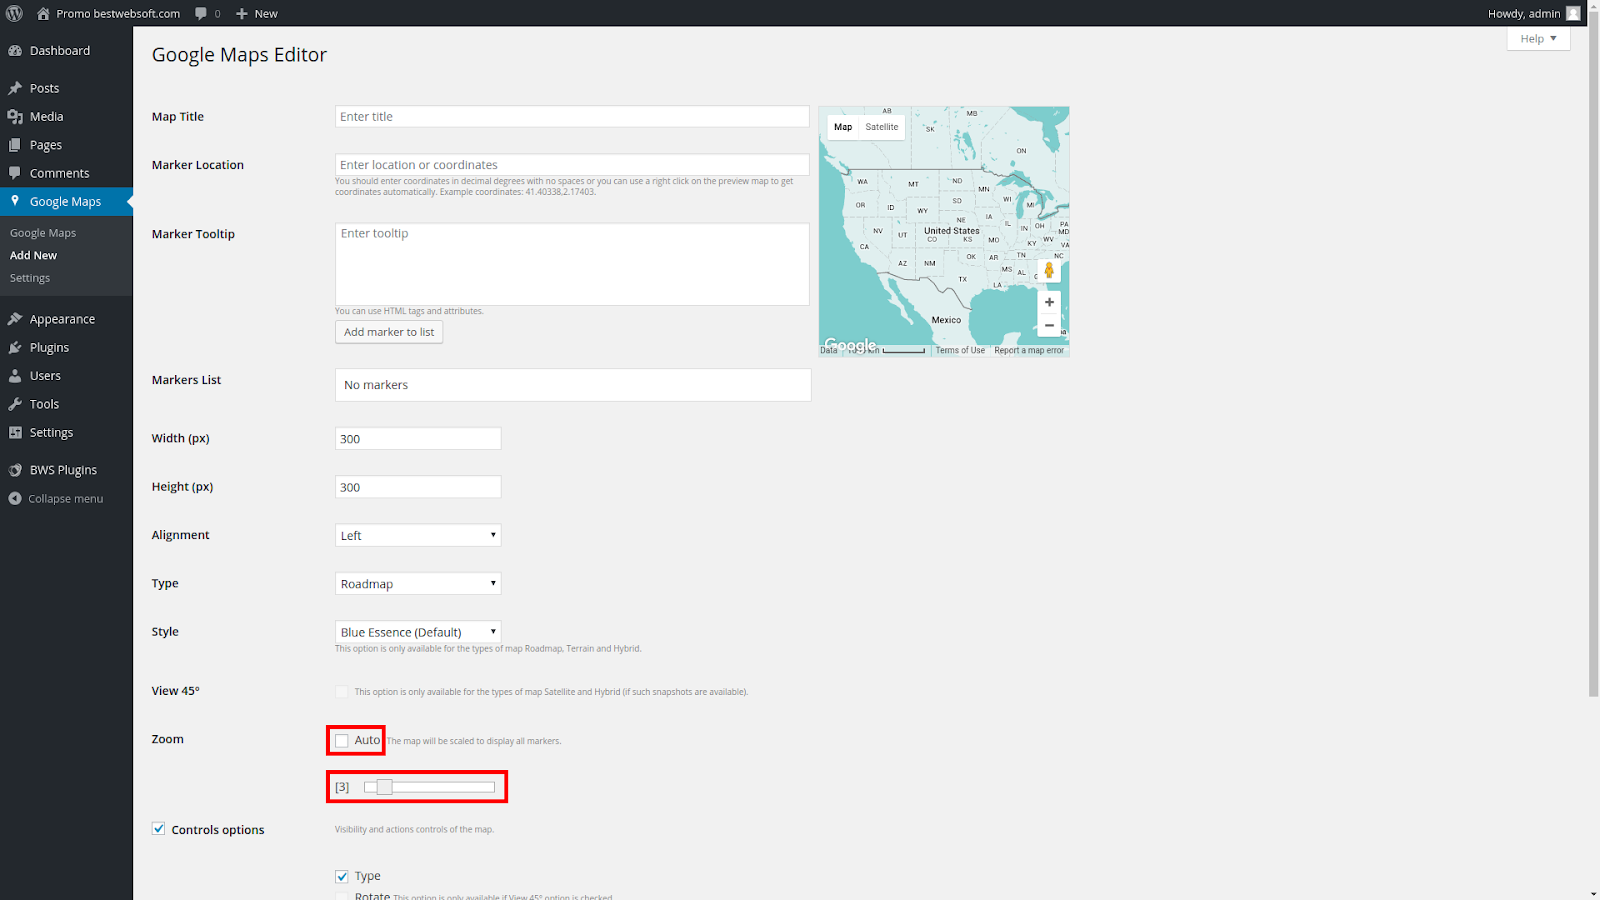
Zoom option
You can change scale of your map with zoom option slider:
Map scale getting closer with zoom slider value growing. For example map with zoom option value 3 will look the following way:
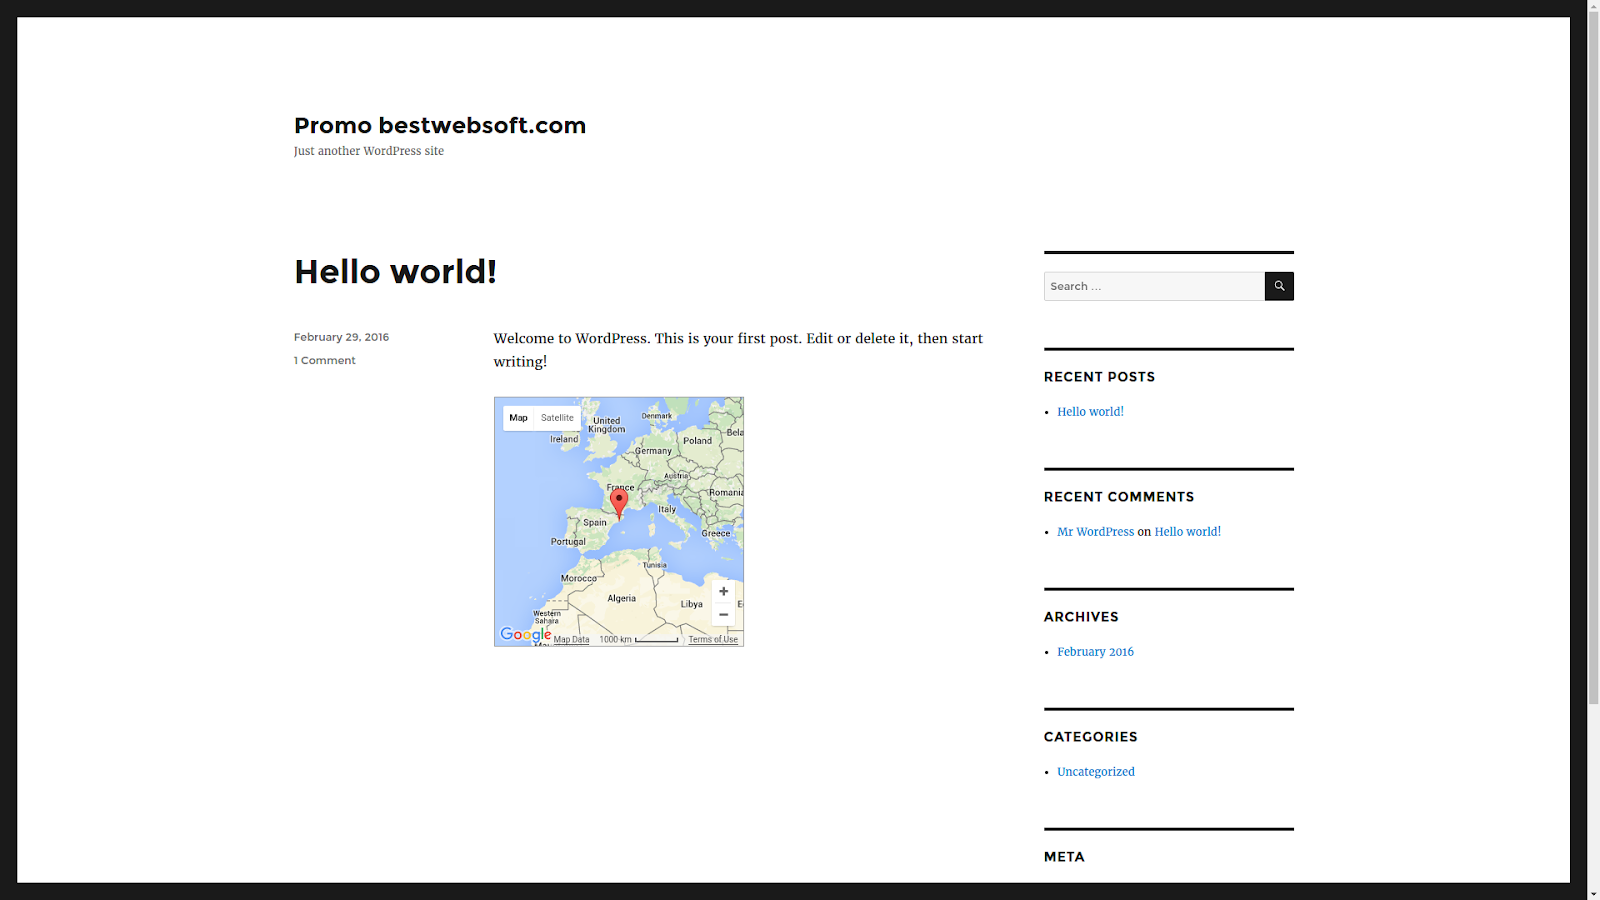
And map with zoom option value 11 set will look the following way:
Controls options
Enabled Controls options allow you to manage display of controls in Google Maps user interface:
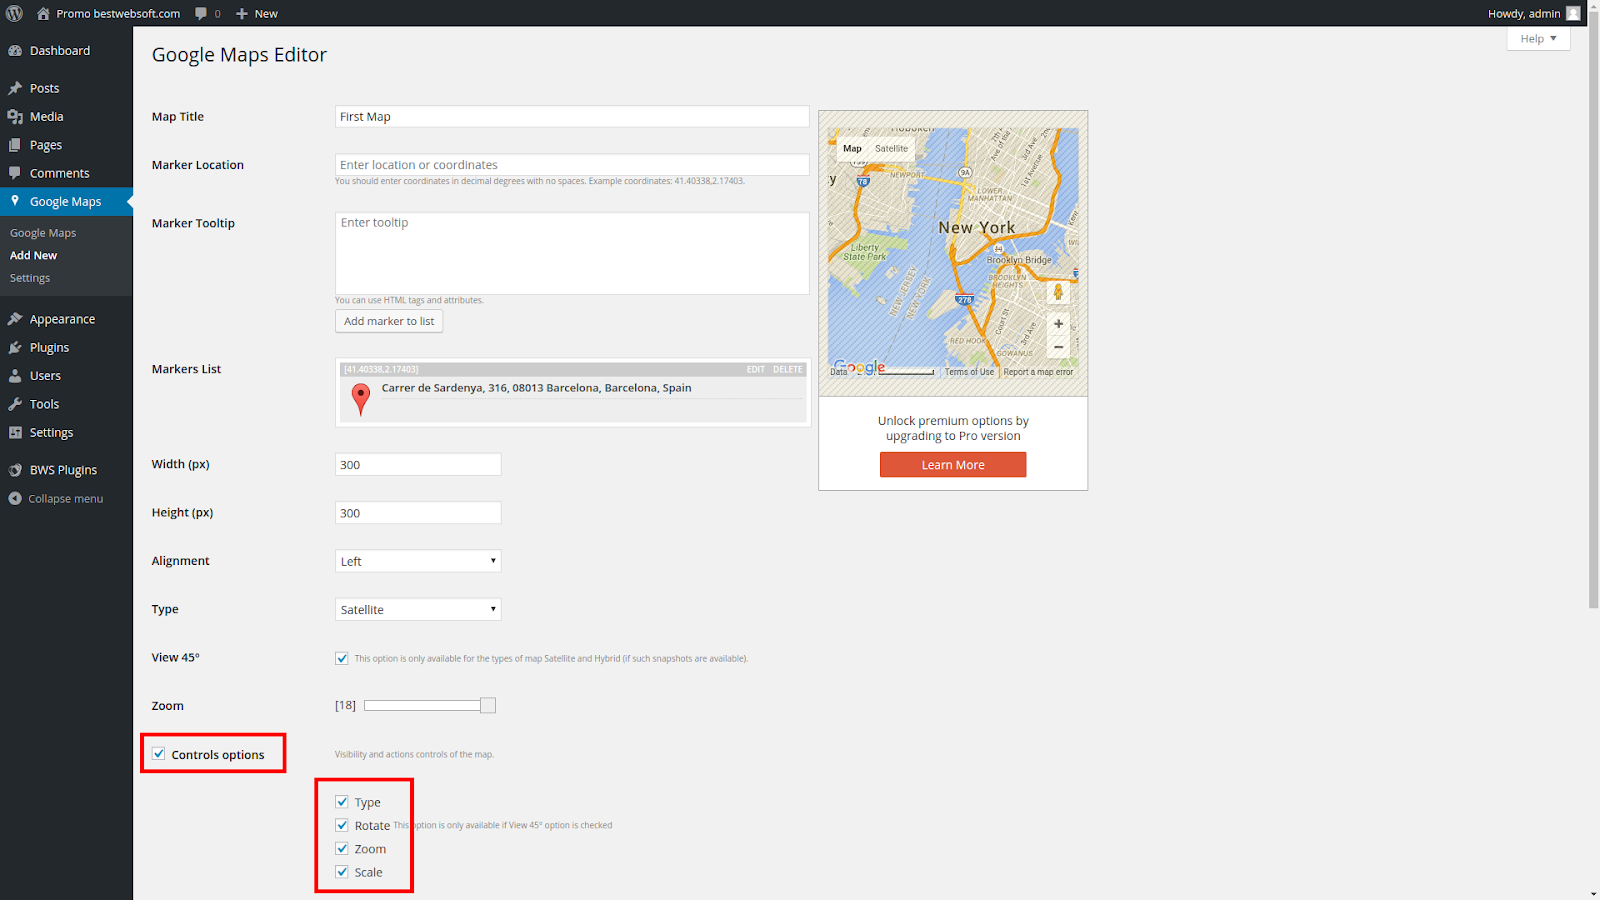
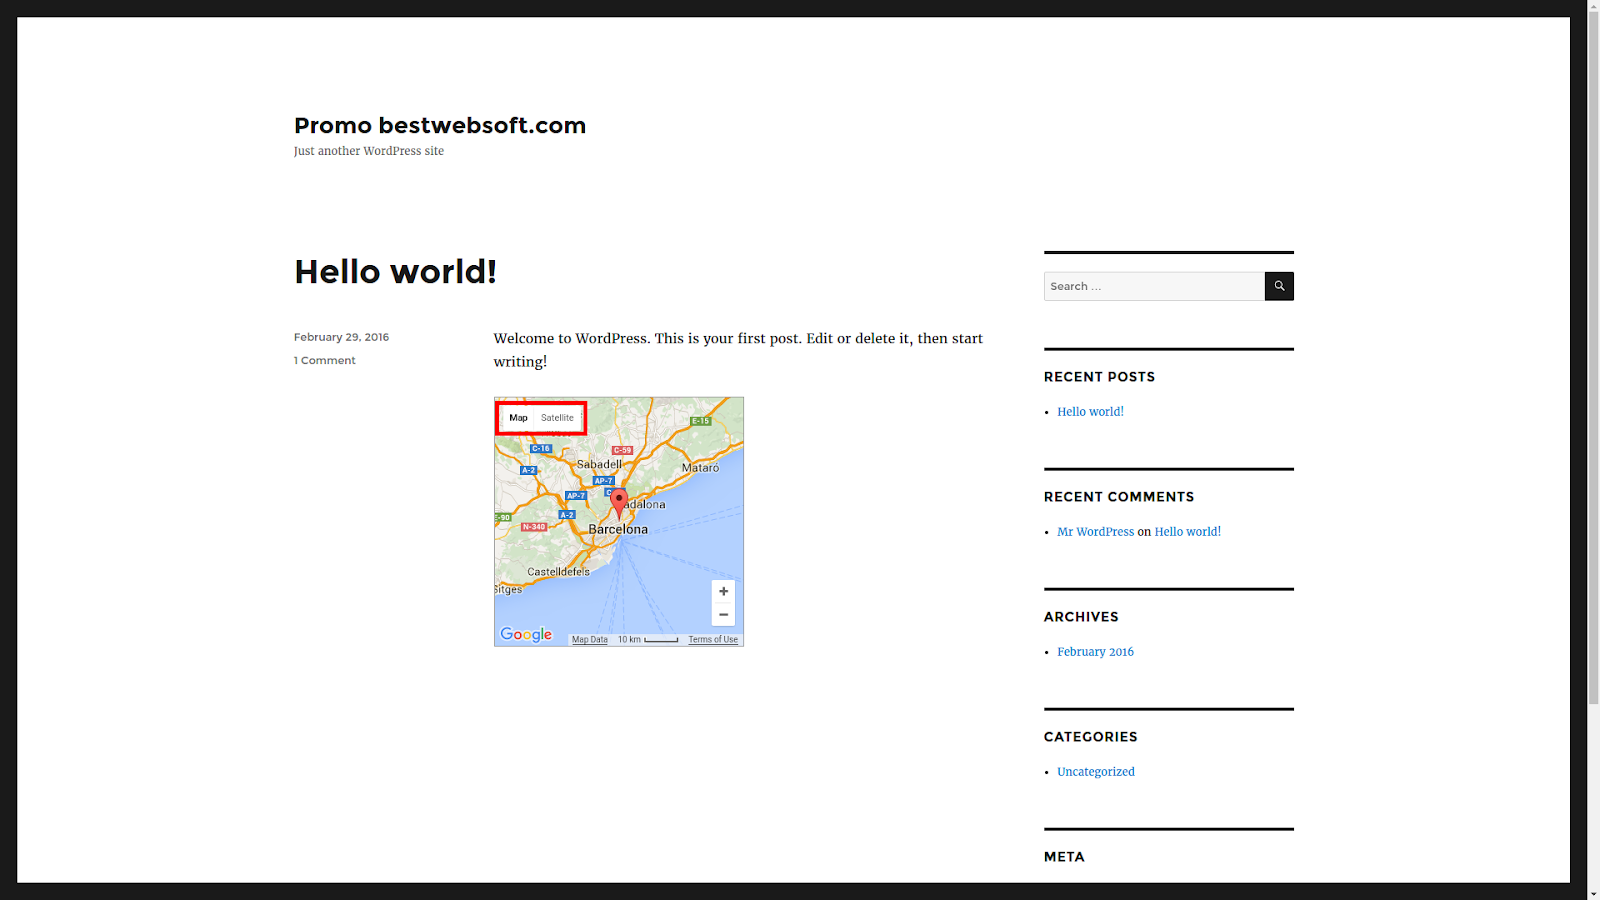
Type Control
Checked Type option sets the Type Control to be displayed on your Google Map:
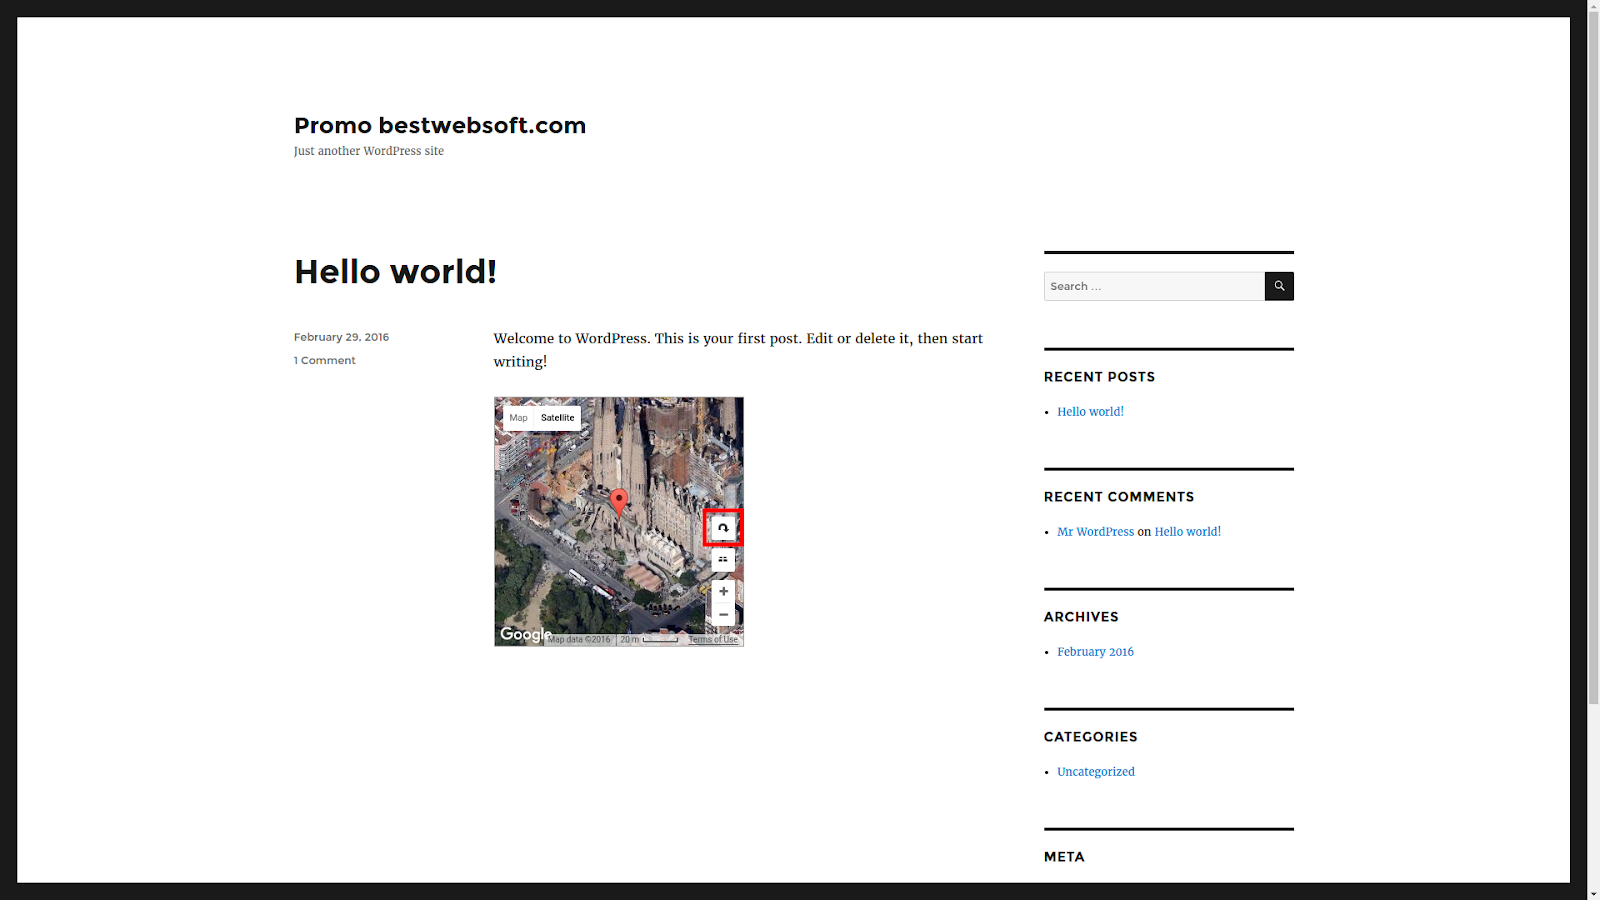
Rotate Control
Rotate option is only available if View 45° option is checked.
Checked Rotate option sets the Rotate Control to be displayed on your Google Maps:
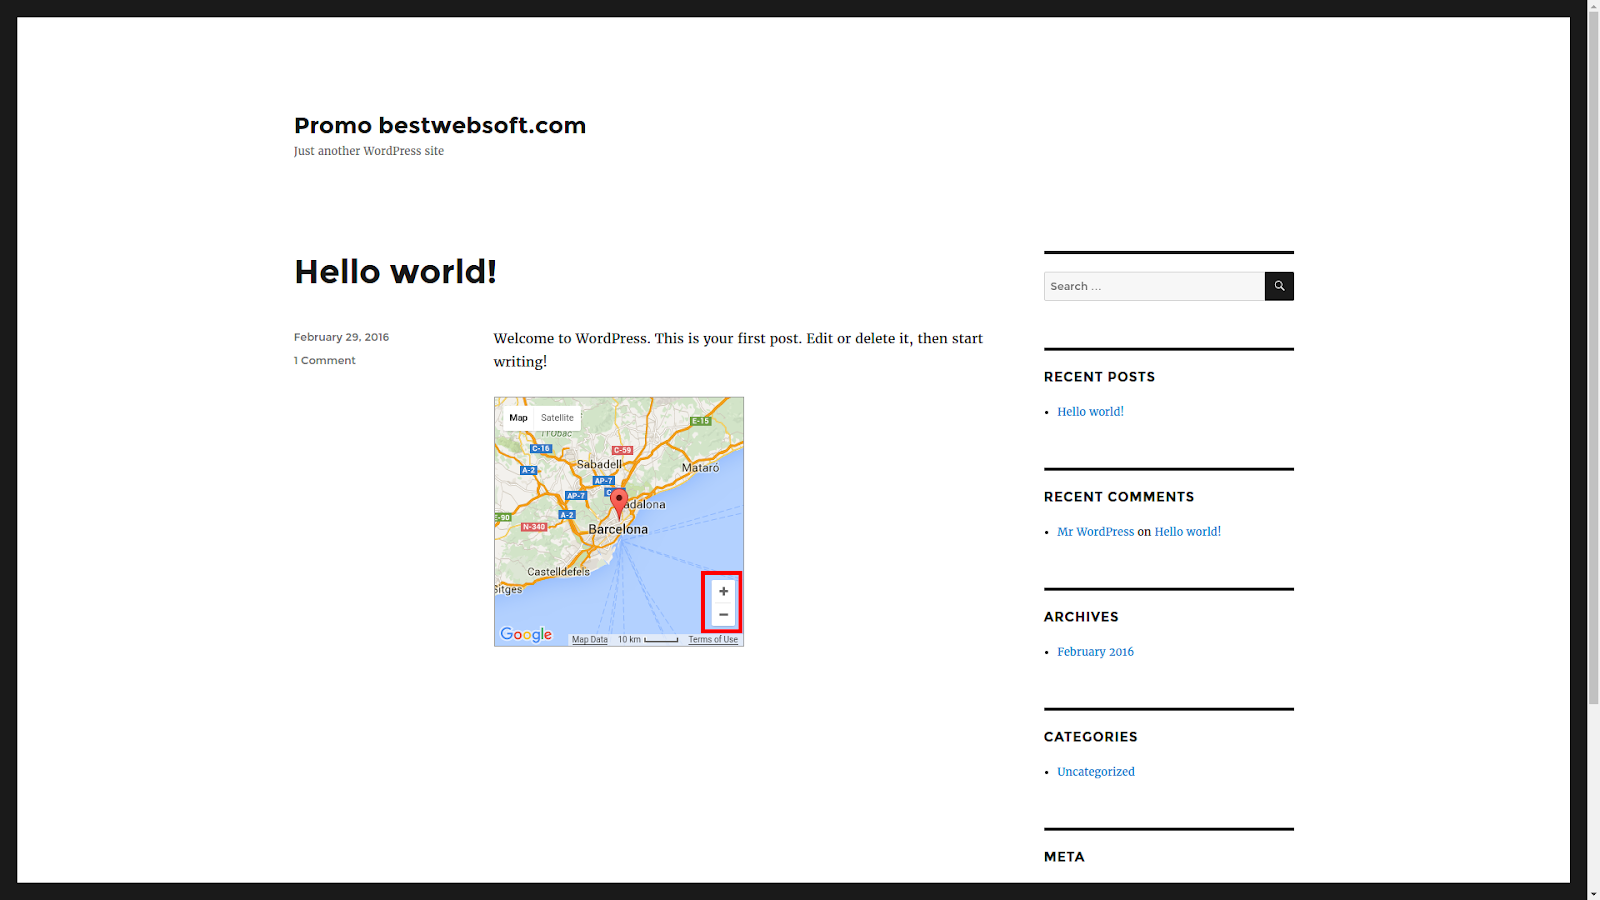
Zoom Control
Checked Zoom option sets the Zoom Control to be displayed on your Google Maps:
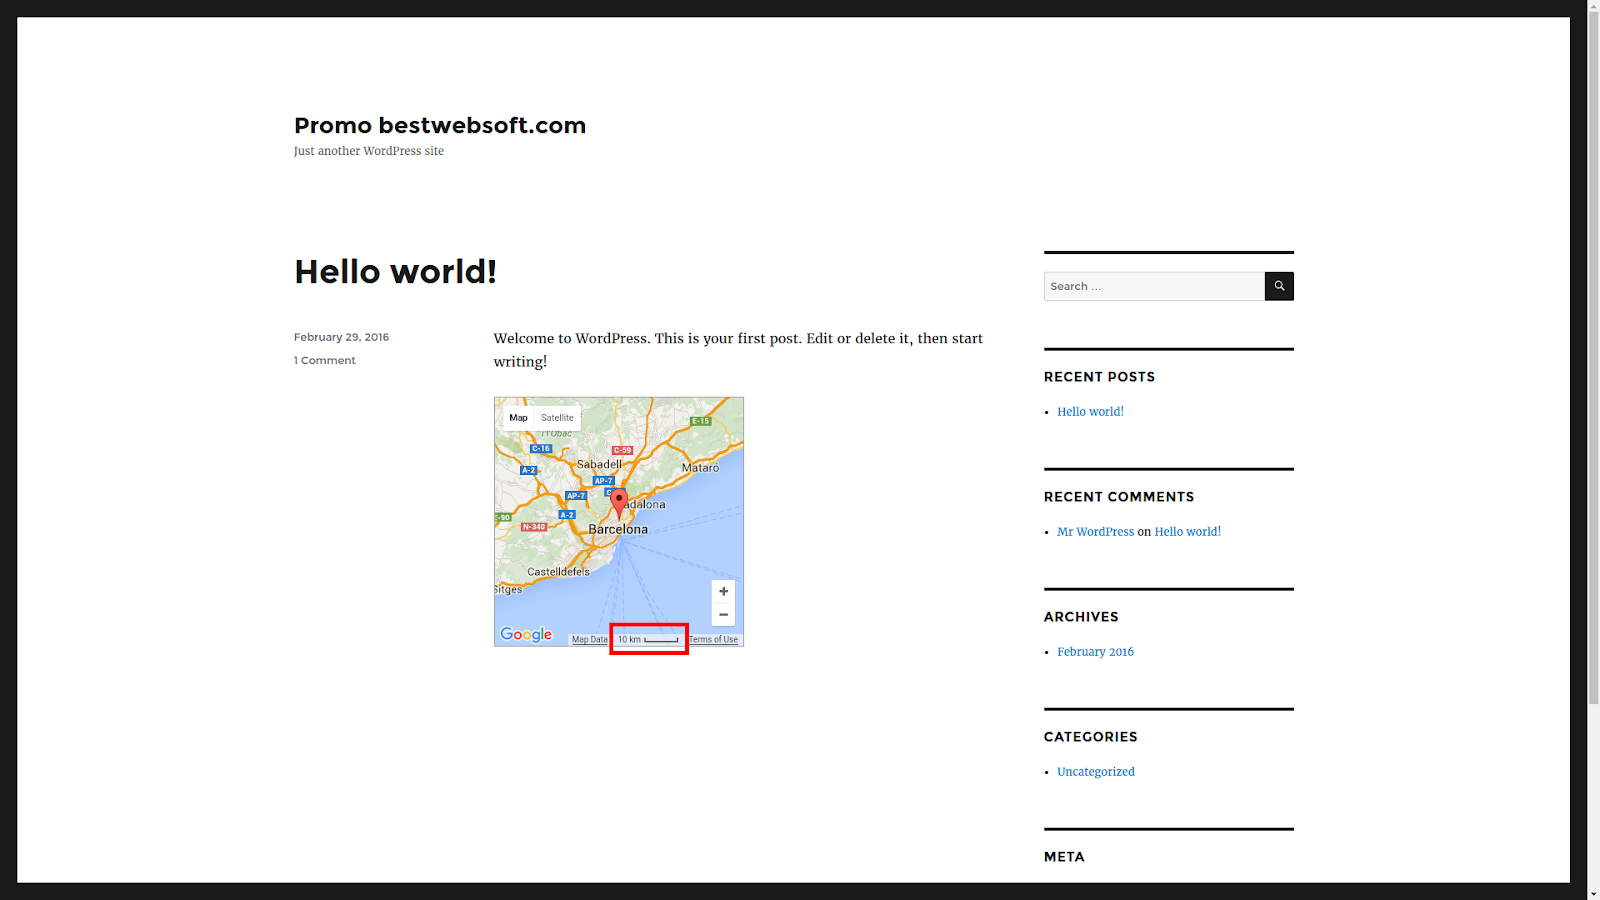
Scale Control
Checked Scale option sets the Scale Control to be displayed on your Google Maps:
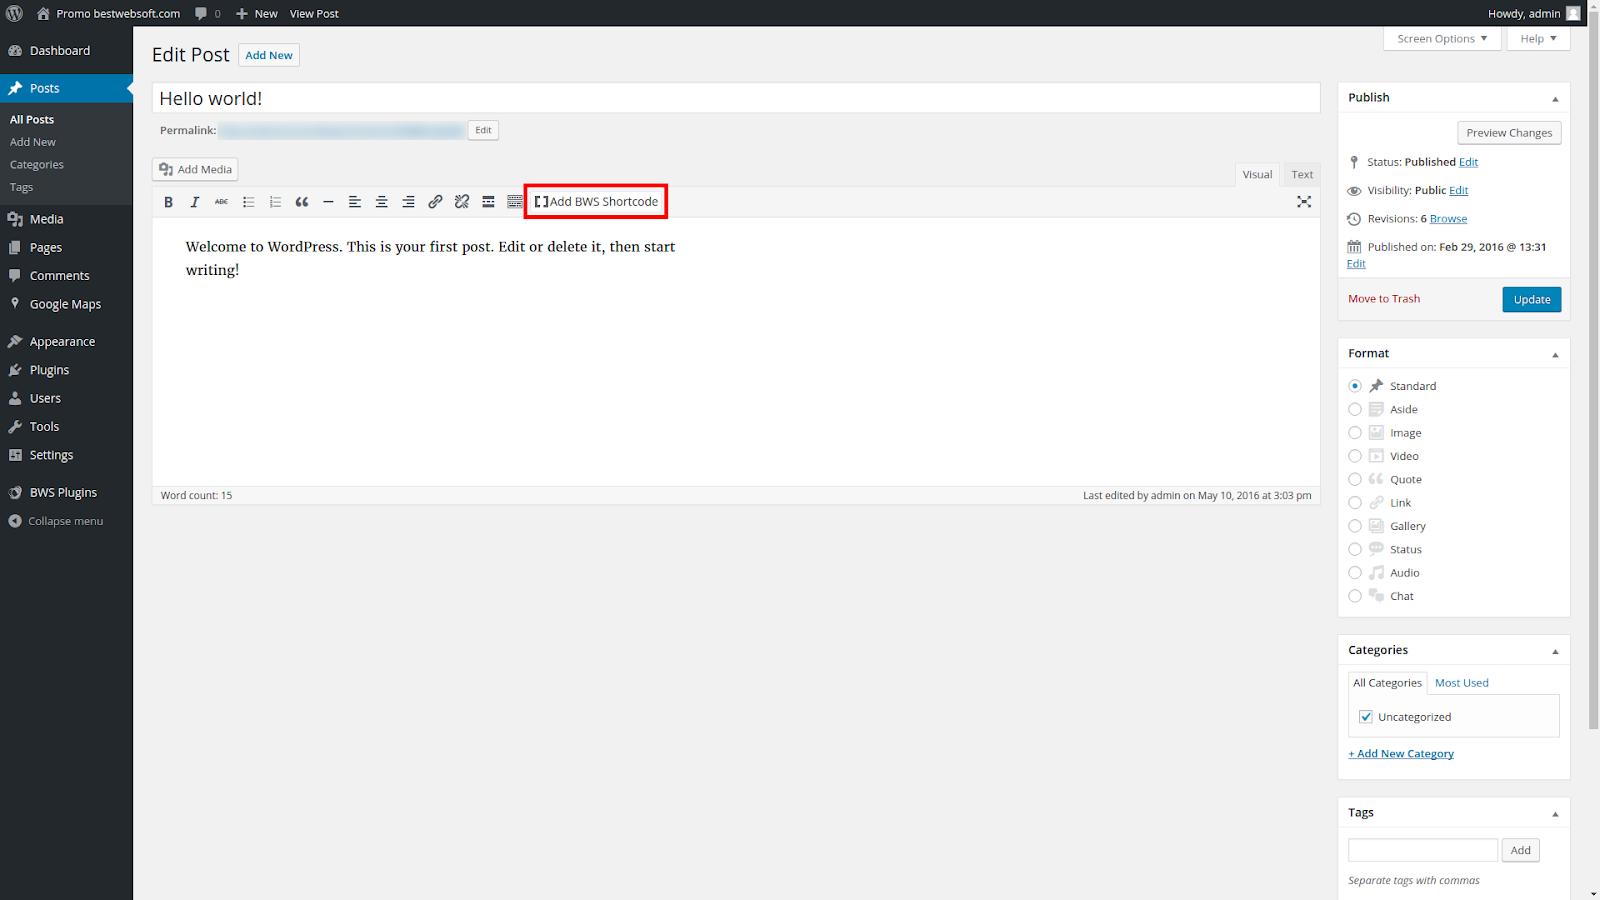
Add existing Google Maps to your website
You can add Google Maps to your page or post by clicking on “Add BWS Shortcode” button in the content edit block (in Visual mode):
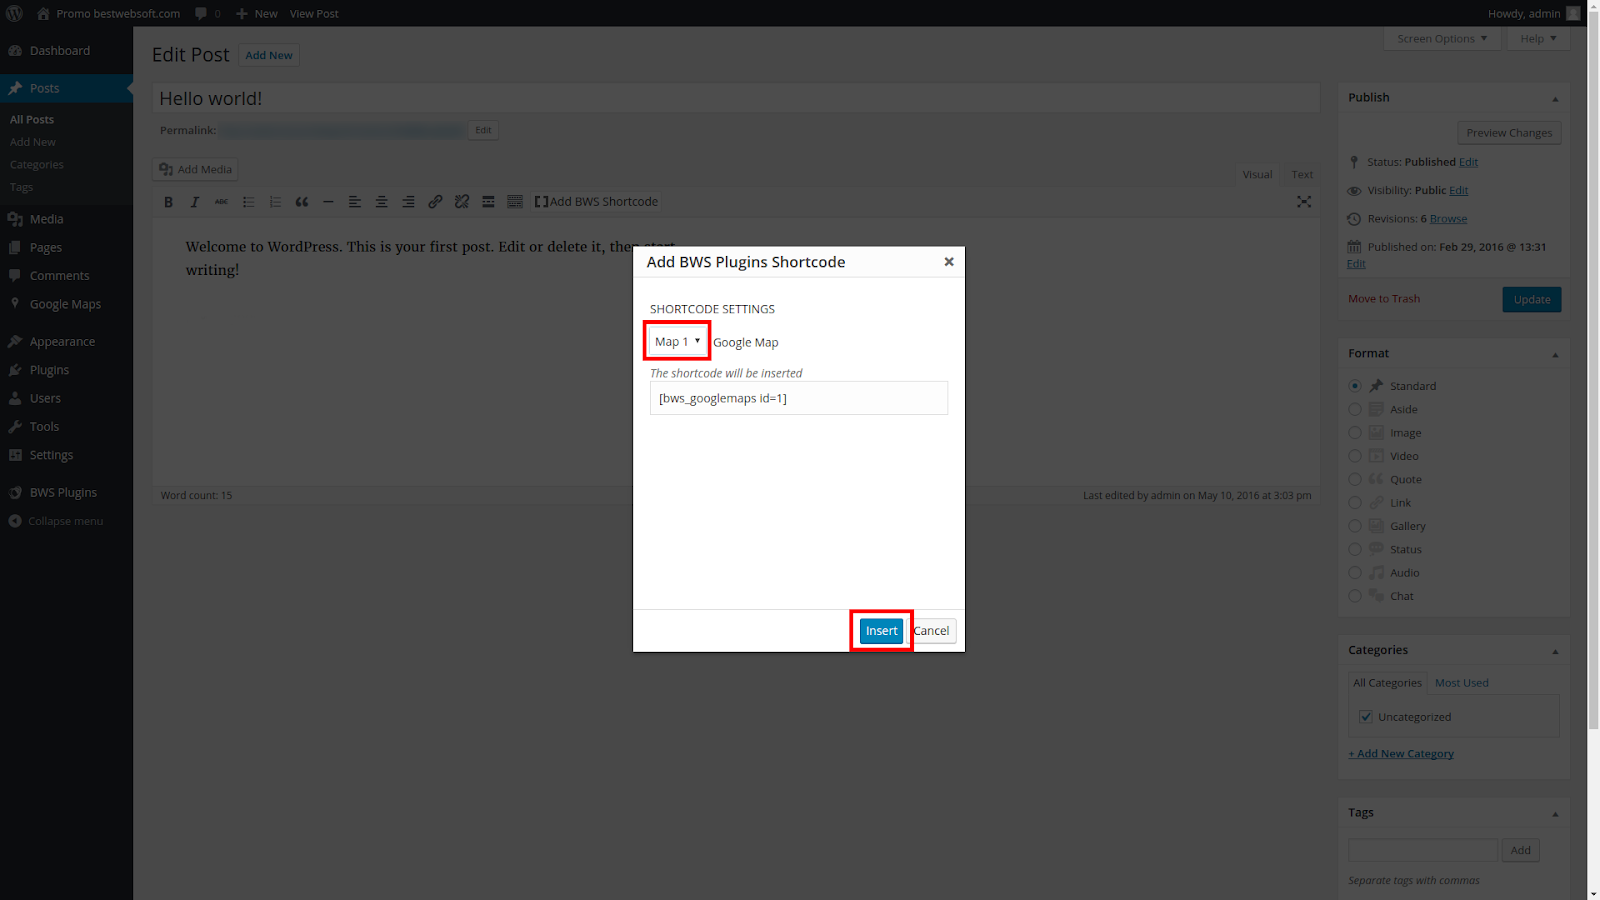
You will see the BWS Plugins Shortcode window. Select an appropriate map from the list of available maps and click “Insert” button:
If the button isn't displayed you can get the shortcode of the map you need from the list of existing Google Maps on the Google Maps page:
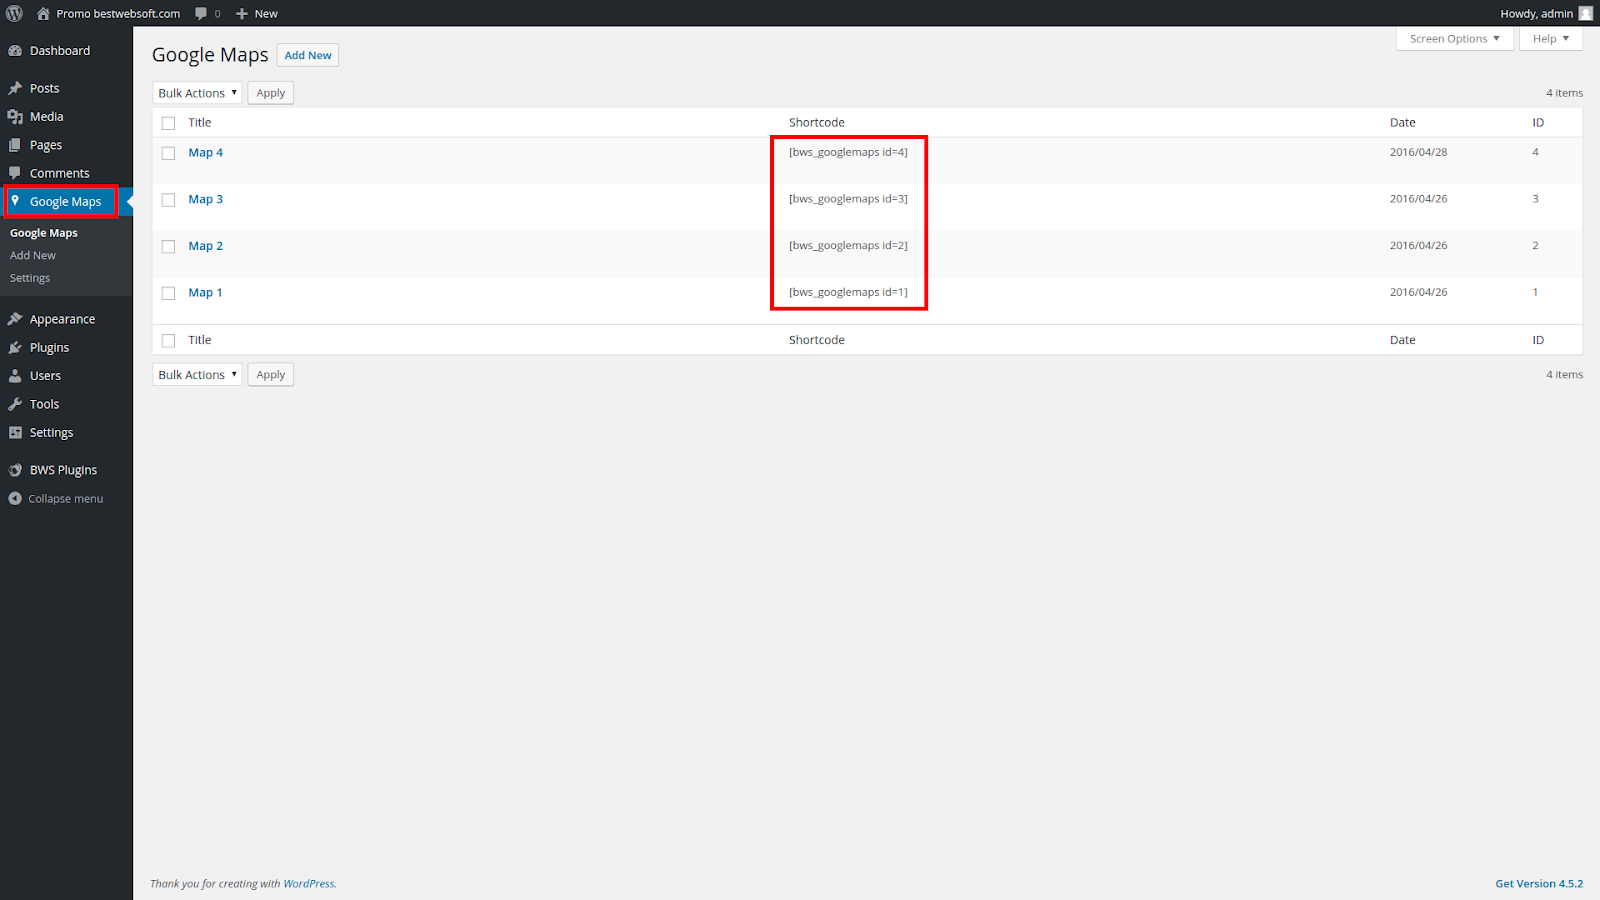
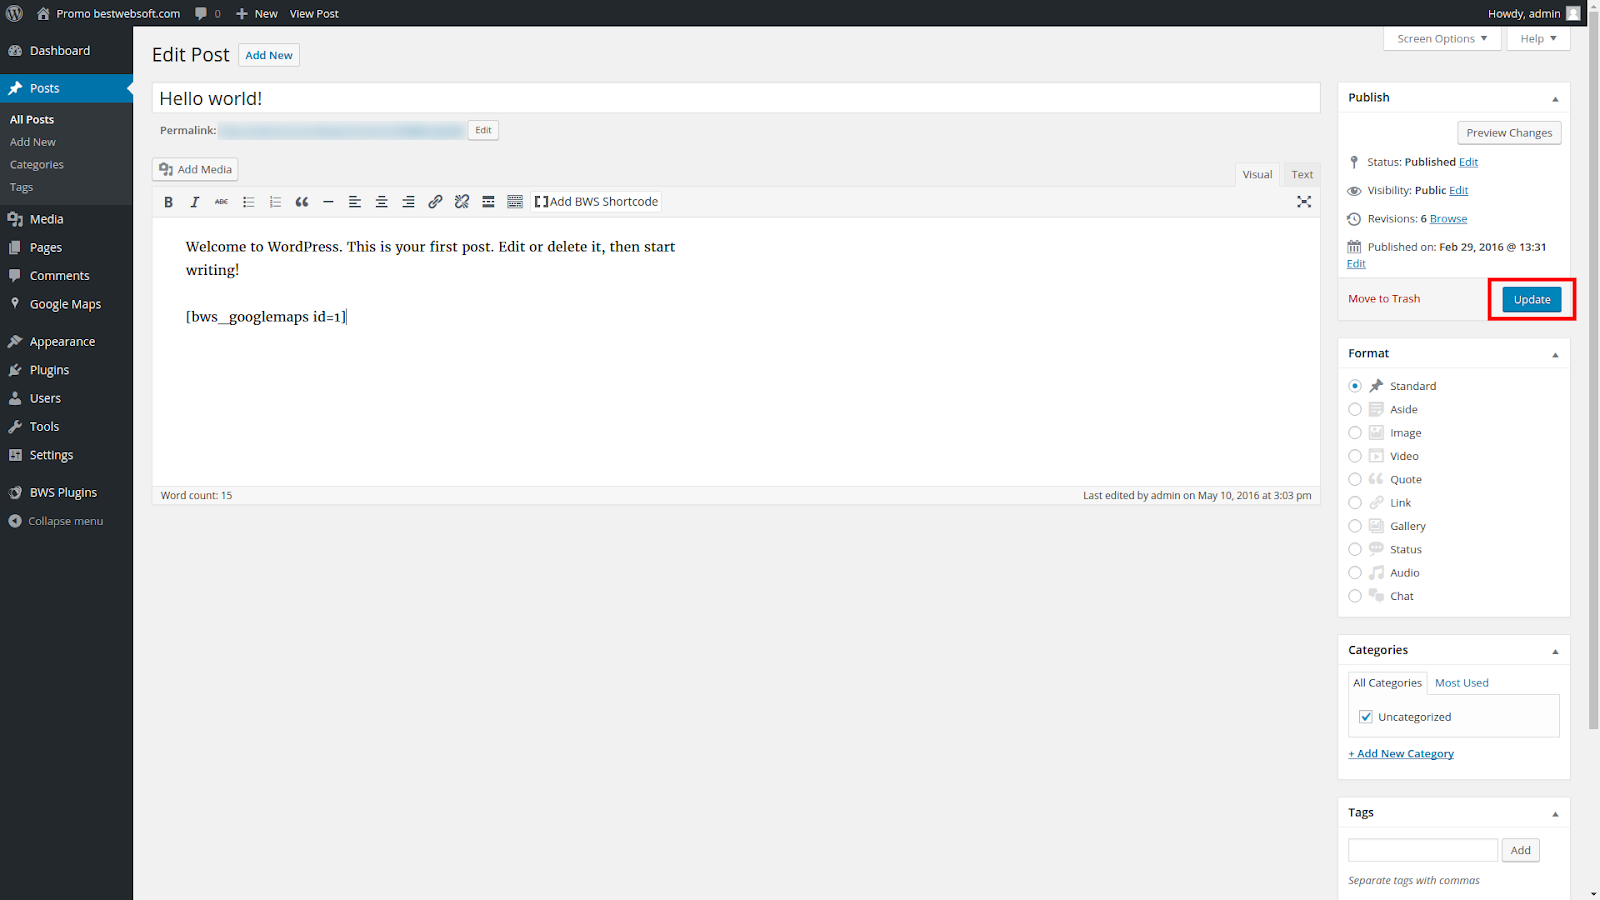
Paste the shortcode of the map that you need into the post:

Click “Update” button:
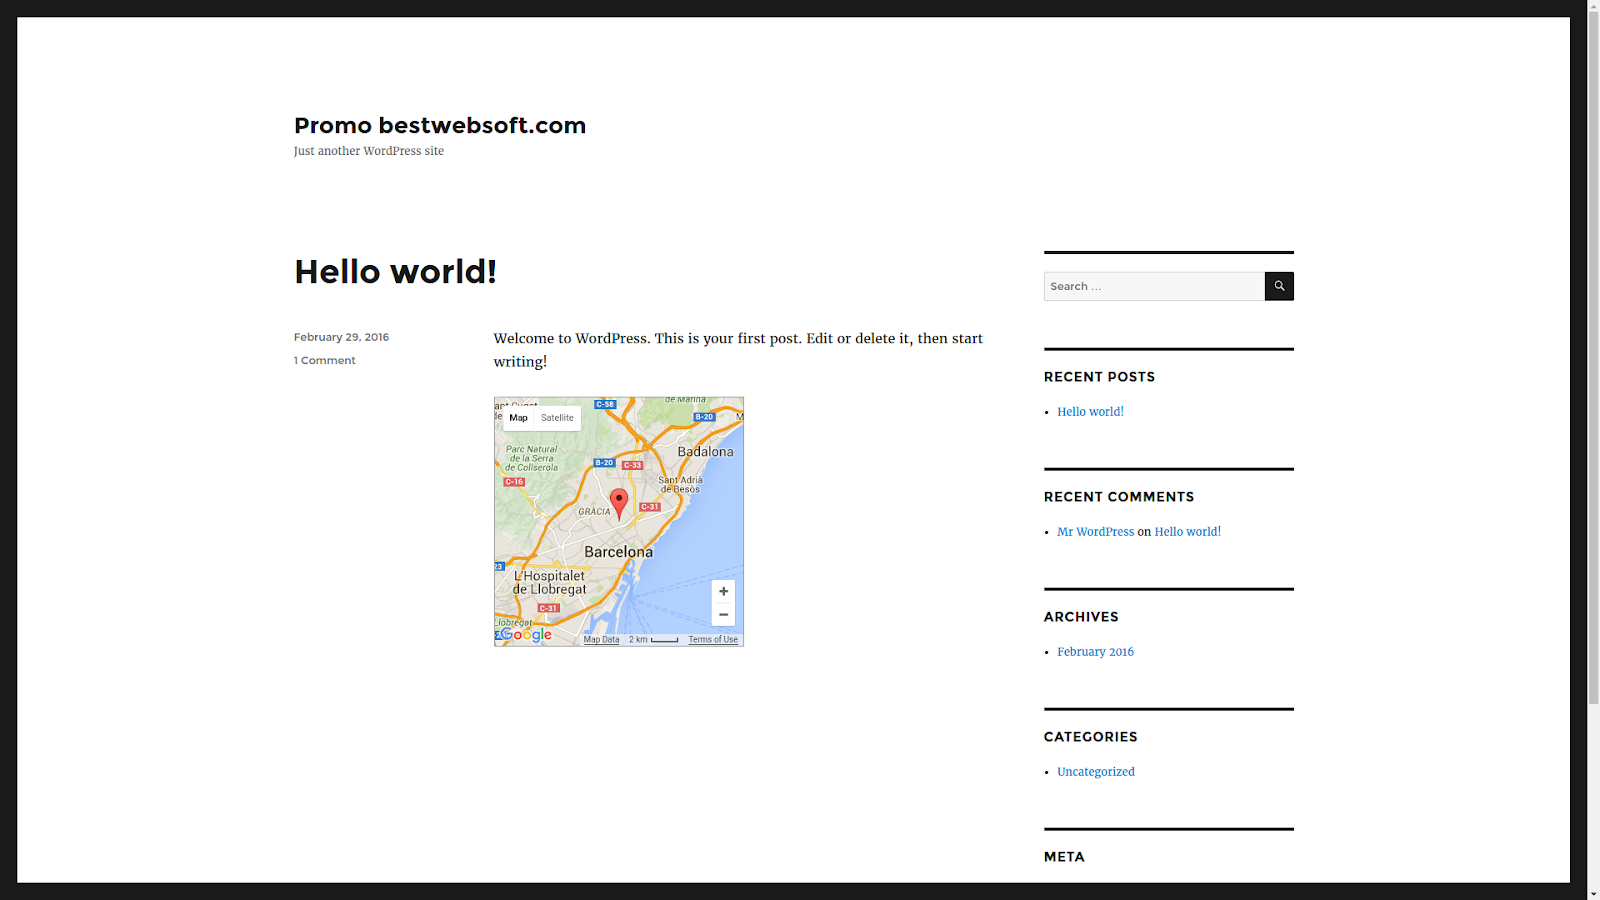
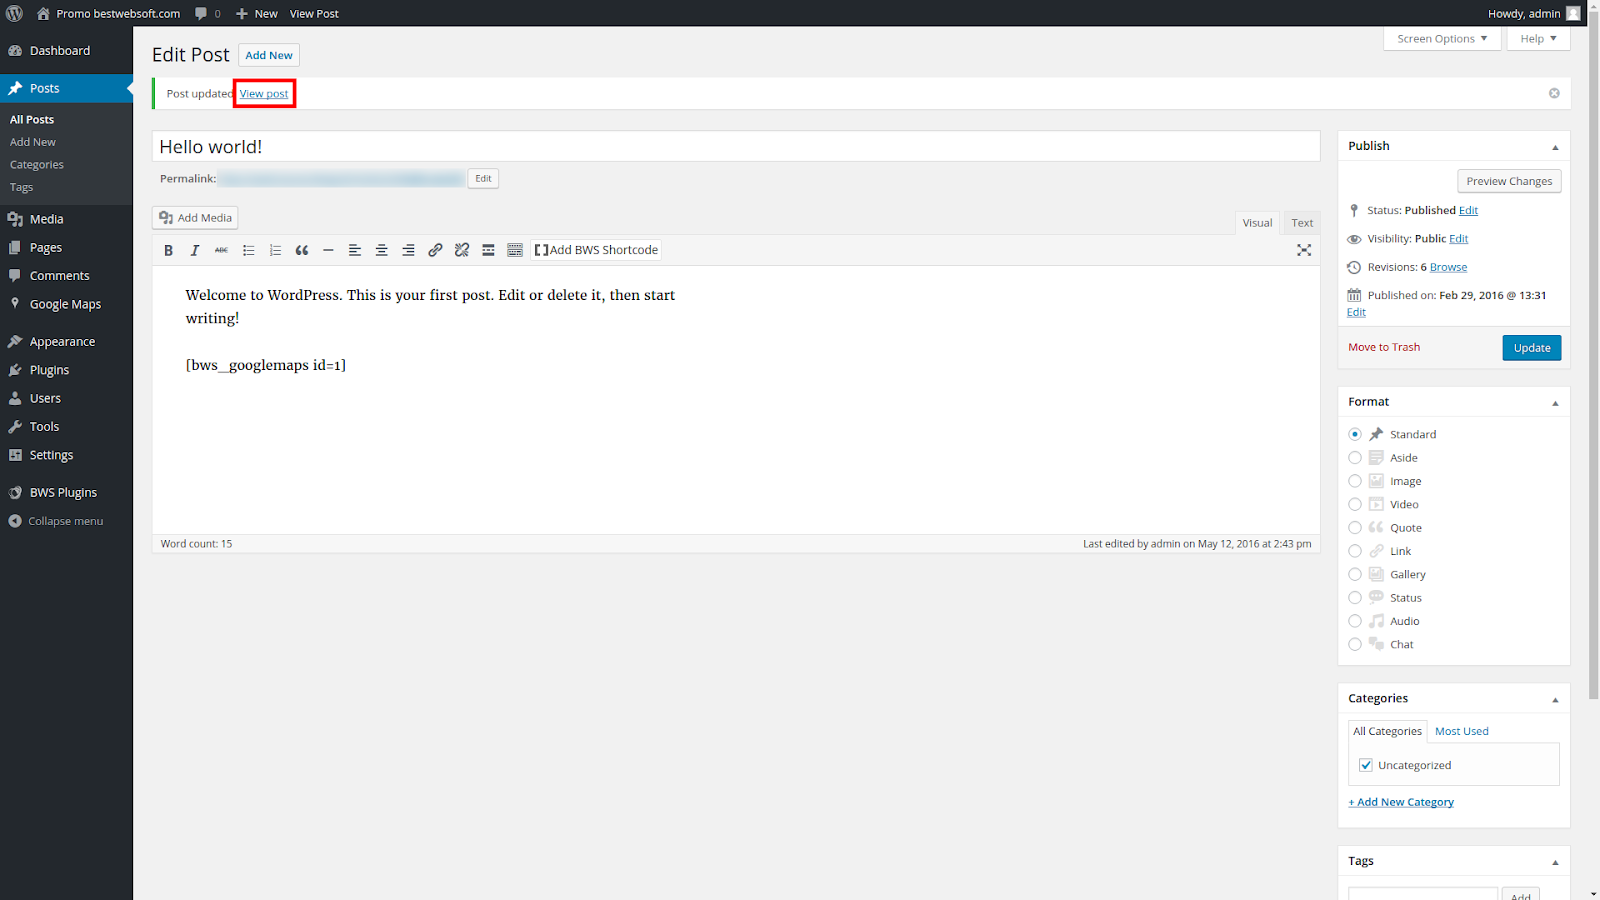
Click “View post”:
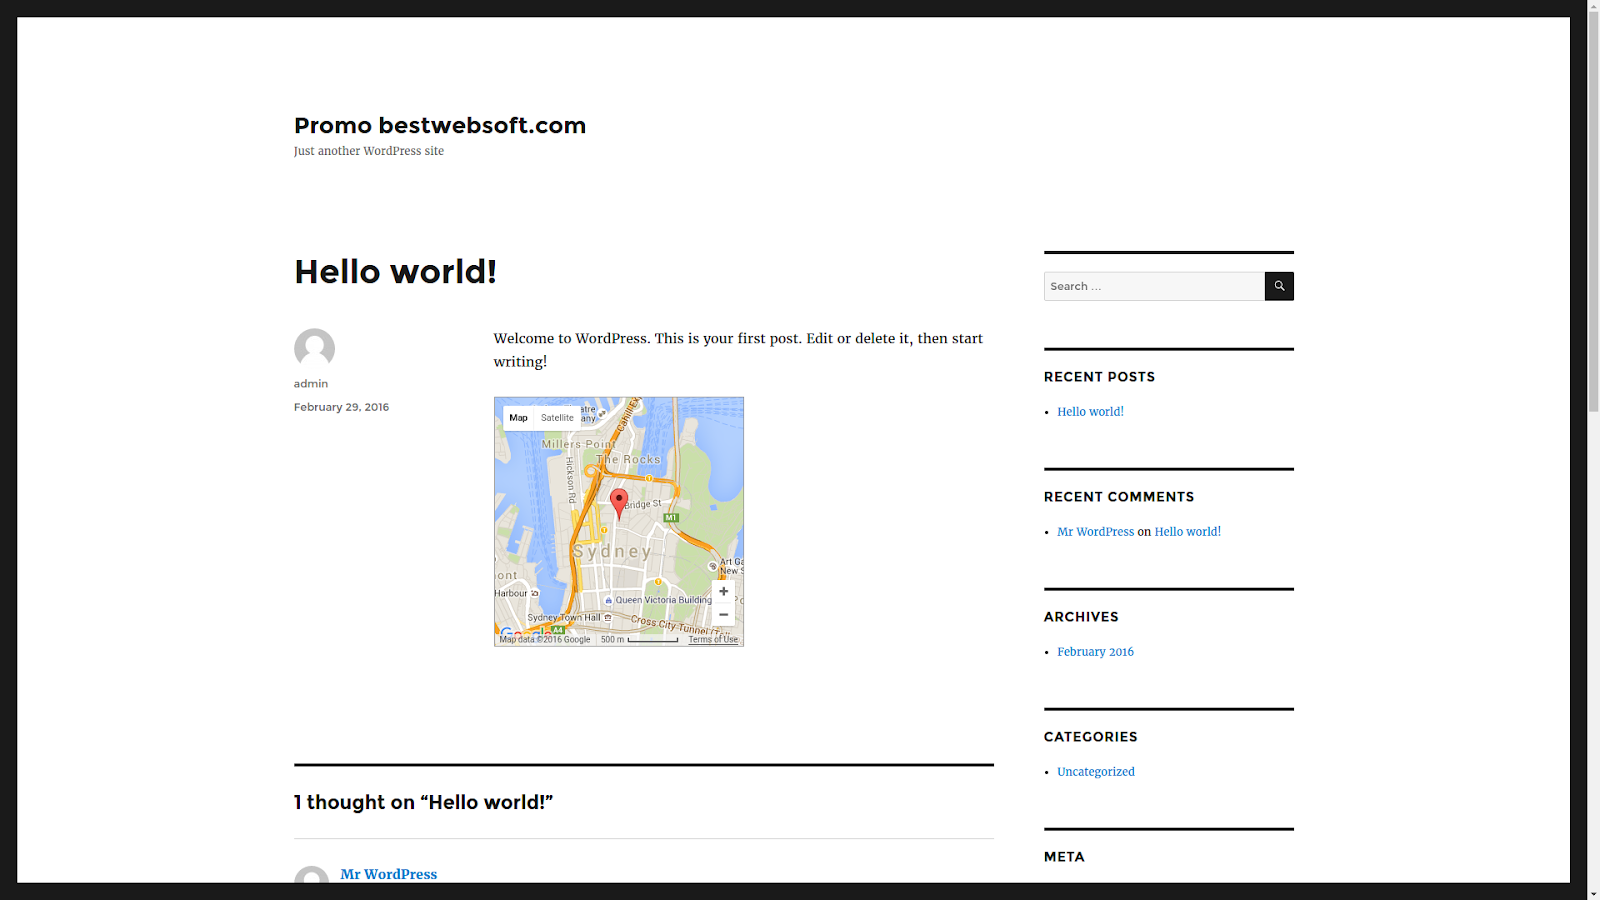
Your post with a Google Map will look the following way:
Google Maps Pro by BestWebSoft
Appearance Settings page
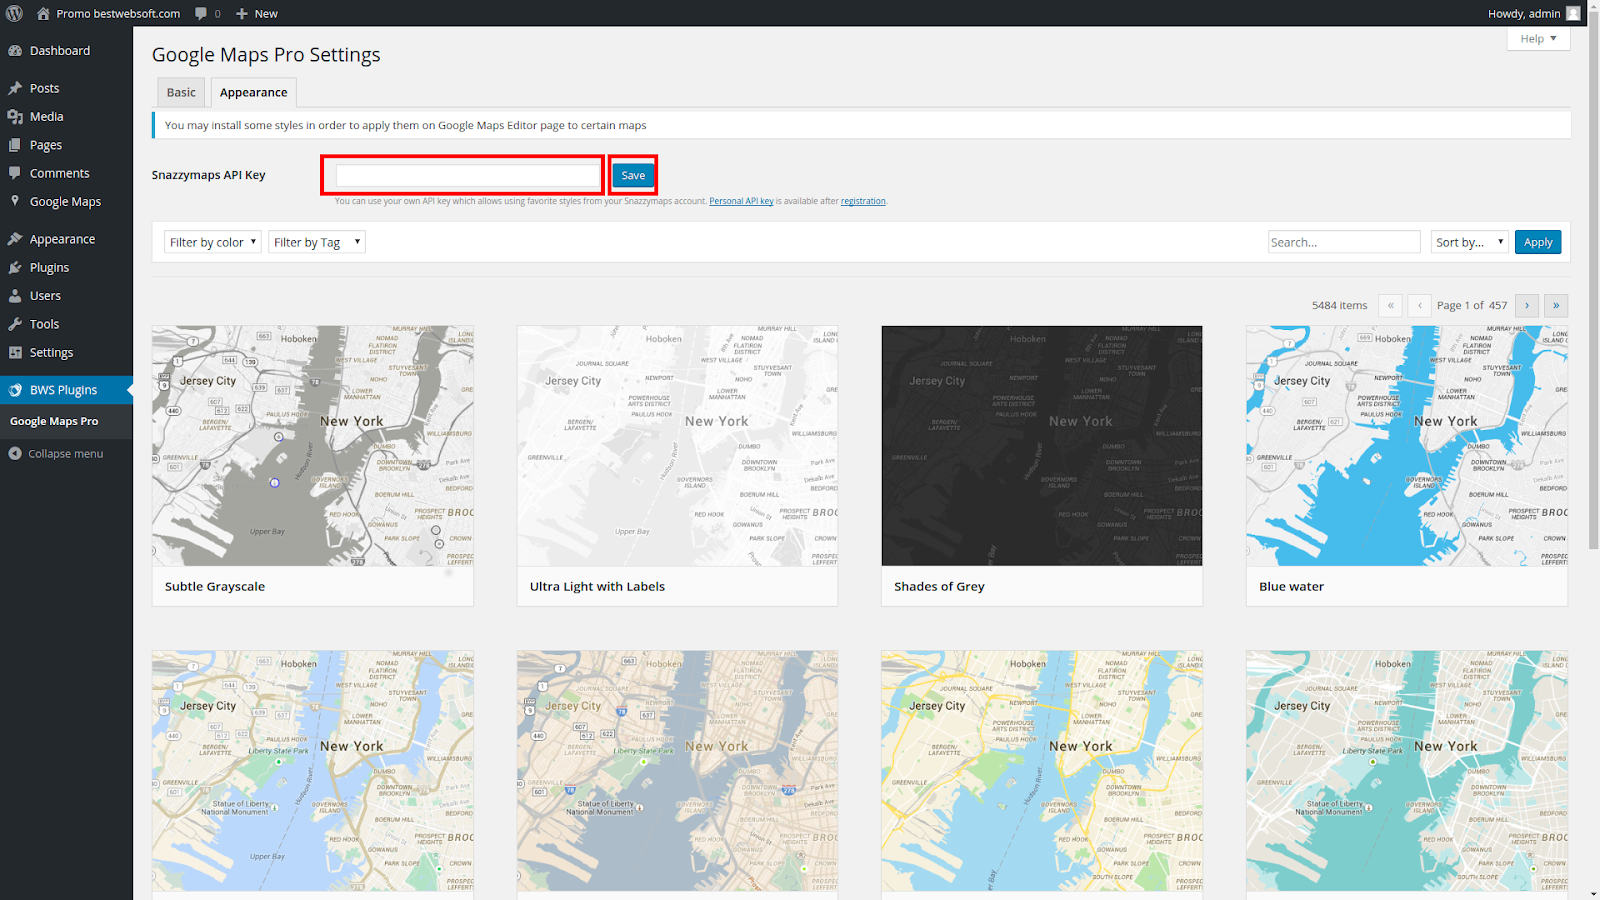
Add a Snazzymaps API key
Adding a Snazzymaps API key is optional and allows to use favorite styles from your Snazzymaps account.
To get your own Snazzymaps API key you should create your own account and generate an API key on the Developer page.
Enter generated API key in the “Snazzymaps API key” field and click “Save” button:
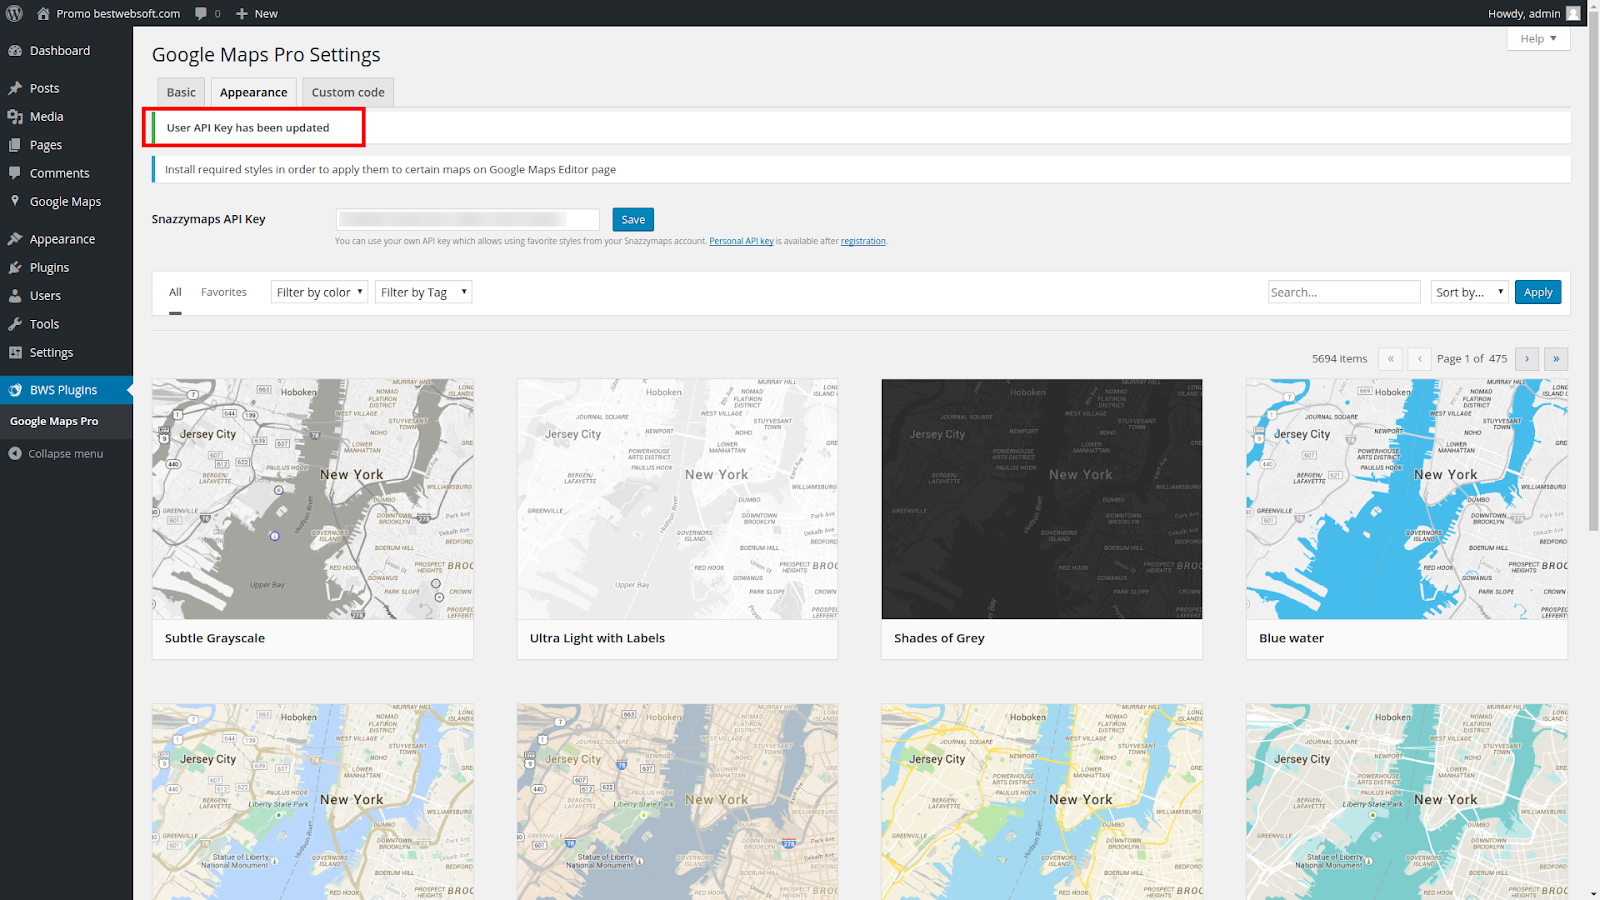
If entered Snazzymaps API key is valid, a confirmation text box will appear at the top of the page telling that the API key has been saved:
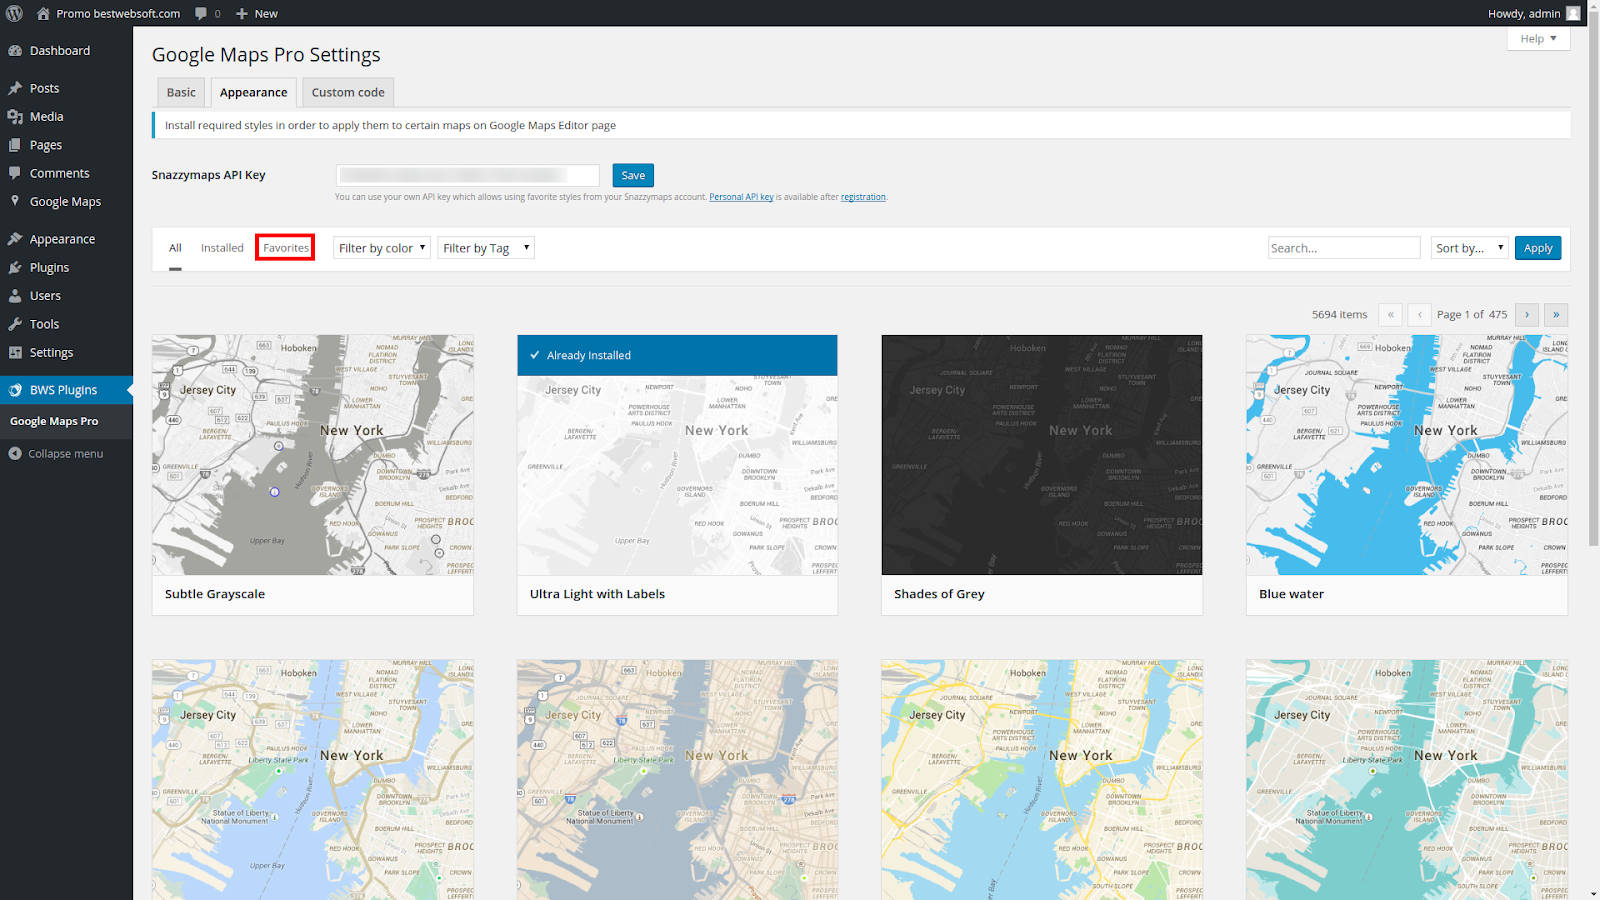
Listing styles
“All”, “Installed” and “Favorites” style lists are available.
If you haven’t installed any styles yet and haven’t entered the Snazzymaps API key yet, only “All” style list will be available and will be shown by default.
“Installed” style list is only available if custom styles were installed. Click “Installed” to view the list of installed styles:

“Favorites” style list is only available if you entered valid Snazzymaps API key and added some styles to your “favorites” list. The styles added to your Snazzymaps account and marked as favourite are included in this list. Click “Favorites” to view the list of favorite styles:
Sort the styles
Click “Sort by...” to sort out the styles by name, date, popularity and relevance:
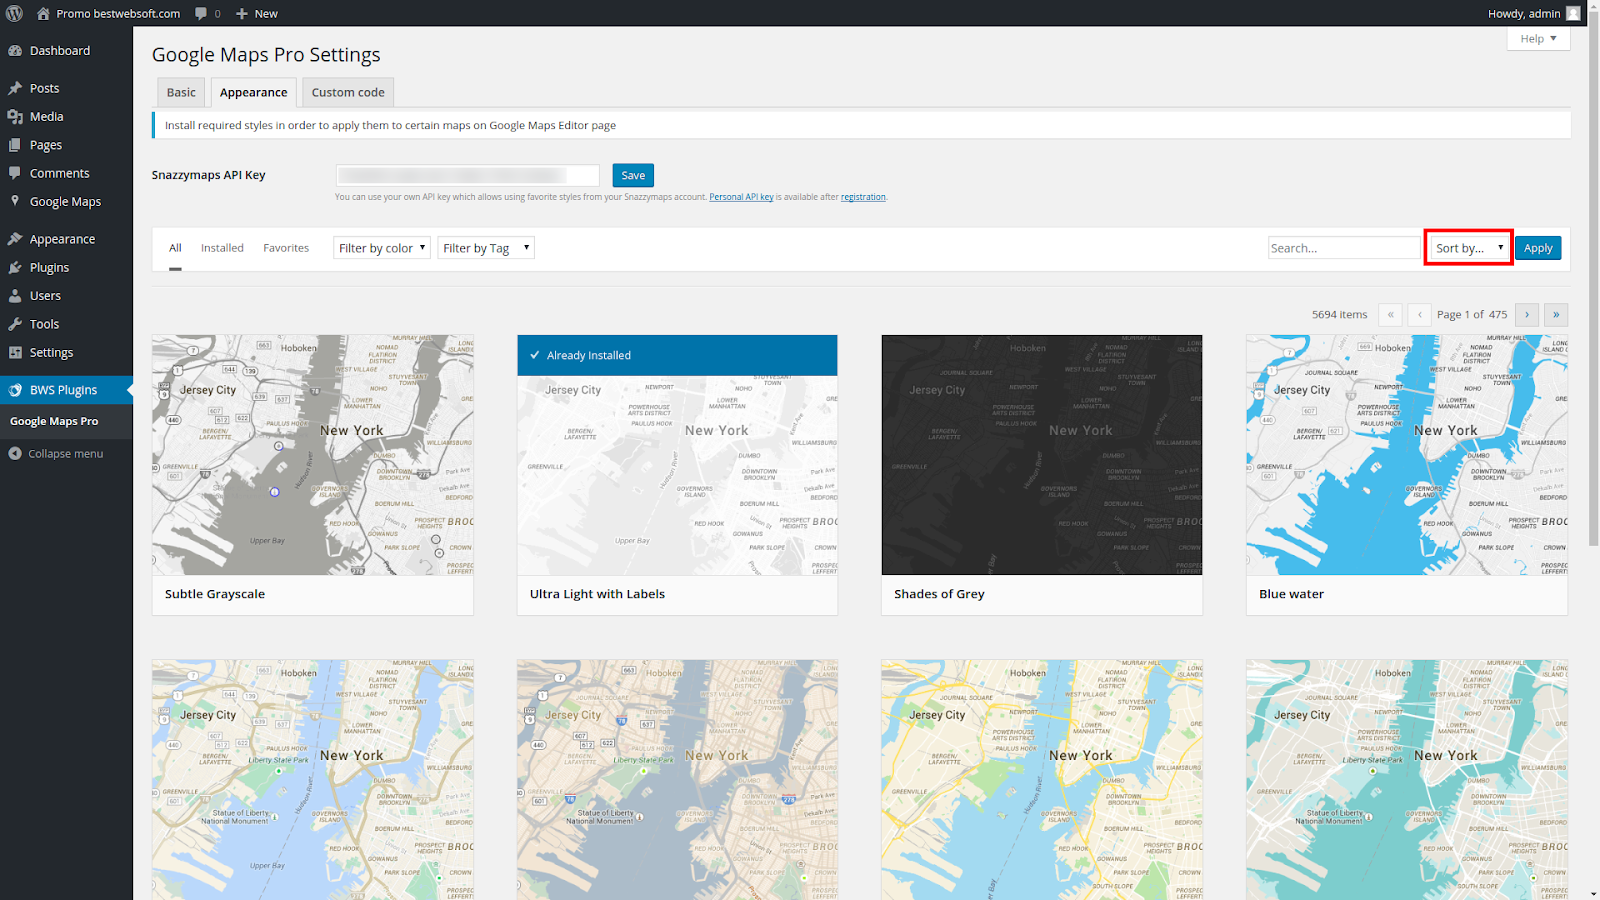
The “Relevance” sort order is only available for “All” and “Favorites” style lists.
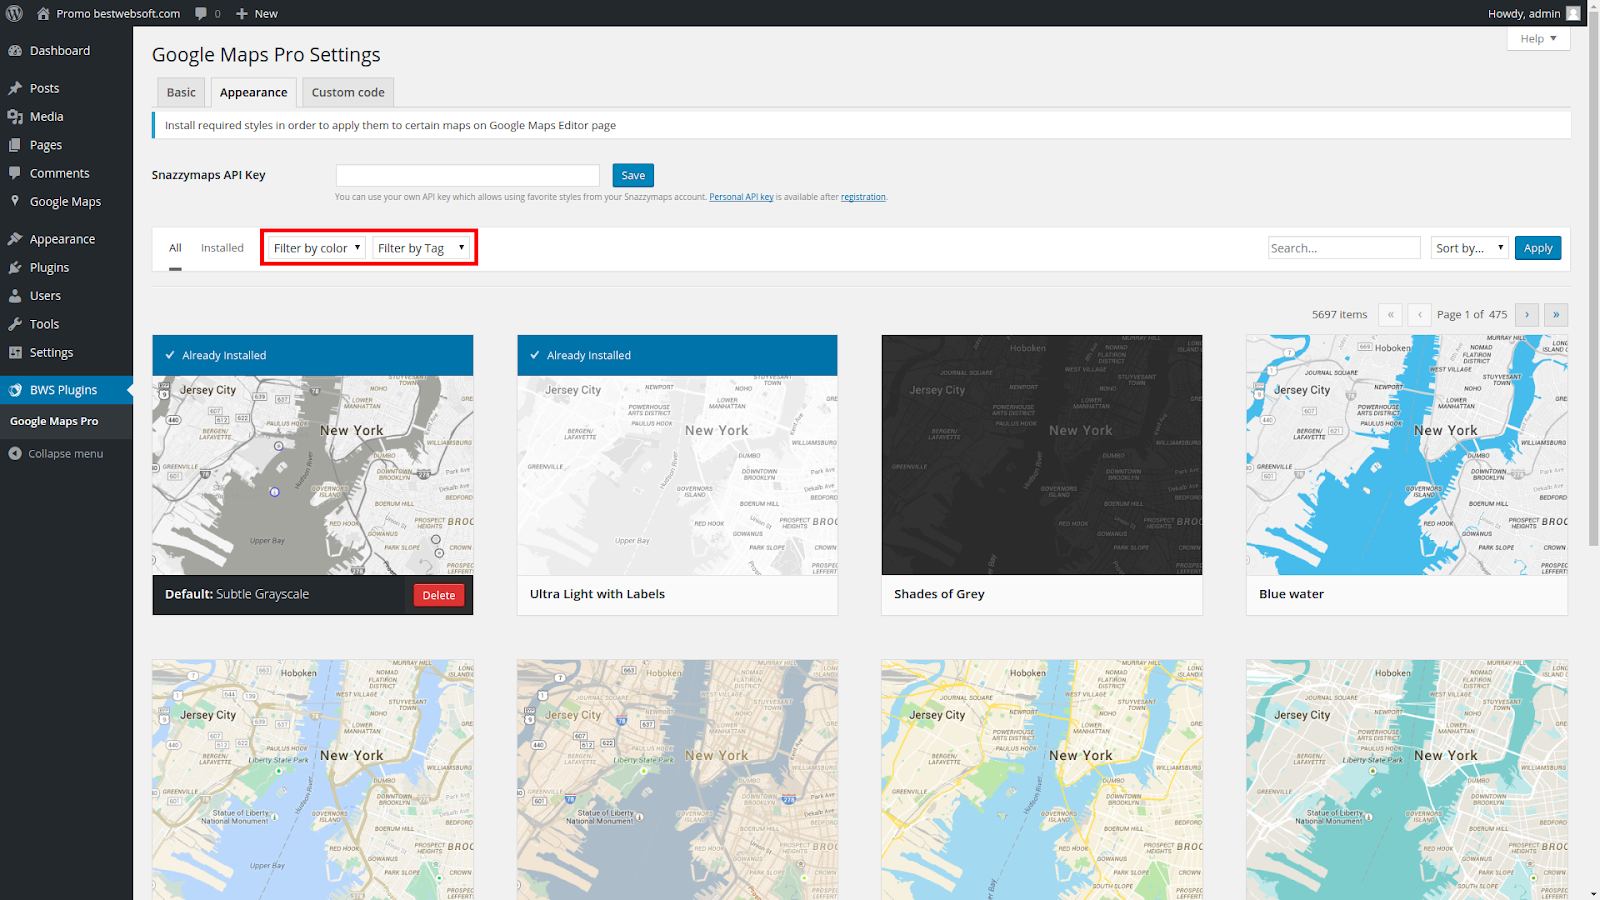
Filter styles
Filter styles option is only available for “All” and “Favorites” style lists.
You can filter styles by color and tags:
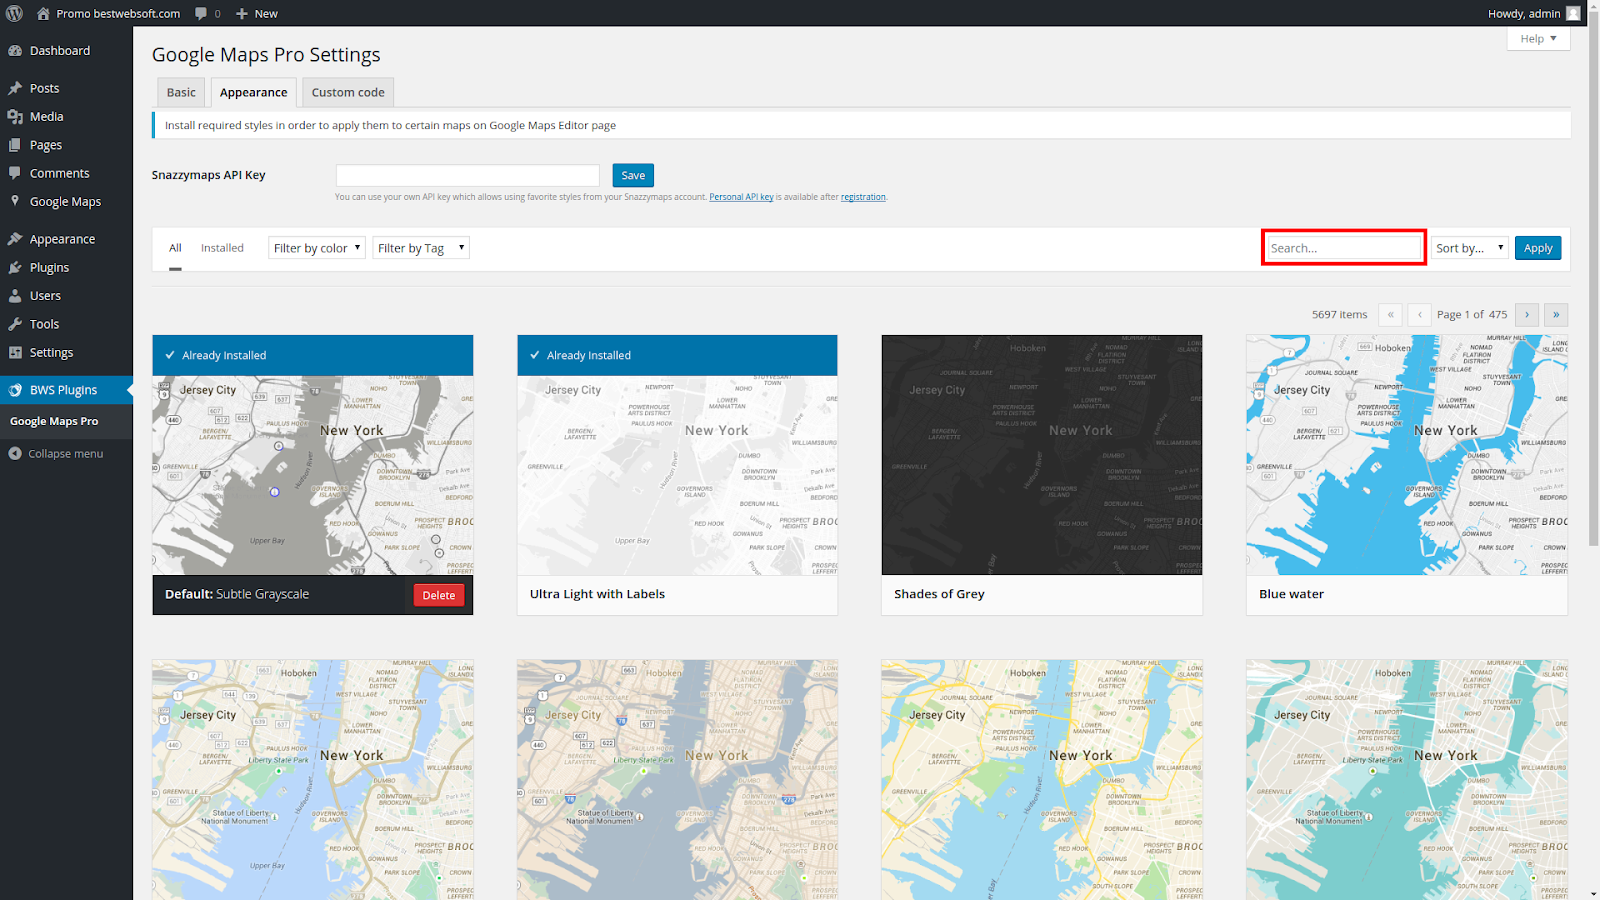
Searching styles
You can search styles by name, author using “Search” field which is only available for “All” and “Favorites” style lists:
Styles installation
You can install styles by clicking “Install” button. Also you can install style by clicking “Set as default” button, in this case the style will be installed and set as default:
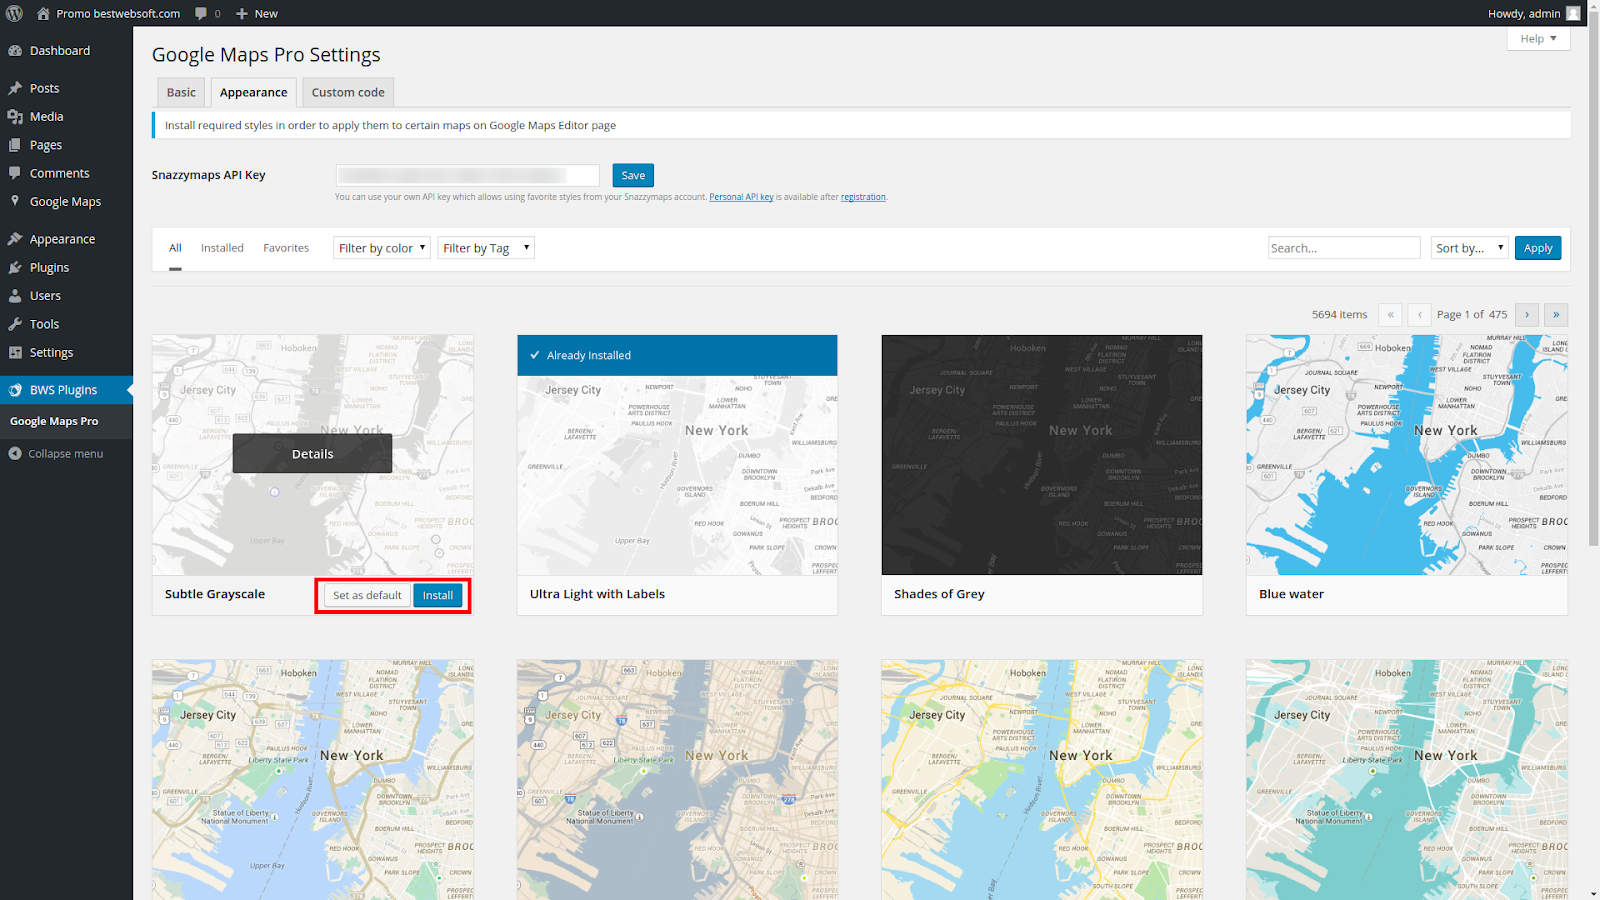
Set the default style
To set style as default click “Set as default” button, in this case the style will be installed (if it is not installed yet) and will be set by default on the Google Maps Editor page for all newly created Google Maps:

Delete previously installed styles
To delete installed style click “Delete” button:
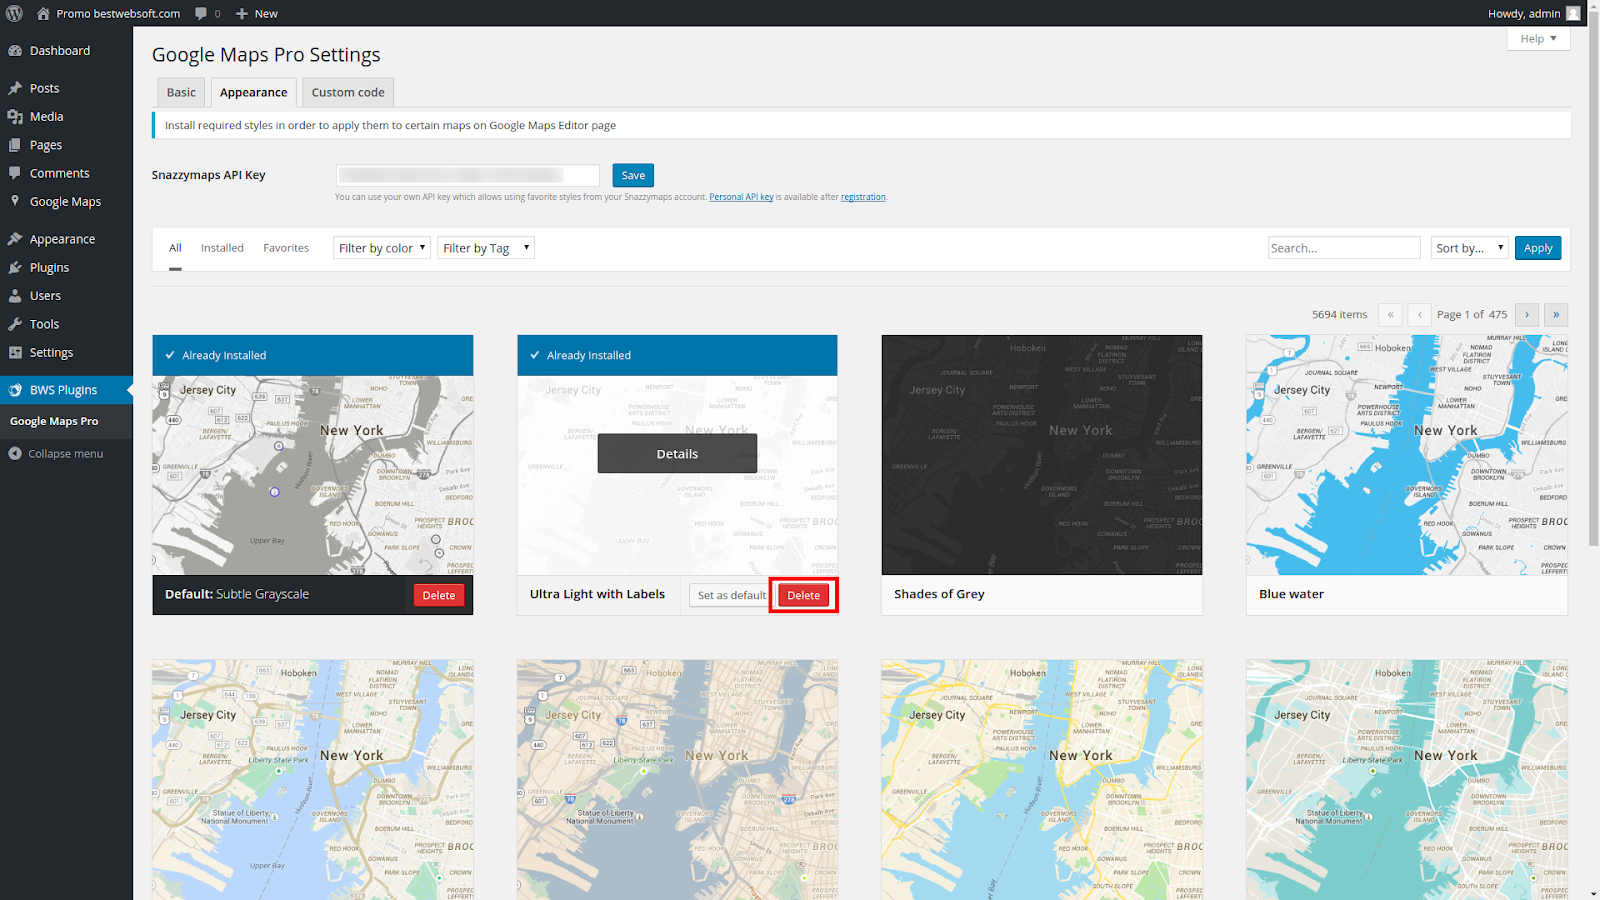
If deleted style was previously applied to some map, the map style will be automatically reset for this map.
Create a Google Map
To create new Google Map select “Google Maps” => “Add New”:
You will see the Google Maps Editor page:
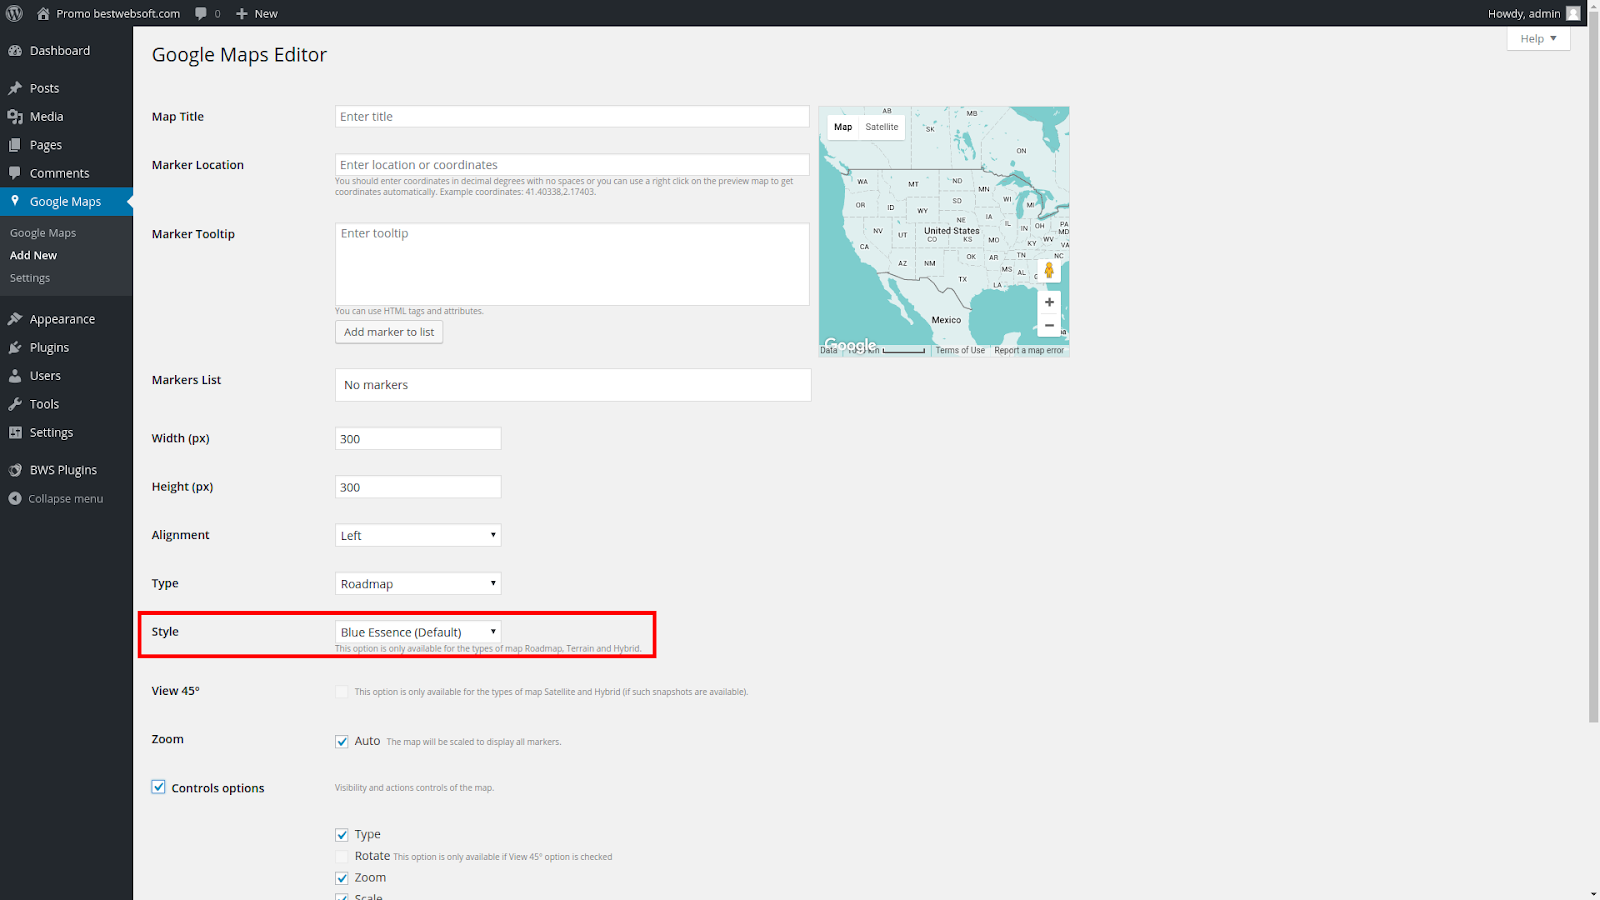
Style
Styles are only available for such map types as Roadmap, Terrain and Hybrid.
If custom styles were installed additionally you will see them in a list. Choose certain style for current Google Map.
If a style was set as default, it will be set automatically for all newly created Google Maps and will be marked in the style list as “(Default)”:
Zoom
Auto zoom option automatically sets map scale to display all markers.
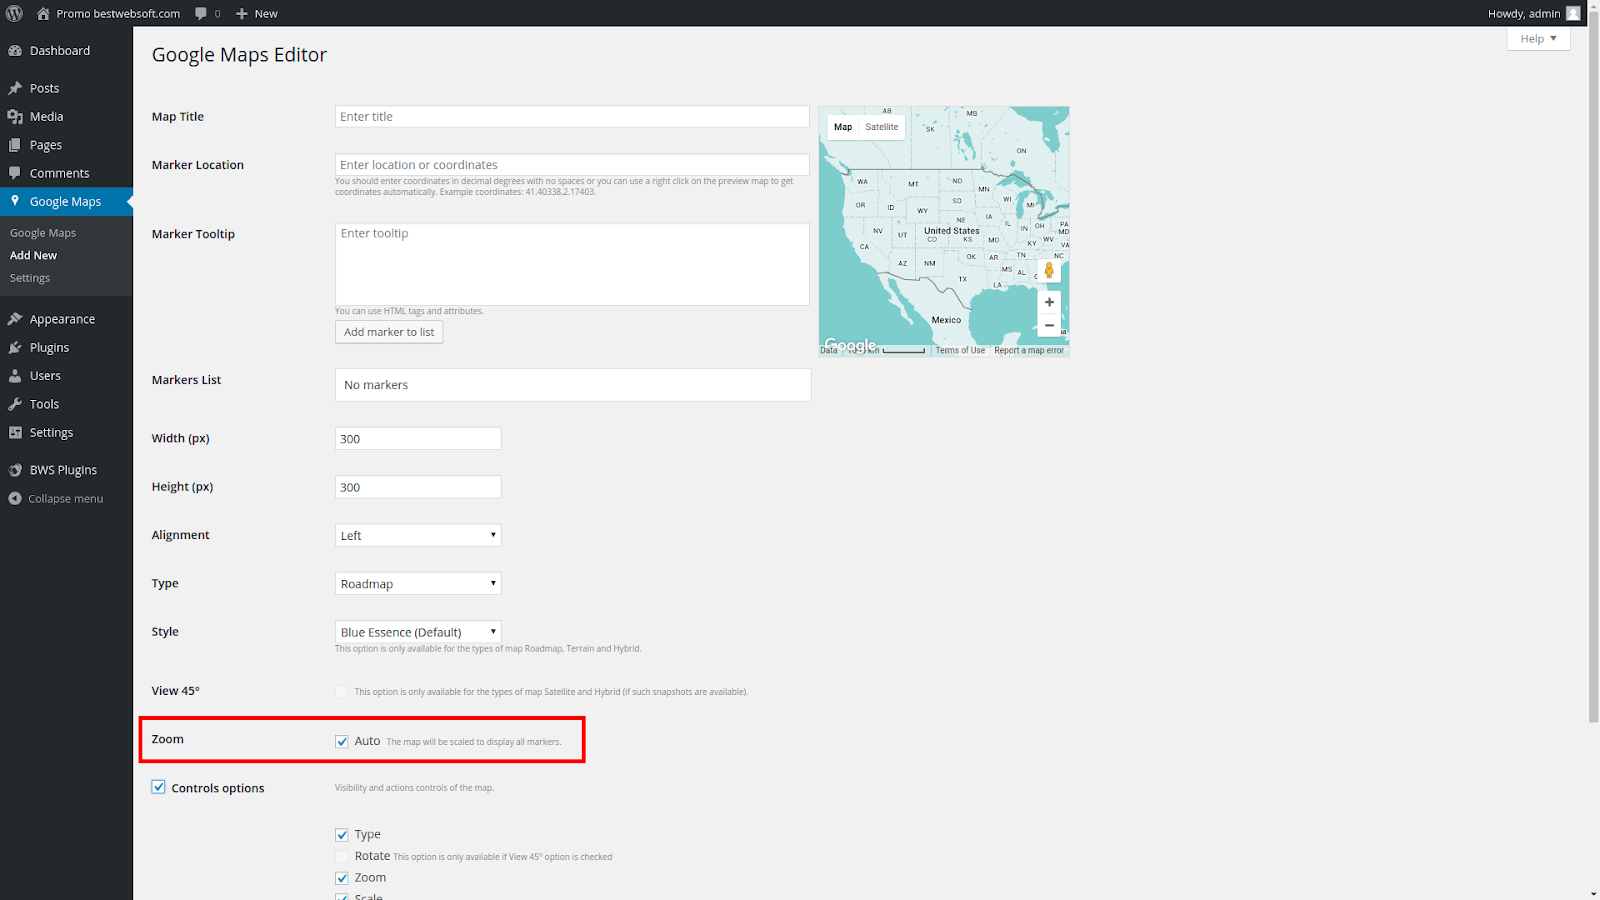
Manual zoom slider is available if auto zoom option is unchecked.
Controls options
Street view
Check the box next to Street View Control to make Street View option available:

Draggable
Make your maps draggable by selecting this option in the Controls Options menu:

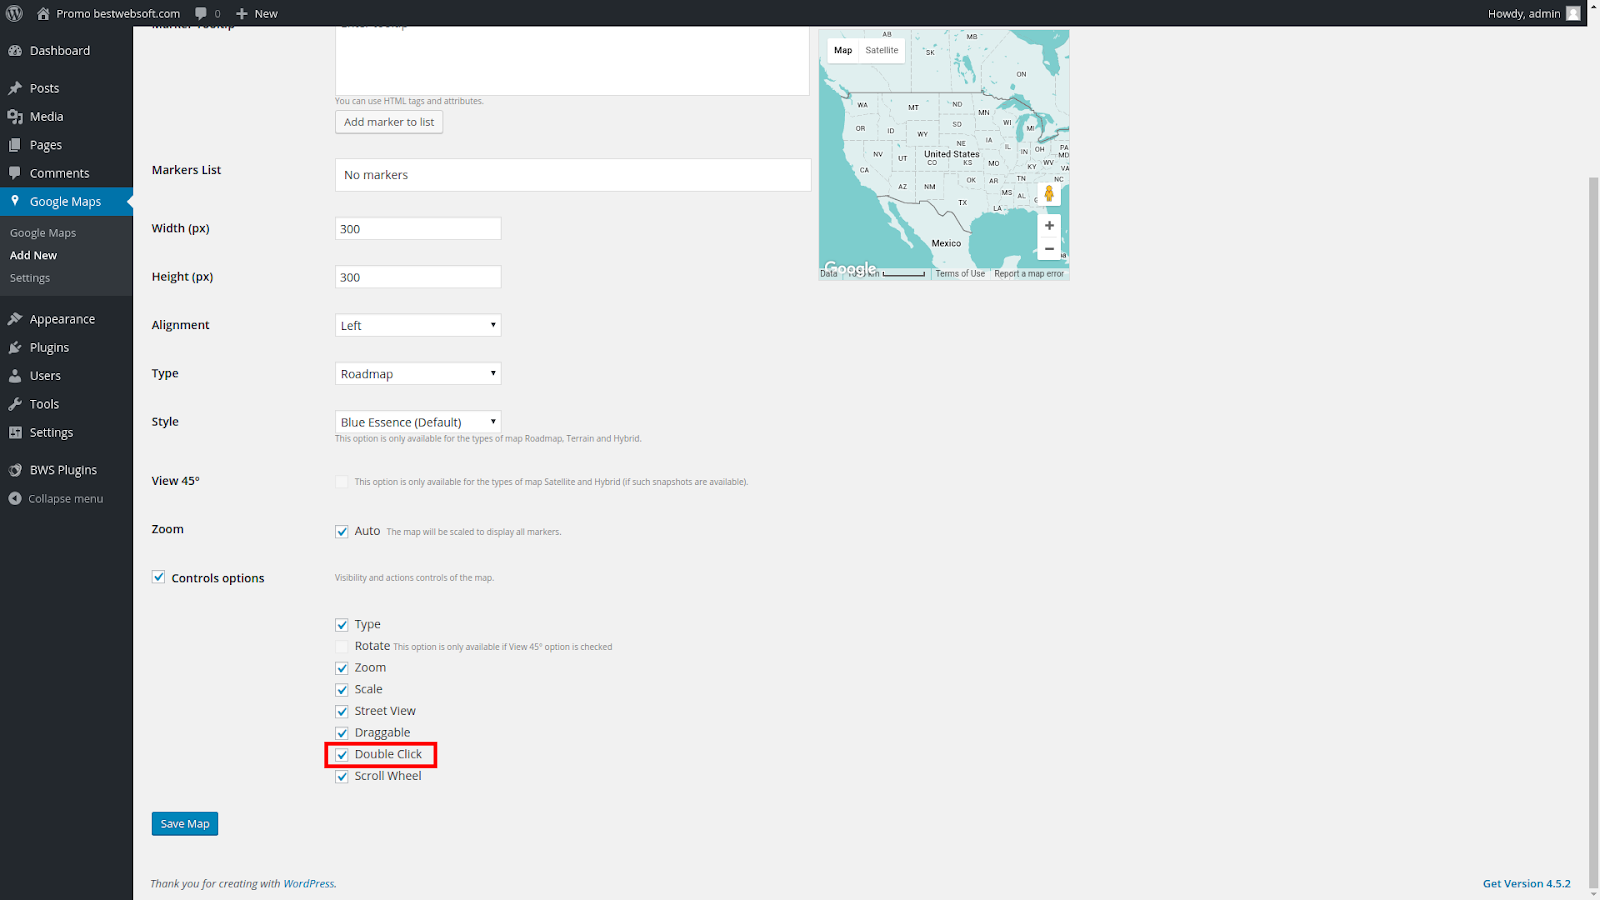
Double click
Check the box next to Double Click option in the Controls Options menu to make your maps scale increase on double click:
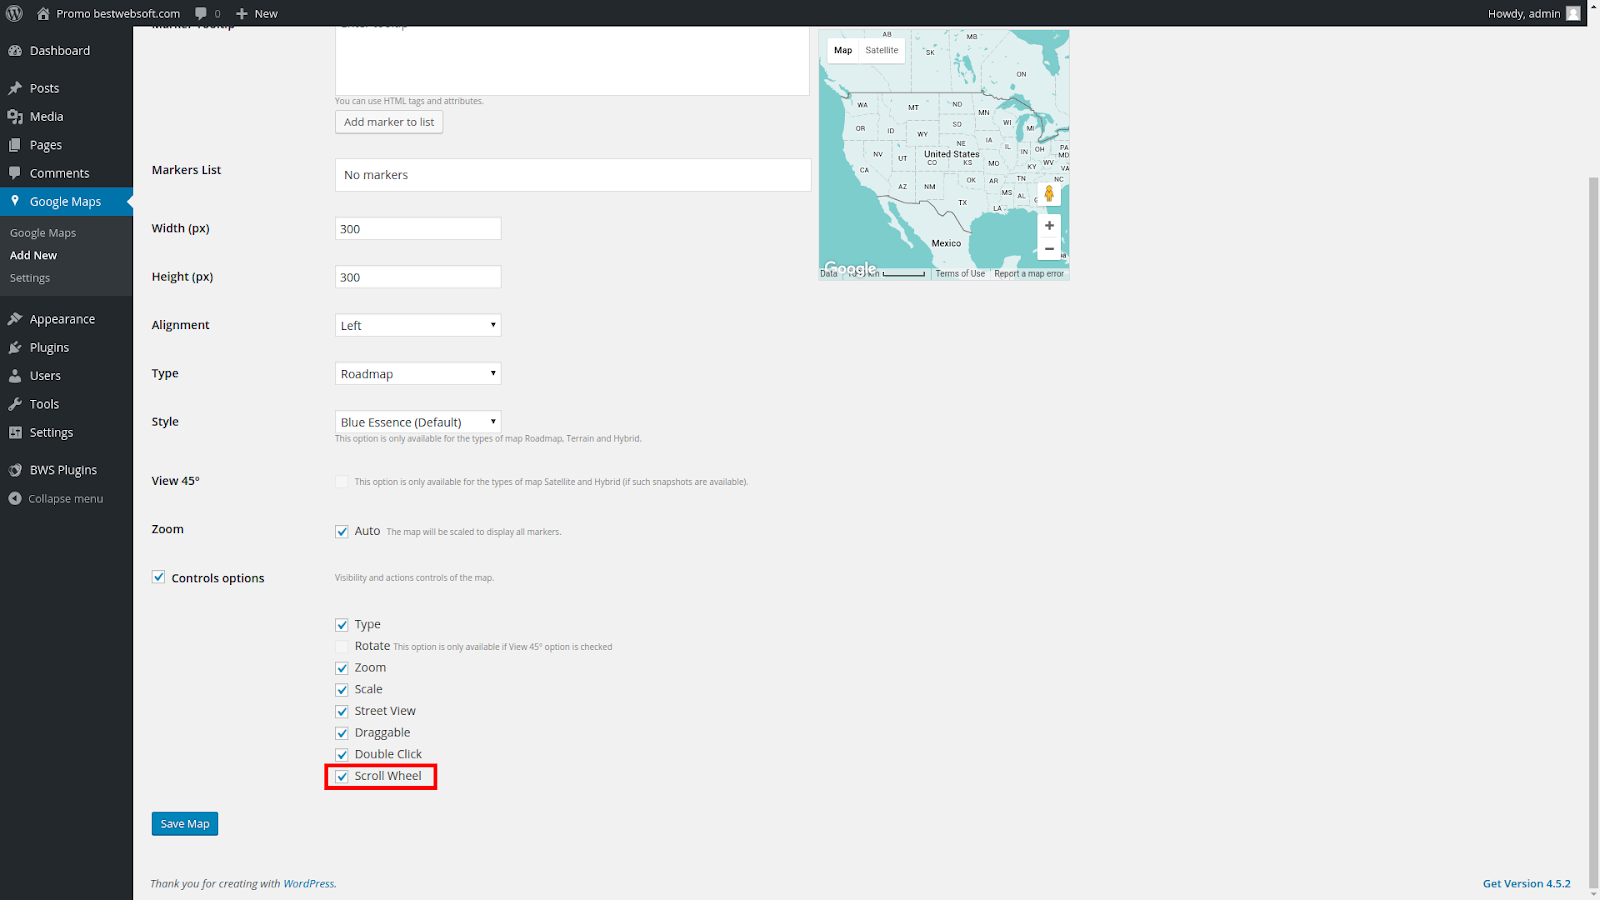
Scroll wheel
Select the Scroll Wheel option and you maps scale will be changed by mouse wheel scrolling when the cursor is over the map:
- - - - - - - - - - - - - - - - - - - - - - - - - - - - - - - - - - - - - - - - - - - - - - - - - - - - - - - - - - - - - - - - - - - - - - - - - - - - - - - - - - - - -
Help & Support
Visit our Help Center if you have any questions.
Our friendly Support Team is happy to help.
support.bestwebsoft.com |
- - - - - - - - - - - - - - - - - - - - - - - - - - - - - - - - - - - - - - - - - - - - - - - - - - - - - - - - - - - - - - - - - - - - - - - - - - - - - - - - - - - - -
Need Website Development or Design Services?
We provide additional services such as Wordpress themes & plugins development, graphic design, custom programming.
Contact us now to get a free quote — https://bestwebsoft.com/contacts/